The lens choice for Sony E-mount users has grown considerably in the past few years. I remember testing several cameras with the 100-400mm GM and 1.4x teleconverter, which at the time were the only options to get close to a 600mm reach (excluding adapted lenses of course).
Today, there is a much better variety of native telephotos, not only thanks to Sony releasing more products, but also Tamron and Sigma.
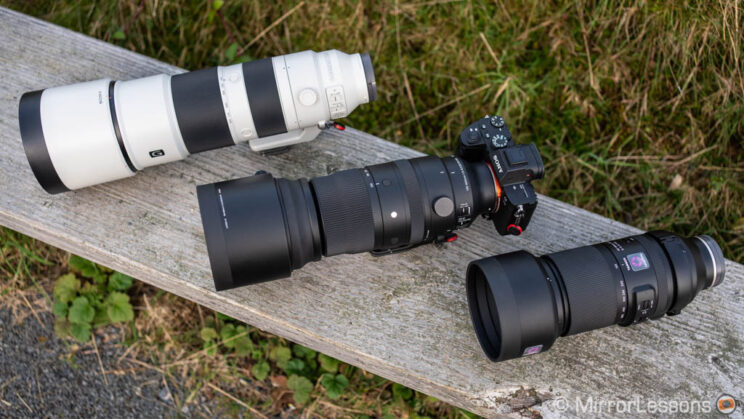
In this article, I take a look at three of the most popular options. If you’re hesitating between them, I hope you’ll find this article useful.

Ethics statement: we rented the Sony and Tamron lenses, whereas the Sigma zoom was kindly provided by Sigma UK. We were not asked to write anything about these products, nor were we provided with any sort of compensation. Within the article, there are affiliate links. If you buy something after clicking the link, we will receive a small commission. To know more about our ethics, you can visit our full disclosure page. Thank you!
Table of Contents
1. Main Specs
2. Design and Ease of Use
3. Field of View and Aperture
4. Optical Quality
5. Autofocus and Manual Focus
6. Optical Stabilisation
7. Teleconverters
8. Prices
9. Video Review
10. Conclusion
Main Specifications
Sony FE 200-600mm F5.6-6.3 G OSS
- Mount: E-mount
- Format coverage: 35mm (full frame)
- Focal length: 200-600mm
- Weather sealing: Yes
- Maximum aperture: 5.6 (W) – 6.3 (T)
- Minimum aperture: 32 (W) – 36 (T)
- Number of aperture blades: 11
- Angle of view: 12.3˚ – 4.1˚
- Closest focusing distance: 2.4m
- Maximum image magnification: 0.2x
- Lens configuration: 24 elements / 17 groups
- Special elements: 1 Aspherical, 5 ED elements
- Lens surface coating: Yes
- Optical stabilisation: Yes
- Dimensions: ø111.5 x 318mm
- Filter diameter: ø95mm
- Weight: 2115g
Sigma 150-600mm F5-6.3 DG DN OS Sports
- Mount: E-mount / L-mount
- Format coverage: 35mm (full frame)
- Focal length: 150-600mm
- Weather sealing: Yes
- Maximum aperture: 5 (W) – 6.3 (T)
- Minimum aperture: 22 (W) – 29 (T)
- Number of aperture blades: 9
- Angle of view: 16.4˚ – 4.1˚
- Closest focusing distance: 58cm (W) – 280cm (T)
- Maximum image magnification: 0.3x
- Lens configuration: 25 elements / 15 groups
- Special elements: 4 FLD, 2 SLD elements
- Lens surface coating: Yes
- Optical stabilisation: Yes
- Dimensions: ø109.4 x 263.6mm
- Filter diameter: ø95mm
- Weight: 2100g
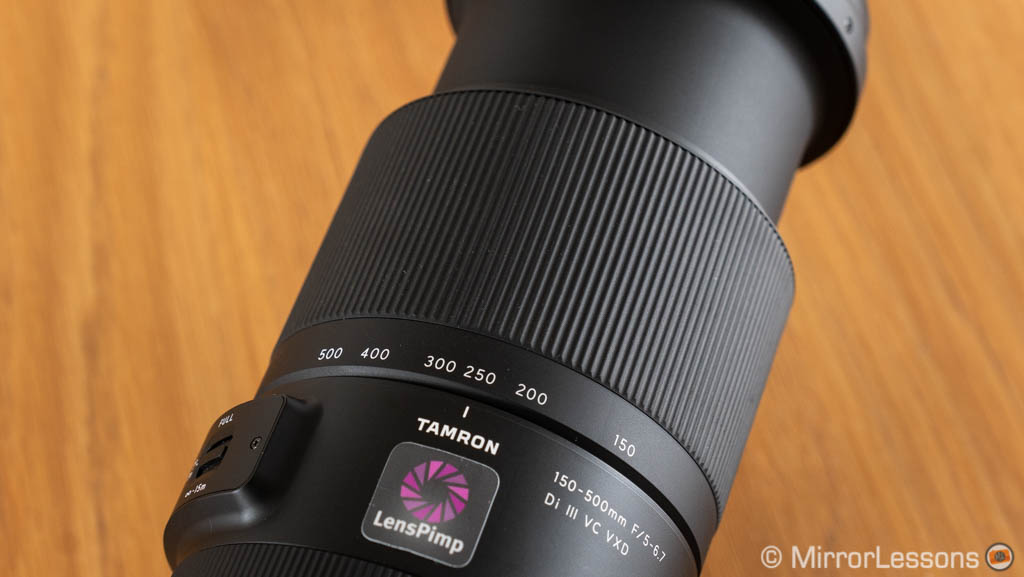
Tamron 150-500mm F/5-6.7 Di III VC VXD
- Mount: E-mount
- Format coverage: 35mm (full frame)
- Focal length: 150-500mm
- Weather sealing: Yes
- Maximum aperture: 5 (W) – 6.7 (T)
- Minimum aperture: 22 (W) – 32 (T)
- Number of aperture blades: 7
- Angle of view: 16.4˚ – 4.5˚
- Closest focusing distance: 60cm (W) – 71cm (T)
- Maximum image magnification: 0.4x
- Lens configuration: 25 elements / 16 groups
- Special elements: 5 LD, 1 XLD, 2 hybrid aspherical elements
- Lens surface coating: Yes
- Optical stabilisation: Yes
- Dimensions: ø93 x 209.6mm
- Filter diameter: ø82mm
- Weight: 1880g
Design and Ease of Use
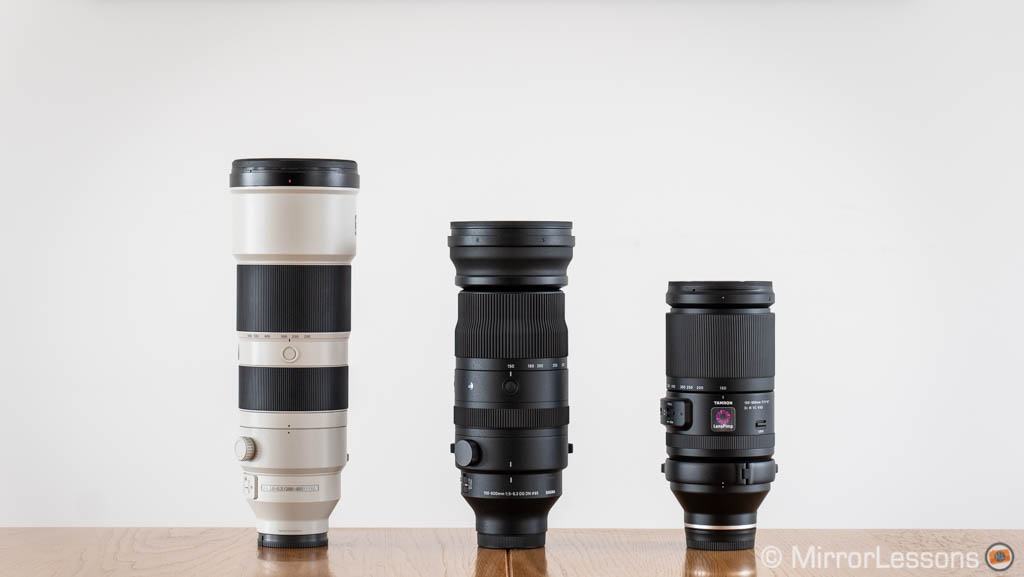
Let’s tackle dimensions and weight first. The Sony is the longest, largest and heaviest of the three. It is also the only one with an internal zoom mechanism, which means that it doesn’t extend when zooming in.
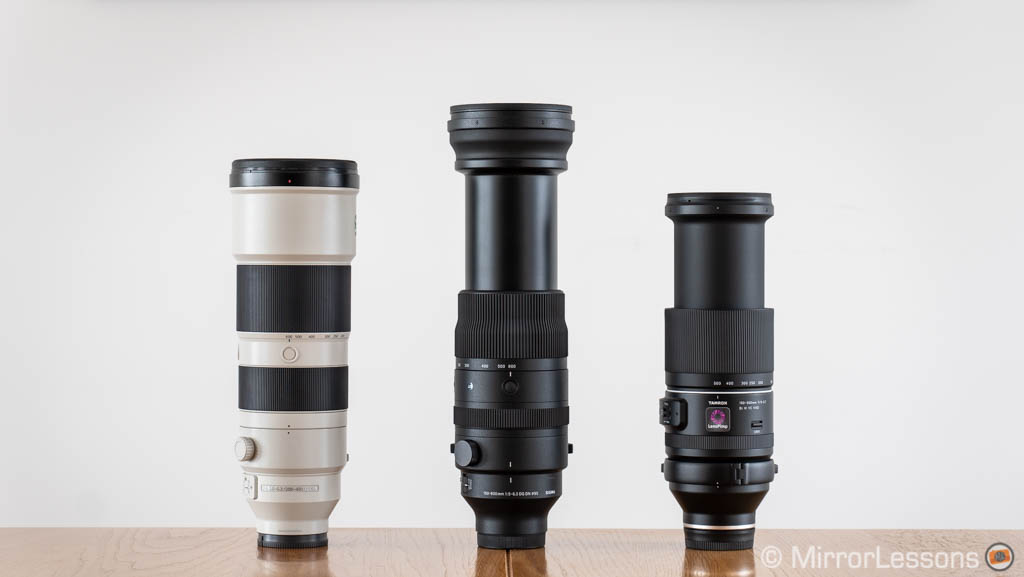
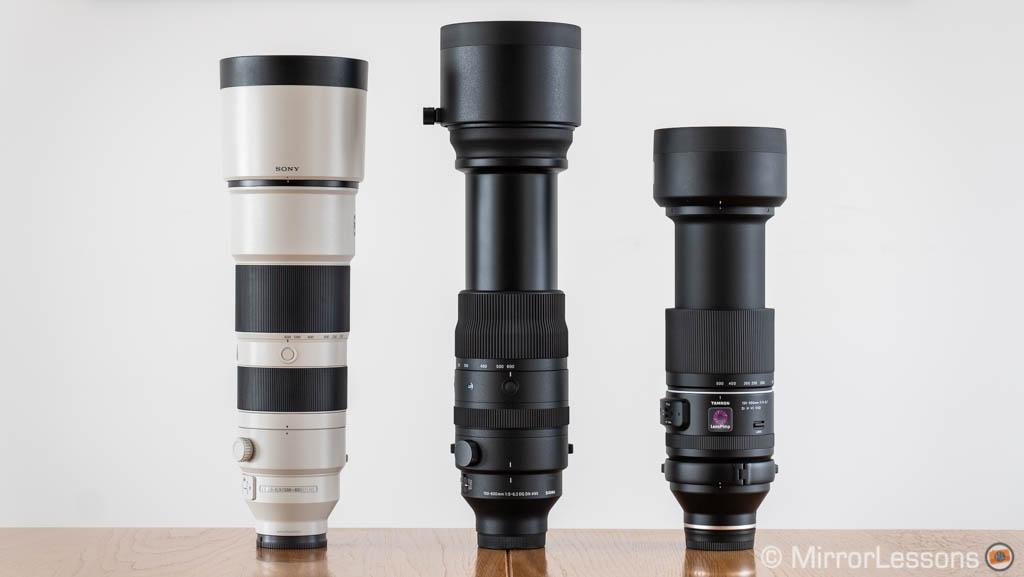
The Sigma closely follows the Sony when it comes to weight and diameter, but it is 5cm shorter when retracted. When extended to 600mm however, it becomes a few centimetres longer than the Sony lens.
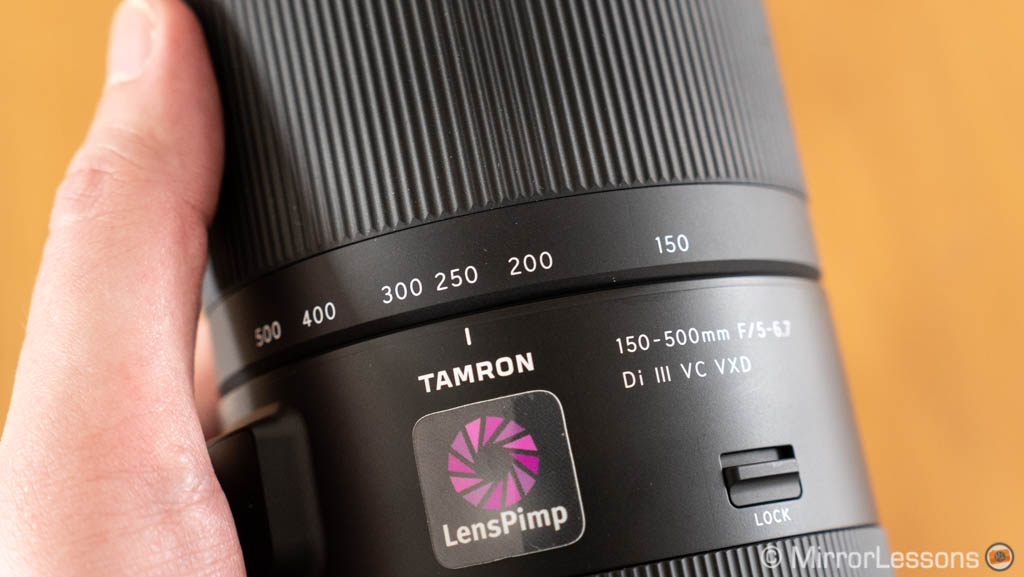
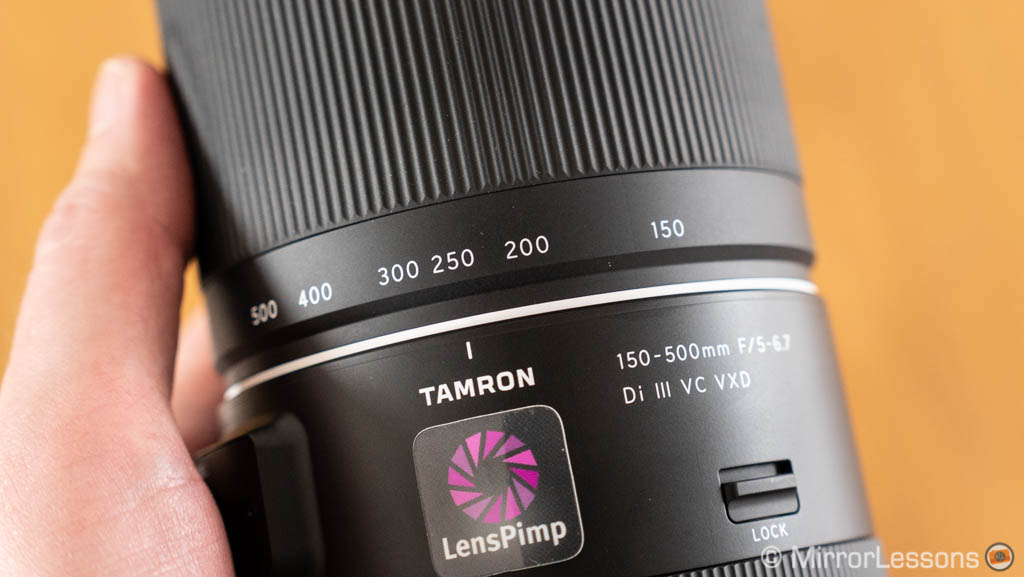
The Tamron is the smallest and lightest of the three, and you come to really appreciate its more compact dimensions. It remains shorter, albeit not by much, when extended to 500mm.
All three lenses are weather sealed and feel very well built.
The Sony has the smoothest zoom ring but there is no option of locking it at any position.


That of the Tamron has more resistance which I don’t dislike to be honest, because there isn’t a lot of friction, and the ring has a better chance of staying in place when you set it. The arc of rotation is short at just 75˚, which means you can go from 150mm to 500mm and vice versa with a relatively small twist. When not in use, you can lock the zoom at 150mm with the dedicated switch.
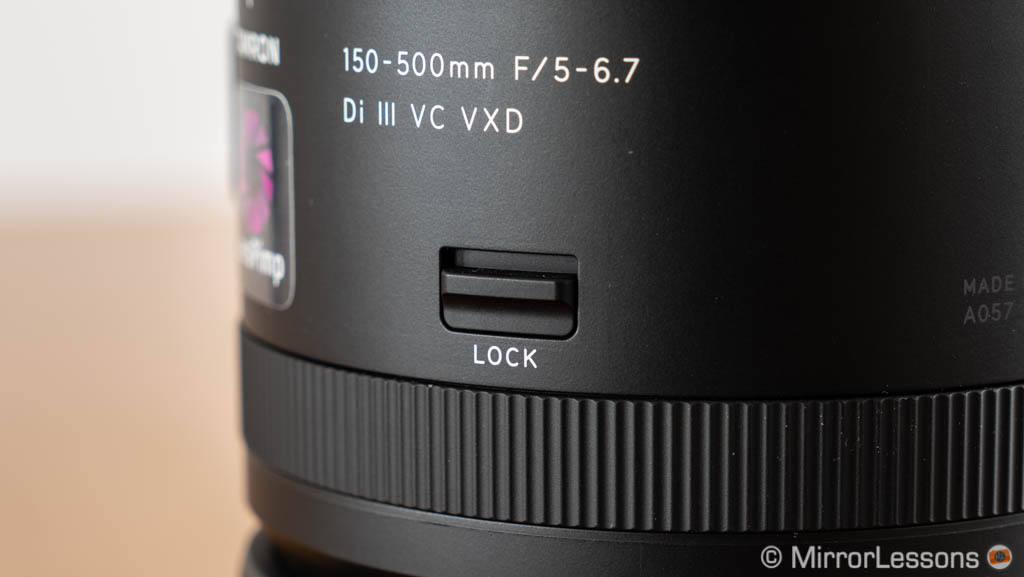
Tamron’s designers also added something very clever that they call Flex Zoom Lock mechanism: the zoom ring can be clutched forward to be locked in any position.
The execution is a bit disappointing unfortunately, because if you hold the lens with your hand on the zoom ring, which is the most natural position, you end up moving the ring up and down all the time while taking pictures. In other words, it could have done with a stronger mechanism. To make it work, you need to hold the lens with your hand touching another part of its surface, which is not always comfortable.
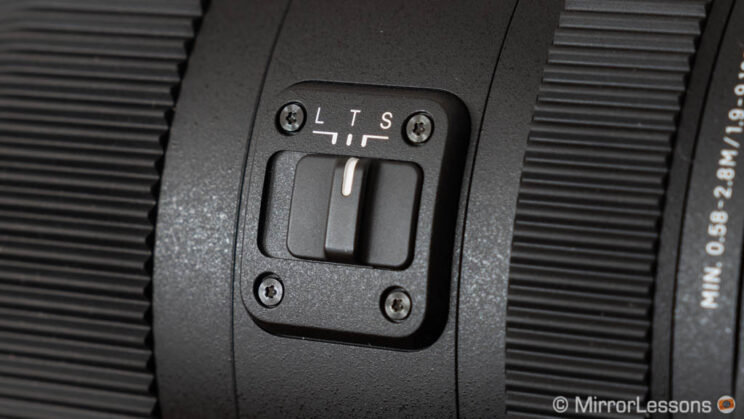
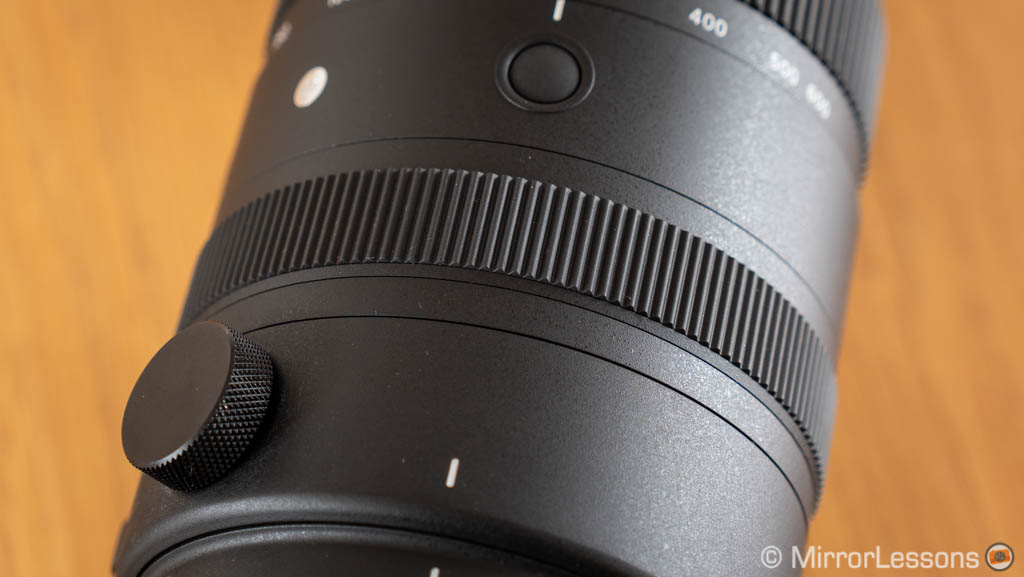
The Sigma lens has a dedicated torque switch on the side to lock the zoom ring at 150mm, or choose two different levels of resistance: Tight or Smooth. The T setting offers a high degree of resistance, so it’s very unlikely you’ll move the ring by mistake.
The switch is a bit capricious at time (at least on my copy), and changing positions can be a tedious operation because the switch refuses to move. The workaround is to rotate the zoom ring a little until it works again, or even zoom all the way out to 150mm.

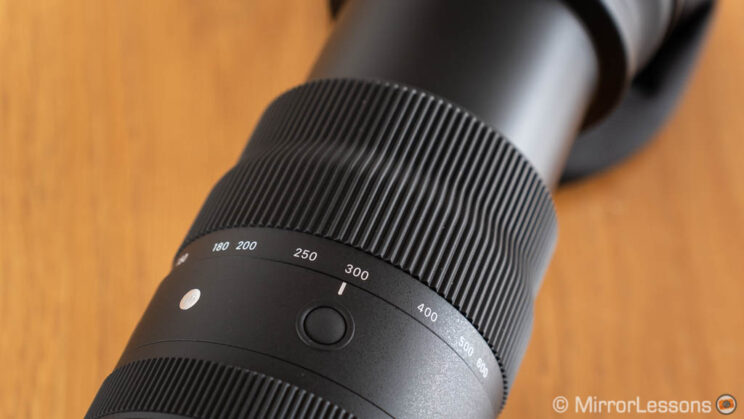
The Sigma lens has what the company calls a Dual Action Zoom mechanism, which means that you can use either the ring to zoom, or pull the front of the lens back and forth. Pulling back and forth is a quicker solution as the rotation arc of the zoom ring is the longest among the three zooms.

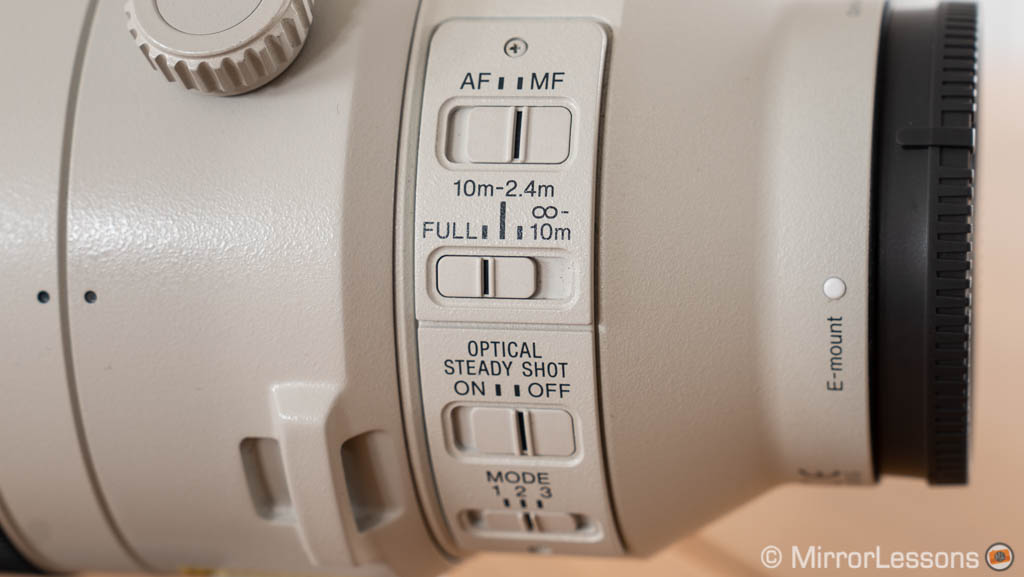
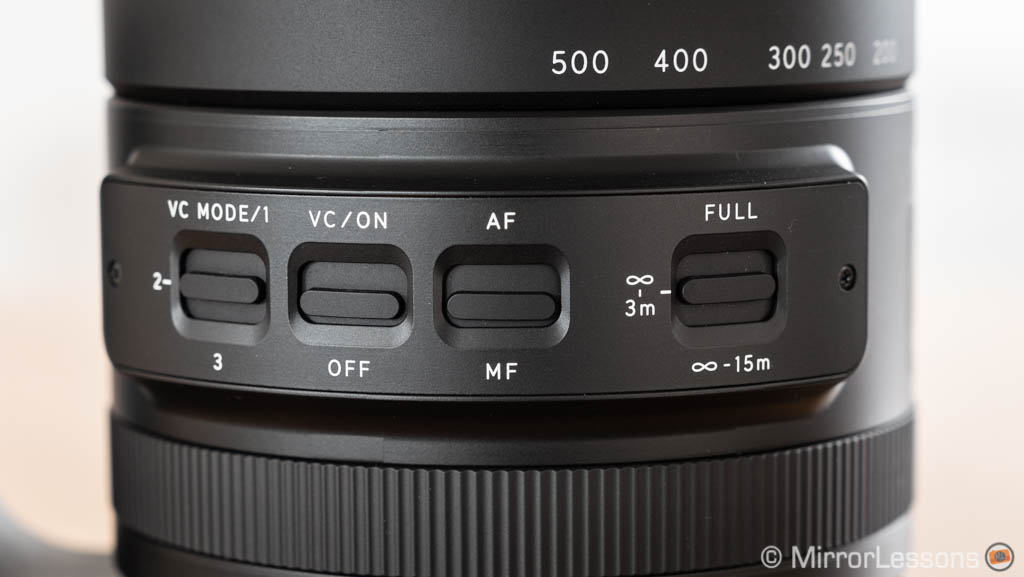
Then we have the physical controls, and here all three lenses offer similar options, including:
- AF / MF switch
- Focus limiter switch with three positions
- Optical Stabilisation switch
The Sony and the Tamron have a second OSS switch with three modes that control how the stabilisation behaves (more on this in the dedicated chapter further down), whereas the Sigma offers two modes only, incorporated in the On/Off switch.
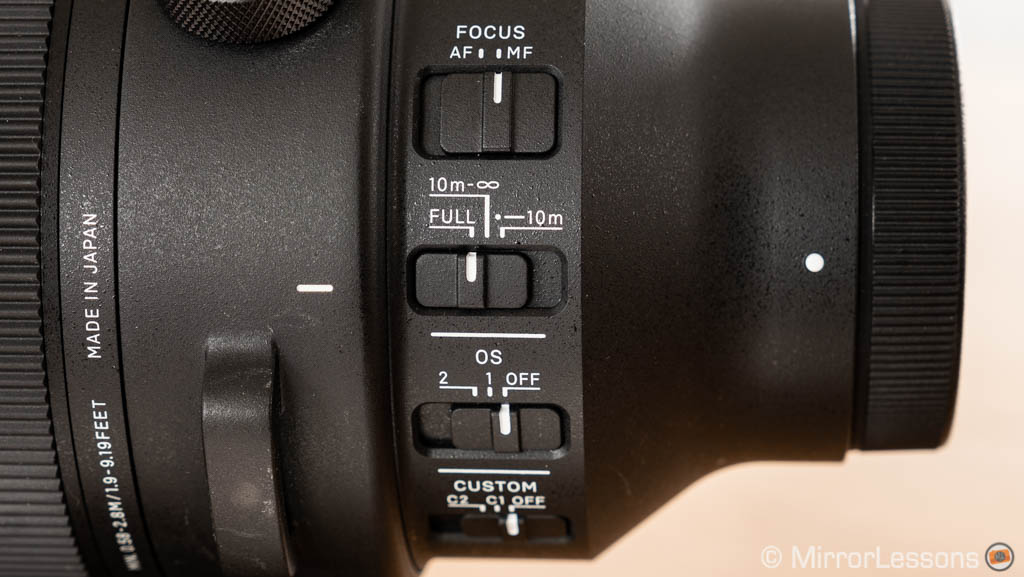
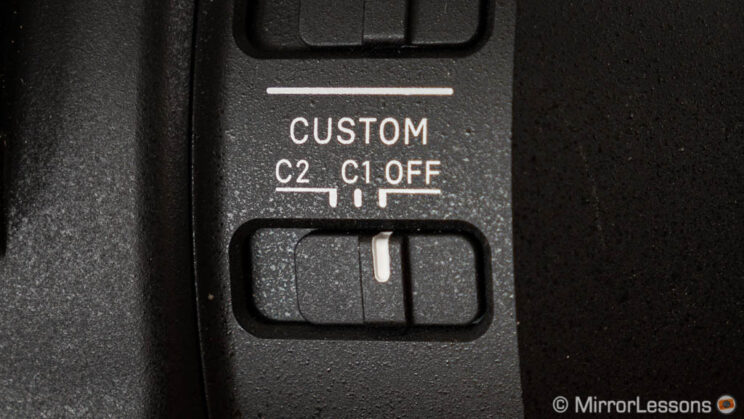
The Sigma has one extra switch you won’t find on the other two lenses, called Custom Switch. On paper, with the help of Sigma’s USB Dock and Sigma’s Optimization Pro software, you can create two separate combinations of settings related to the stabilisation and focus limiter, that you can then recall at any time with the switch. At the time of publishing this article, the E-mount version of the Dock is not yet available.

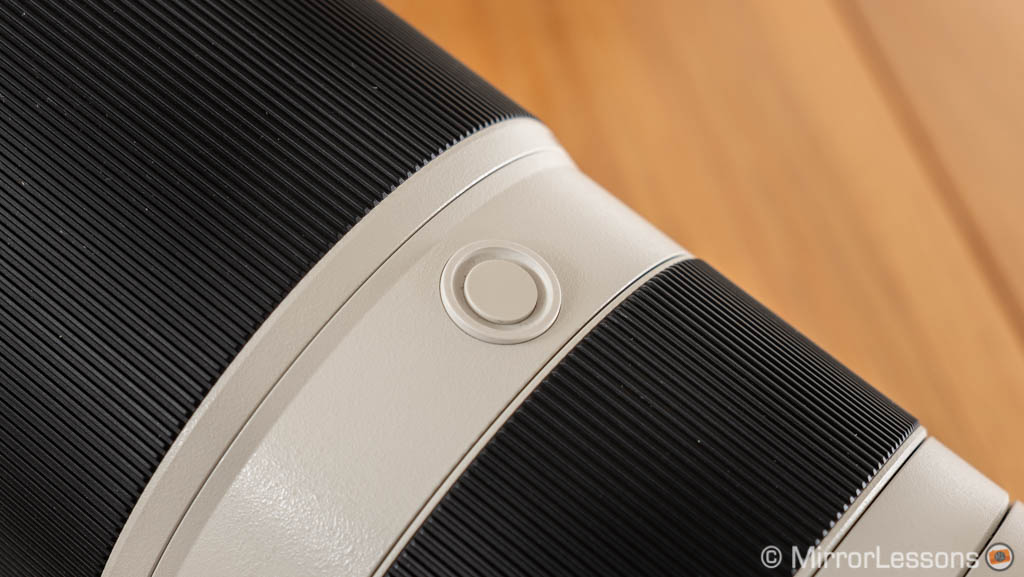
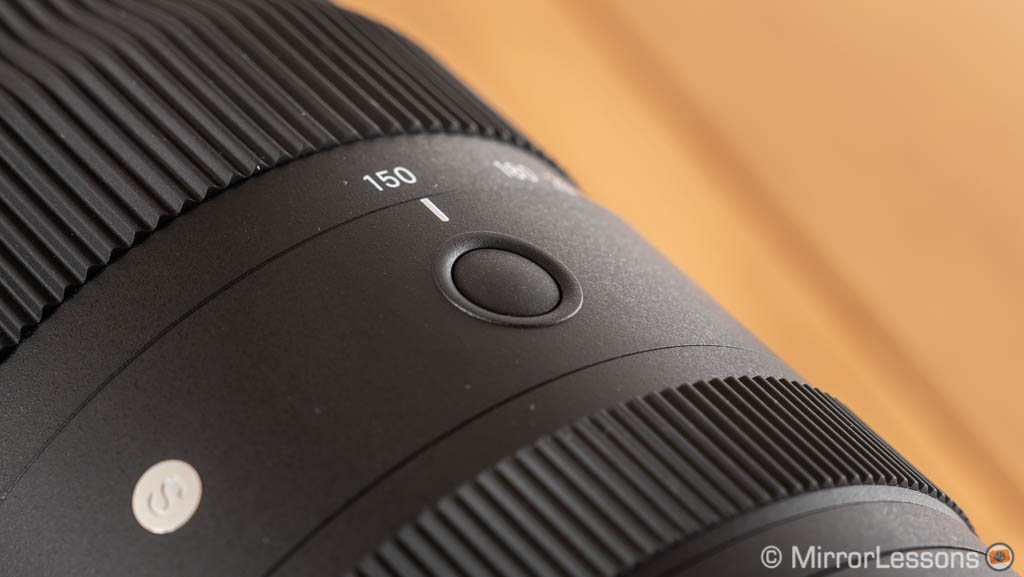
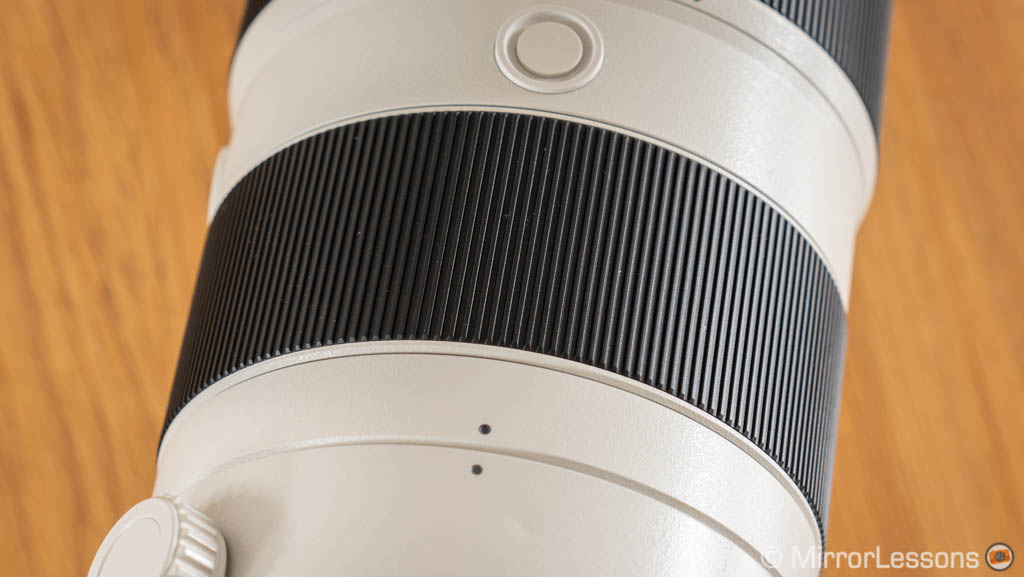
The Sony and the Sigma have a custom button, repeated three times around the barrel, whereas the Tamron has none.
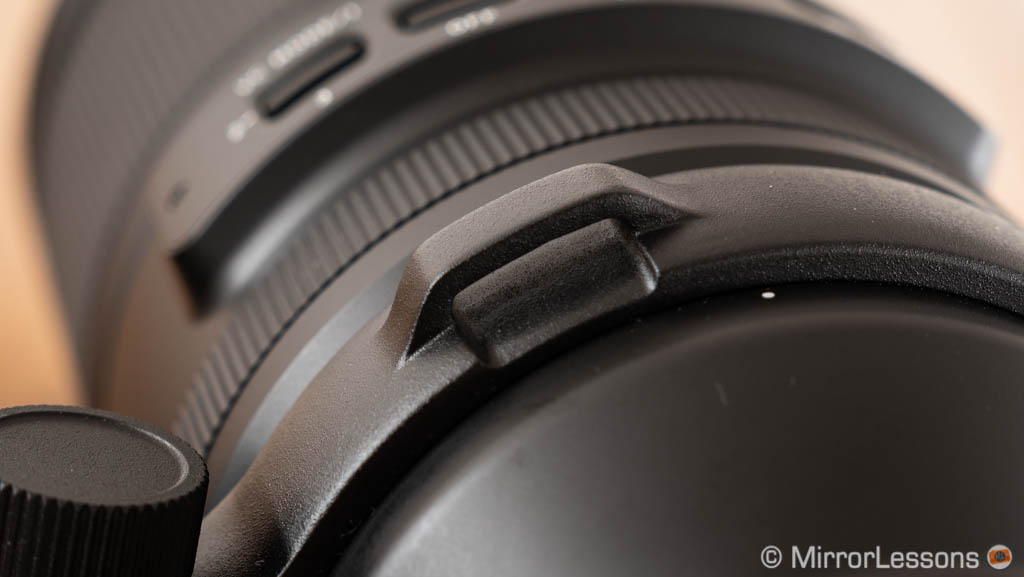
The Sony has a clever quick release mode for the tripod collar: simply rotate the lock lever and press the safety button to remove it. Quick and easy. It’s a shame that it doesn’t fit an Arca Swiss tripod head directly.


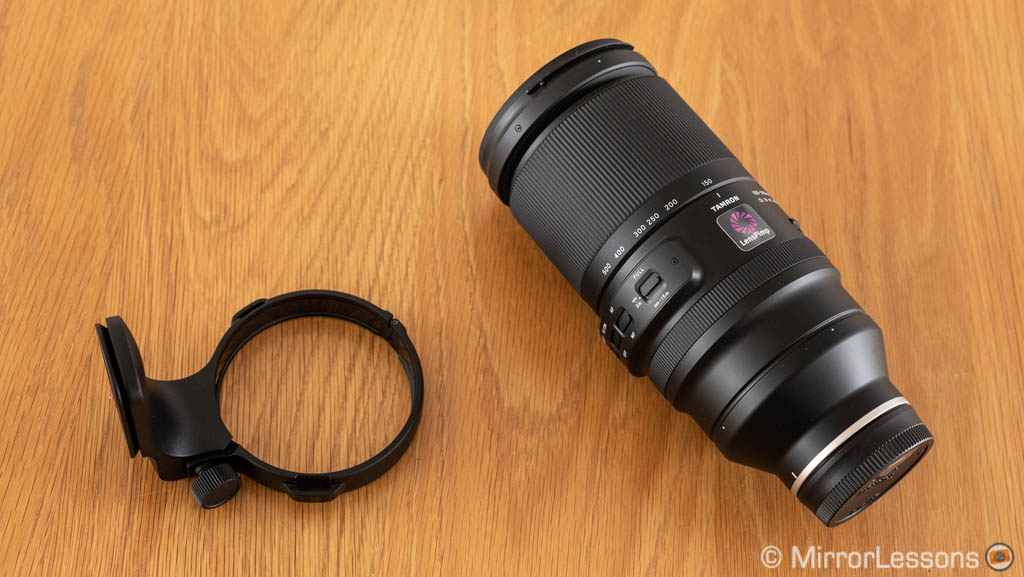
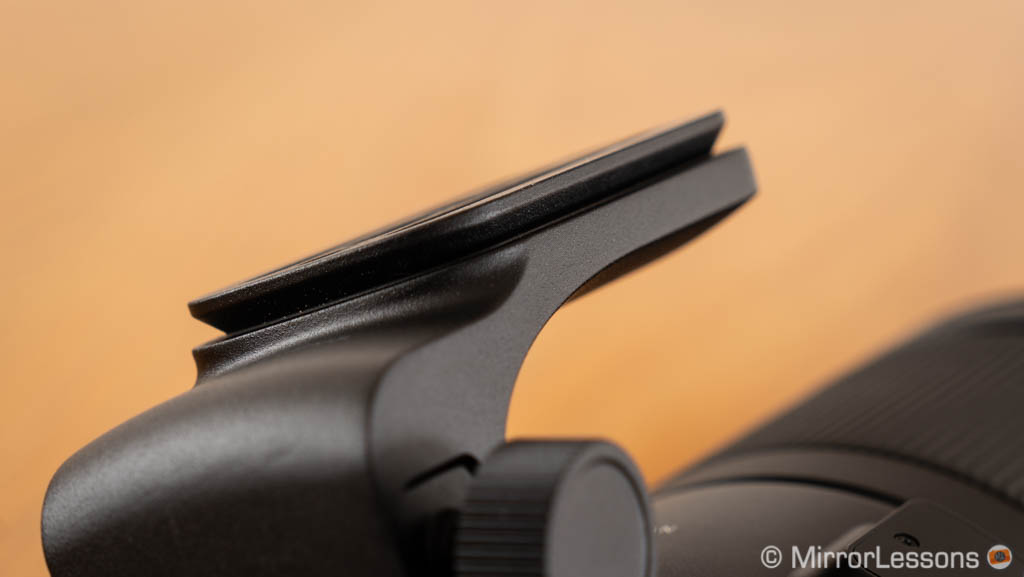
The Tamron features the classic tripod collar design, and you can remove it entirely by unscrewing the dedicated knob. It is compatible with Arca Swiss tripod heads.
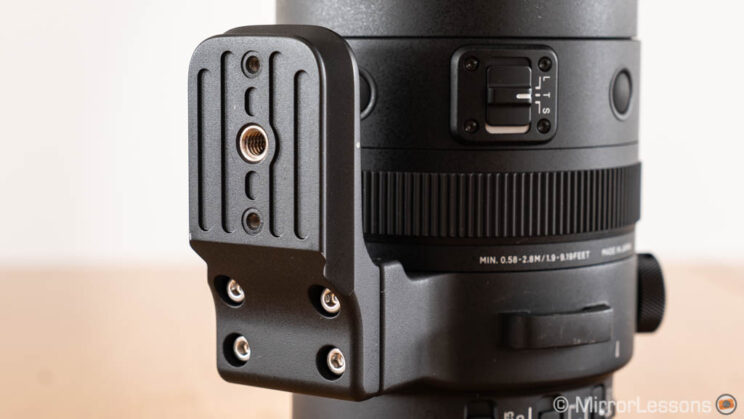
Sigma has opted for a different solution that I don’t like as much because it doesn’t allow you to take the plate out easily. You need to remove four small screws (thankfully the hex key is provided) but you are still left with a hump. The plate is Arca Swiss compatible.

All three lenses come with a plastic hood and plastic caps. Sigma also provides a nice soft padded cover, an alternative to the default plastic front cap.


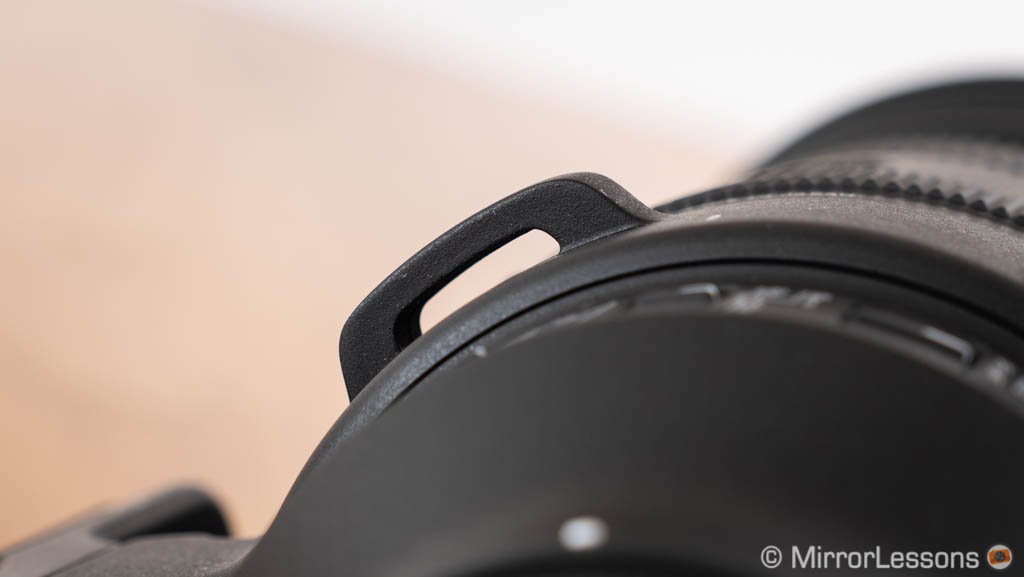
Finally, strap attachment points are available on the three lenses.

Field of View and Aperture
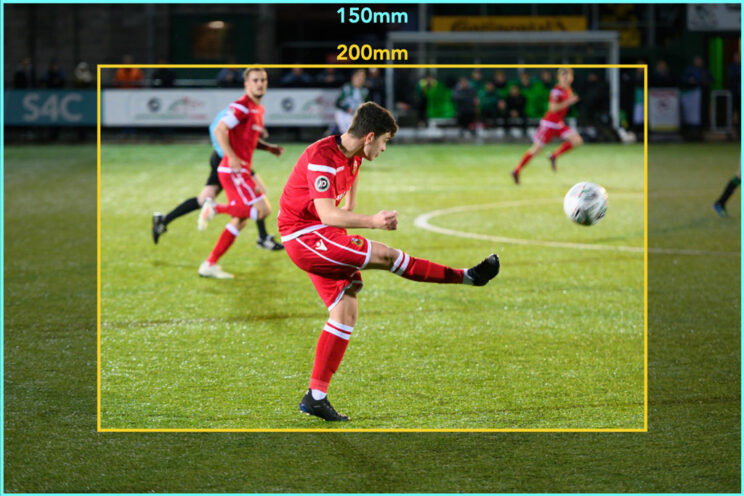
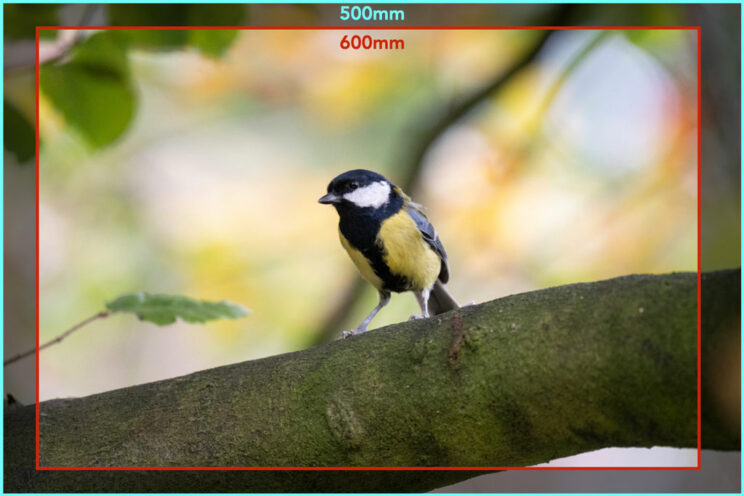
The zoom range is not exactly the same for each lens: the Sigma and the Tamron start at 150mm versus 200mm on the Sony, and the Tamron ends at 500mm versus 600mm on the other two lenses. Here is a visualisation of the difference in real world use.


The fastest aperture range is also different. Below I reported the largest aperture available at each stage of the zoom range.
| Sony | Fast. aperture |
|---|---|
| 200-299mm | f/5.6 |
| 300-600mm | f/6.3 |
| Sigma | Fast. aperture |
|---|---|
| 150-173mm | f/5 |
| 174-365mm | f/5.6 |
| 366-600mm | f/6.3 |
| Tamron | Fast. aperture |
|---|---|
| 150-241mm | f/5 |
| 242-389mm | f/5.6 |
| 390-499mm | f/6.3 |
| 500mm | f/6.7 |
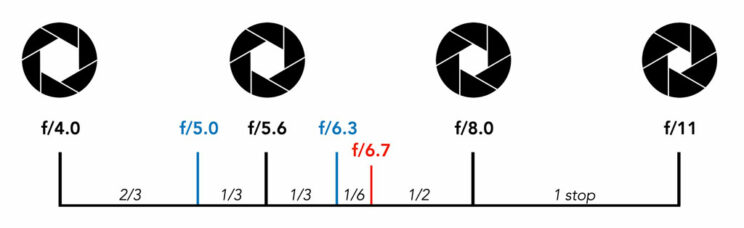
Note that the difference in terms of exposure between f/5 and f/5,6 is small (1/3 of a full stop), and that of f/6.3 and f/6.7 even smaller (about 1/6 of a full stop).

Optical Quality
Sharpness
All the sharpness tests were performed with the A7R III.
Before analysing the images side by side, here is a summary of the performance for each lens with the most important points to remember.
Sony FE 200-600mm Key Takeaways about sharpness:
- optimal sharpness is found at f5.6, f6.3 and f/8 from 200 to 600mm
- At 500mm and 600mm, peak sharpness is at f/8, but f6.3 and f/11 are very close
- f/11 and f/16 deliver decent quality across the entire zoom range
- f/22 delivers softer images due to diffraction, but the quality is acceptable at 600mm
Sigma 150-600mm Key Takeaways about sharpness:
- from 150 to 300mm, peak performance is found at f/5.6
- from 400 to 600mm, the best results are at f/8
- good quality at f/11, decent at f/16
- f22 is softer up to 400mm, but acceptable at 500 and 600mm
Tamron 150-500mm Key Takeaways about sharpness:
- From 200-500mm, sharpness is at its peak at the fastest apertures and f/8
- At 150mm, it is a bit softer at f/5, but it improves from f5.6 already
- f/11 maintains a good level across the entire zoom range, f16 is very decent at 500mm
- f22 is soft, except at 500mm where it is acceptable
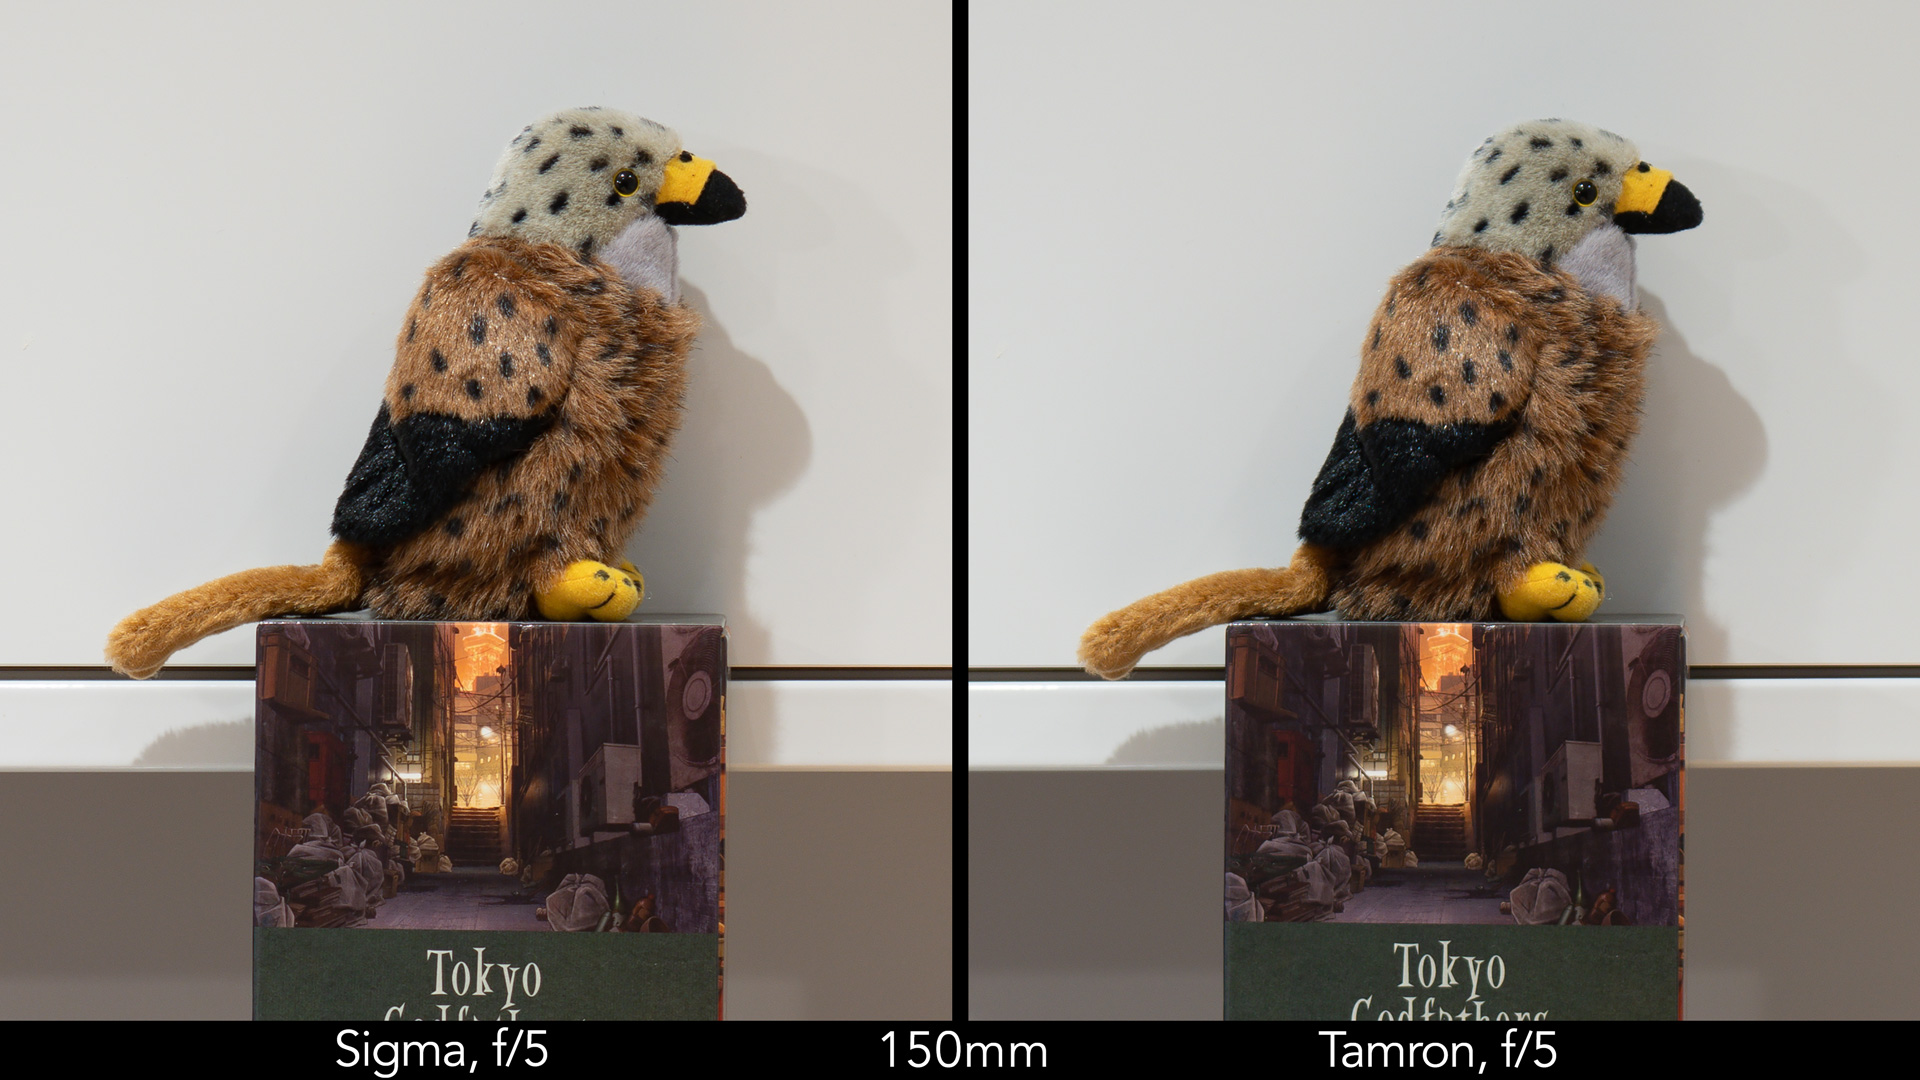
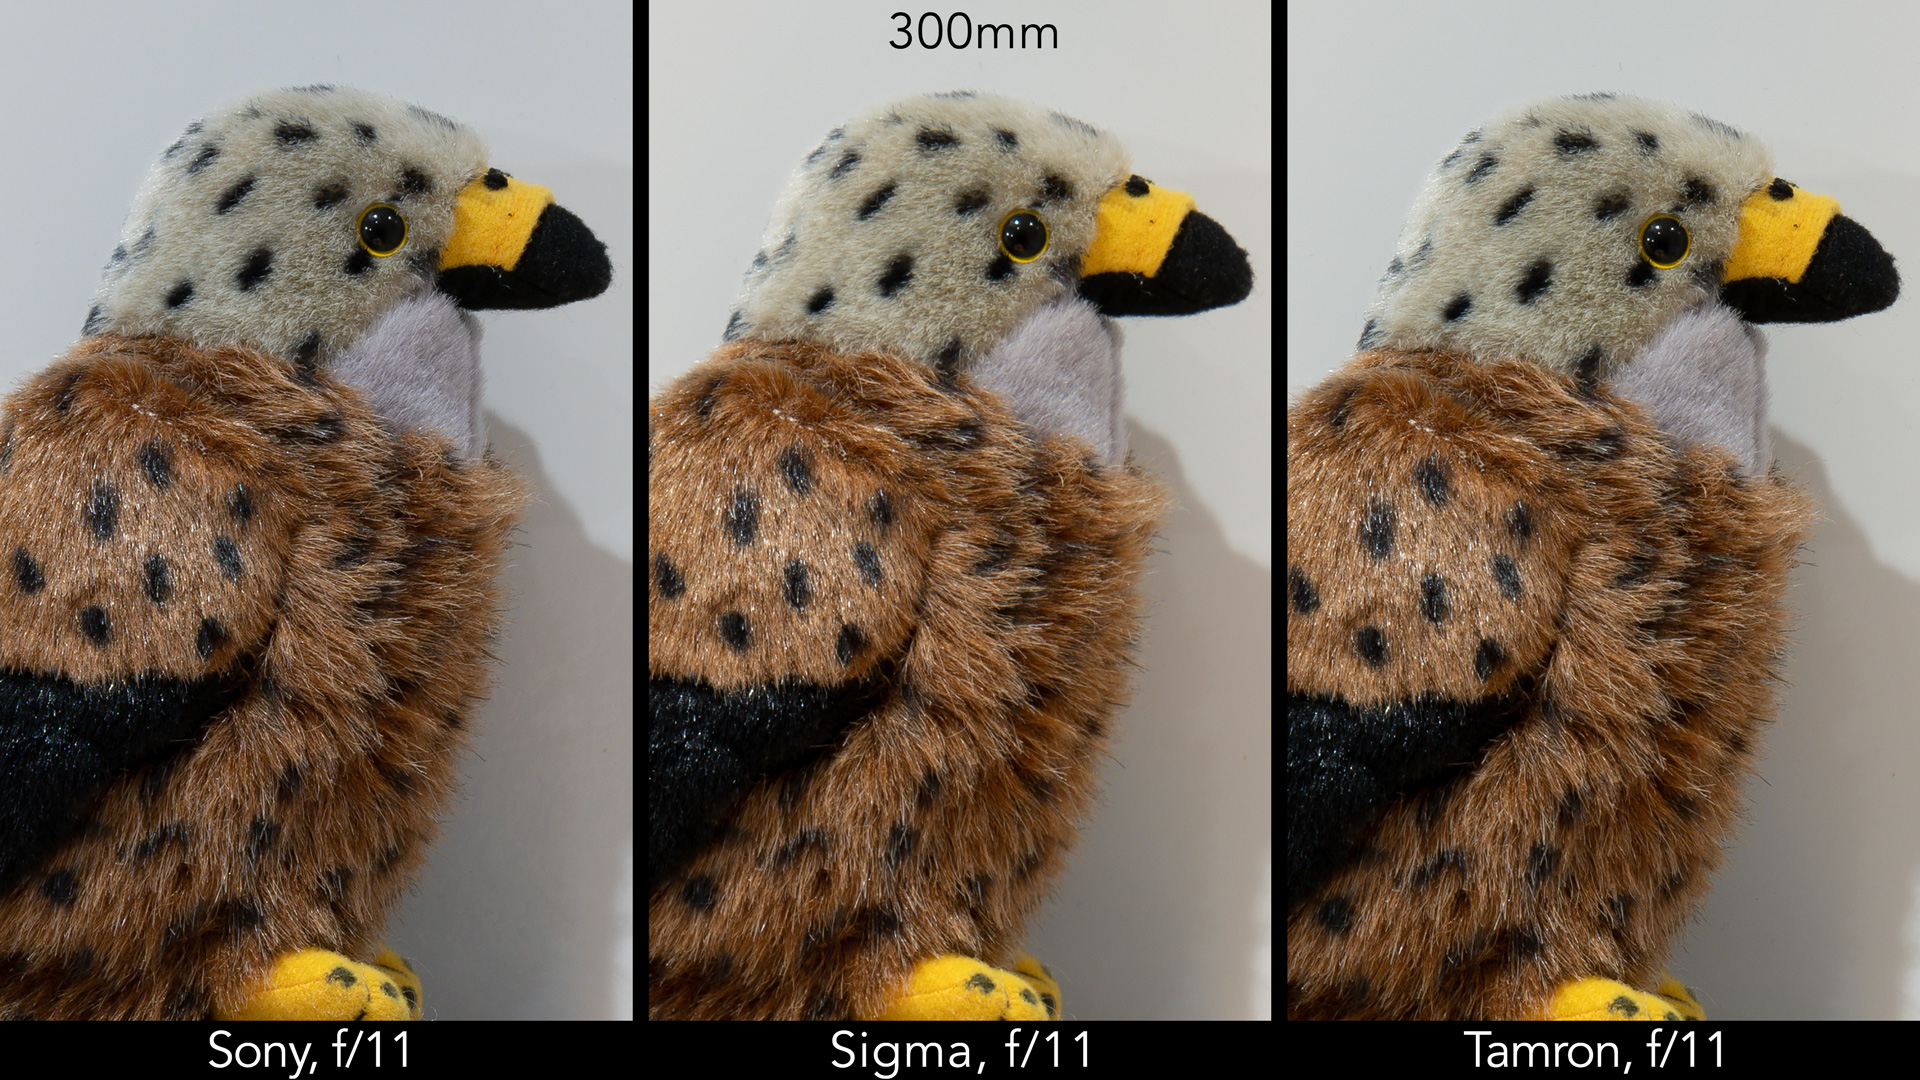
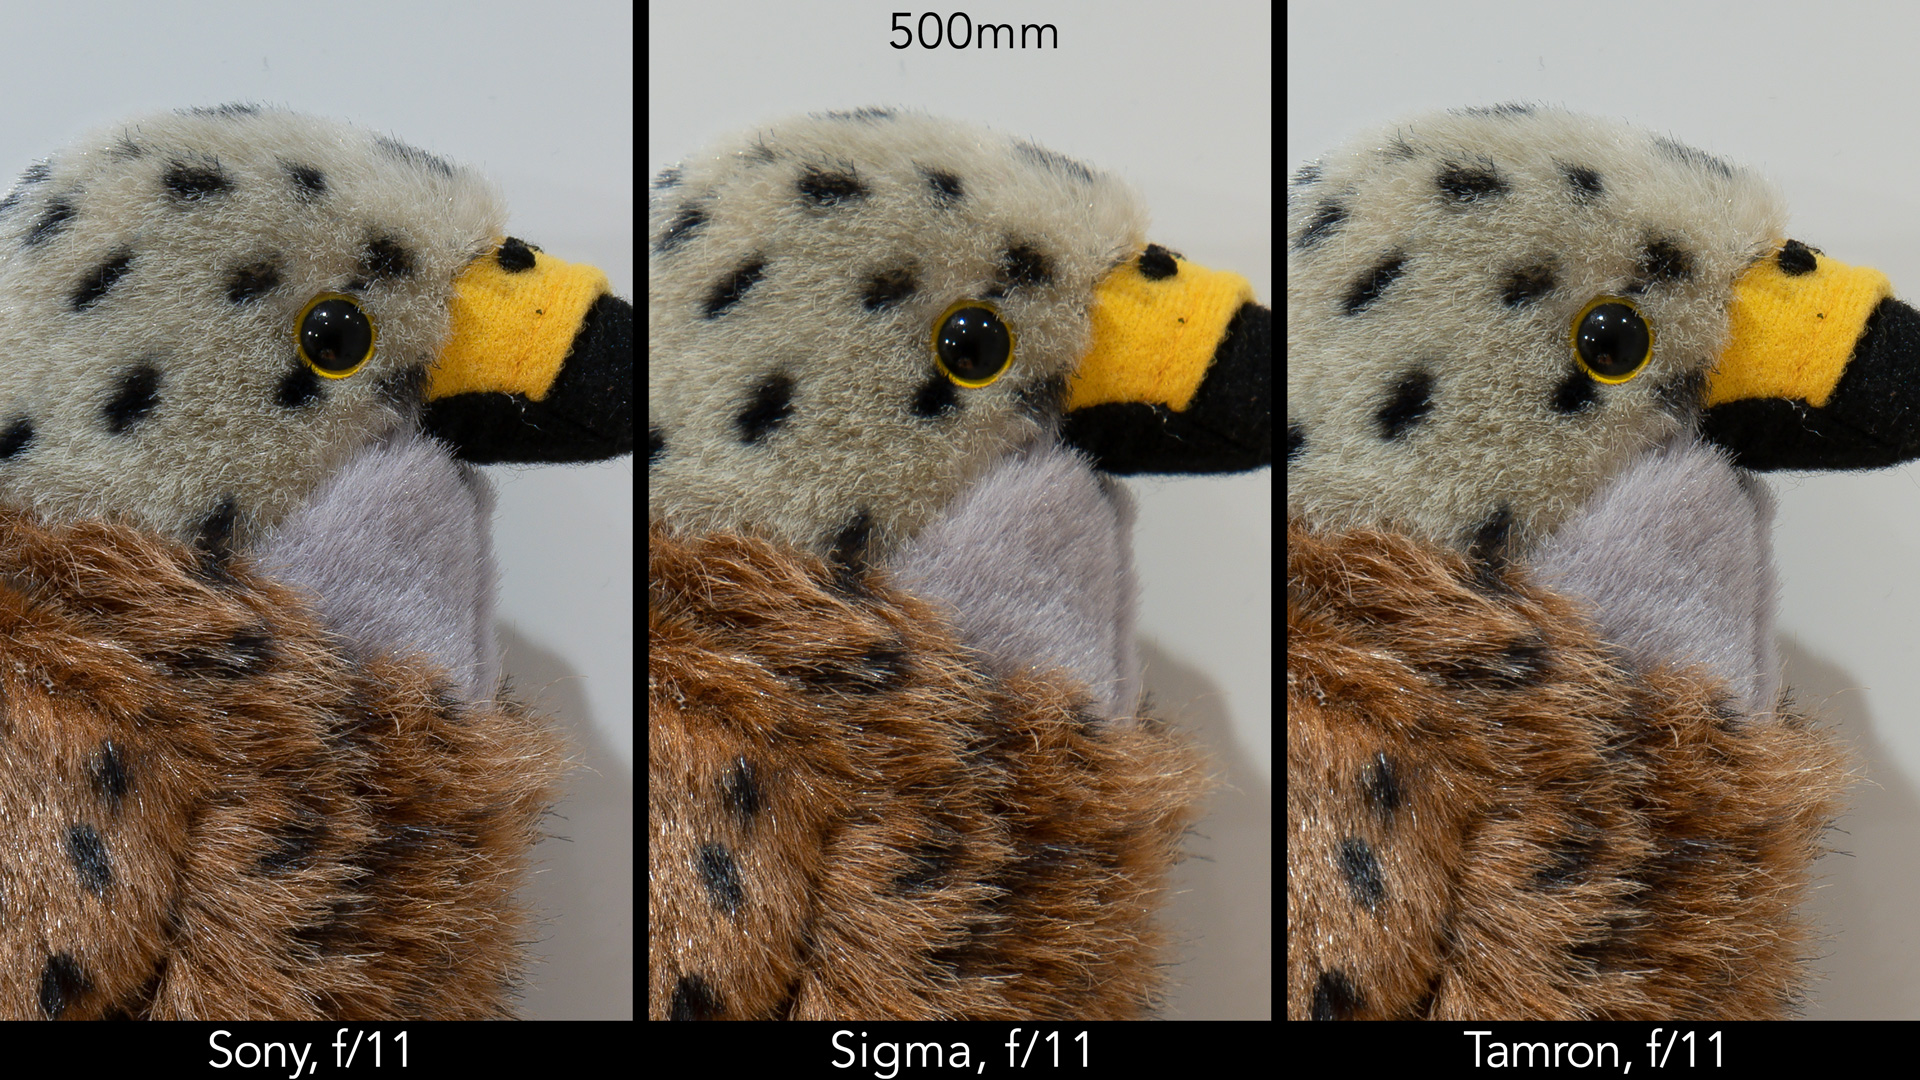
To avoid bloating the article too much, I didn’t include every single aperture and focal length in my side by side shots. Instead, I concentrated on the examples that show you the most important differences between the three lenses.
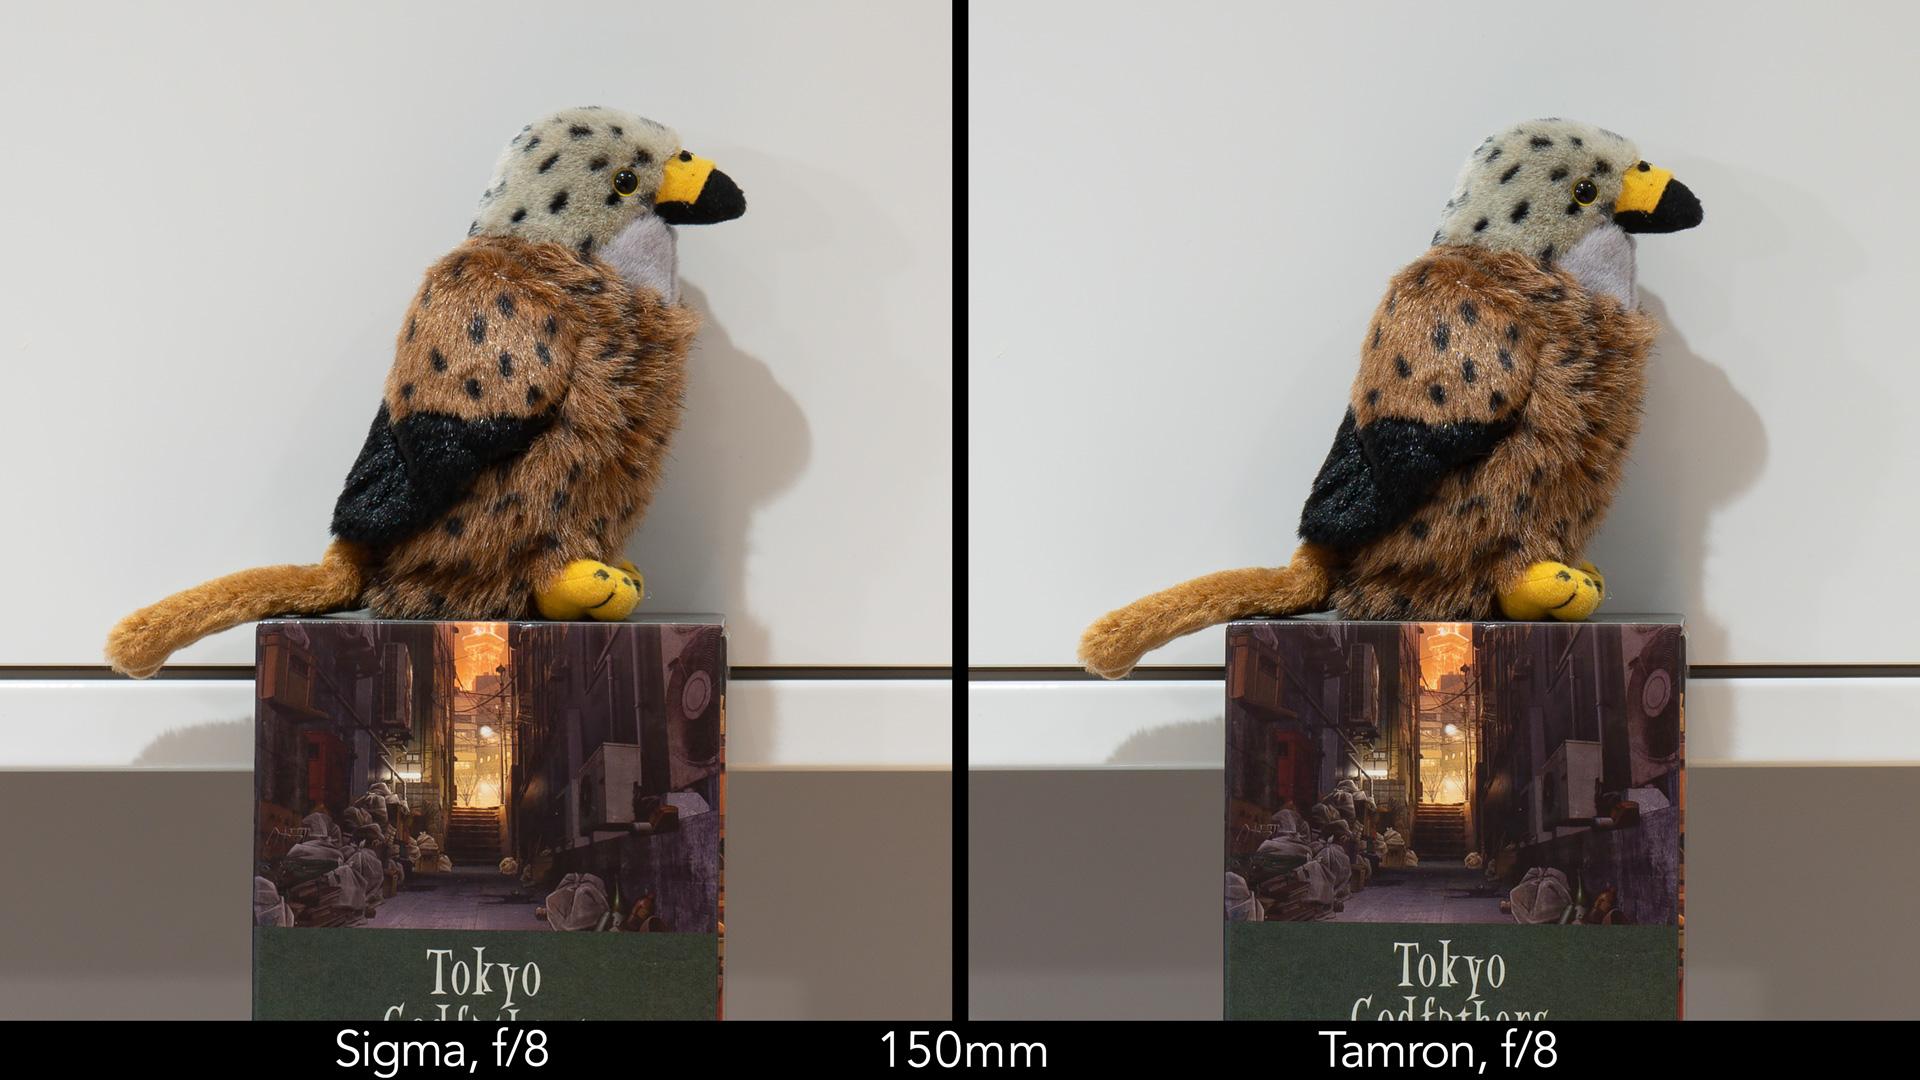
At 150mm, the Sigma is a bit sharper at f/5 and f/5.6, then it is the Tamron that has a small advantage at f/8. Either way, we’re talking about small differences that are not easy to detect at first glance. The quality is very similar at f/11, f/16 and f/22.

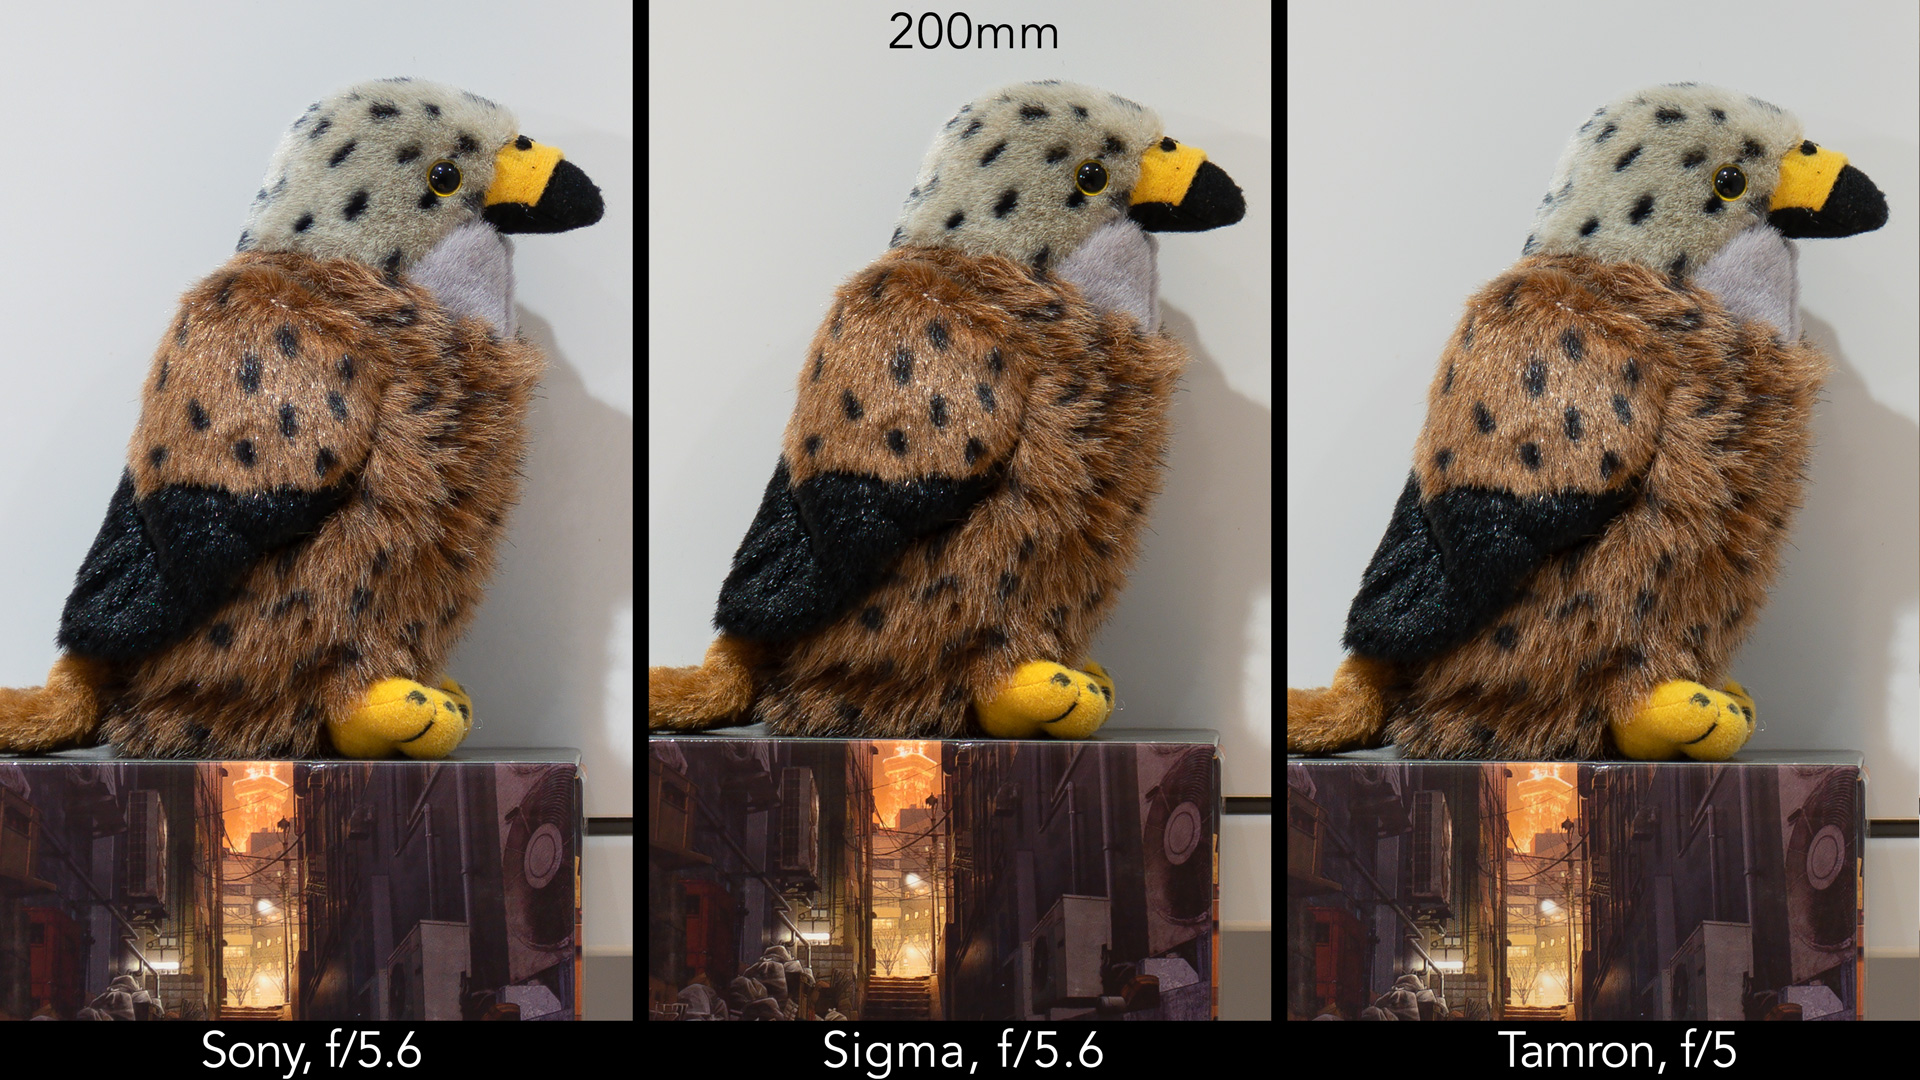
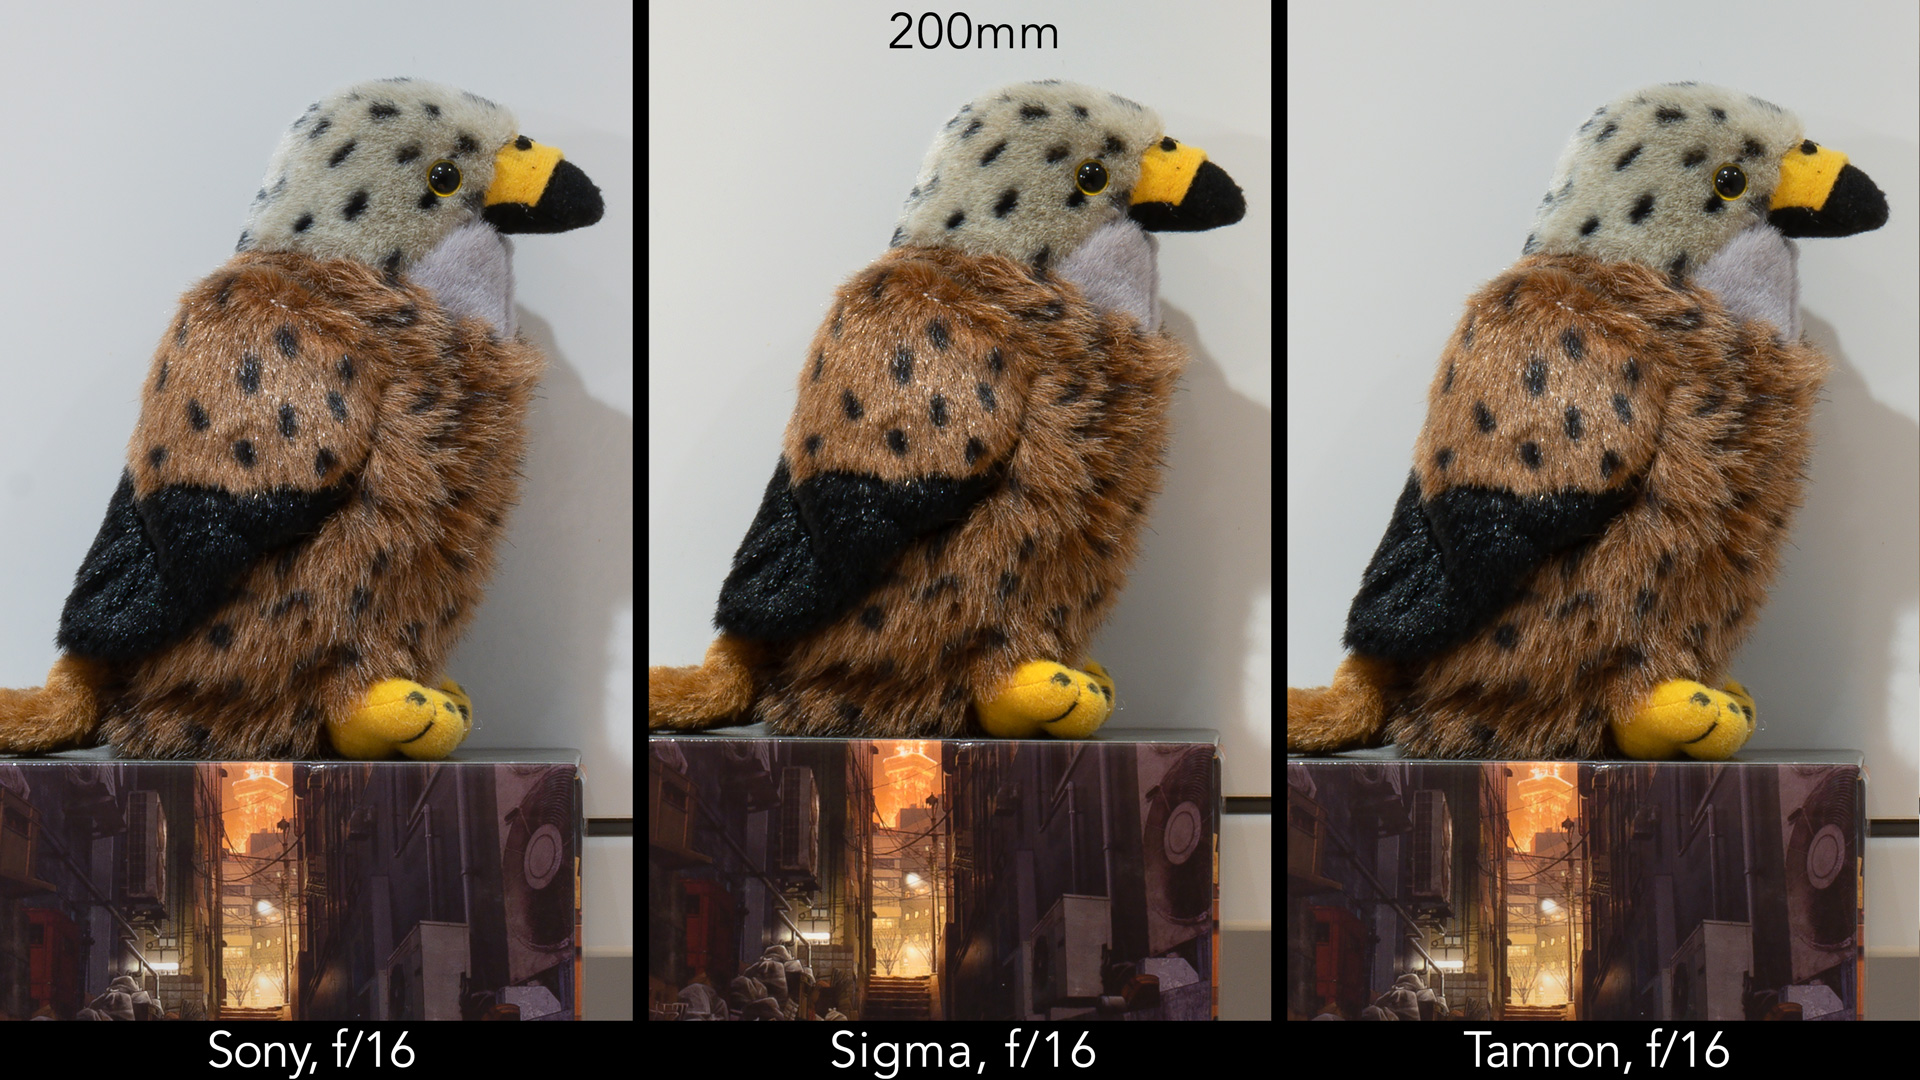
At 200mm, they all share similar results at f/5 and/or f5.6. At f/8, the Tamron is a bit softer, whereas at f/11 and f/16 the Sony does slightly better. Again, we’re talking about very small differences.


At 300mm, the level of sharpness is nearly identical at f/5.6 and f/6.3. At f/8 and f/11, the Sigma is a bit softer than the other two lenses. At f/16 and f/22, they are all very close again.


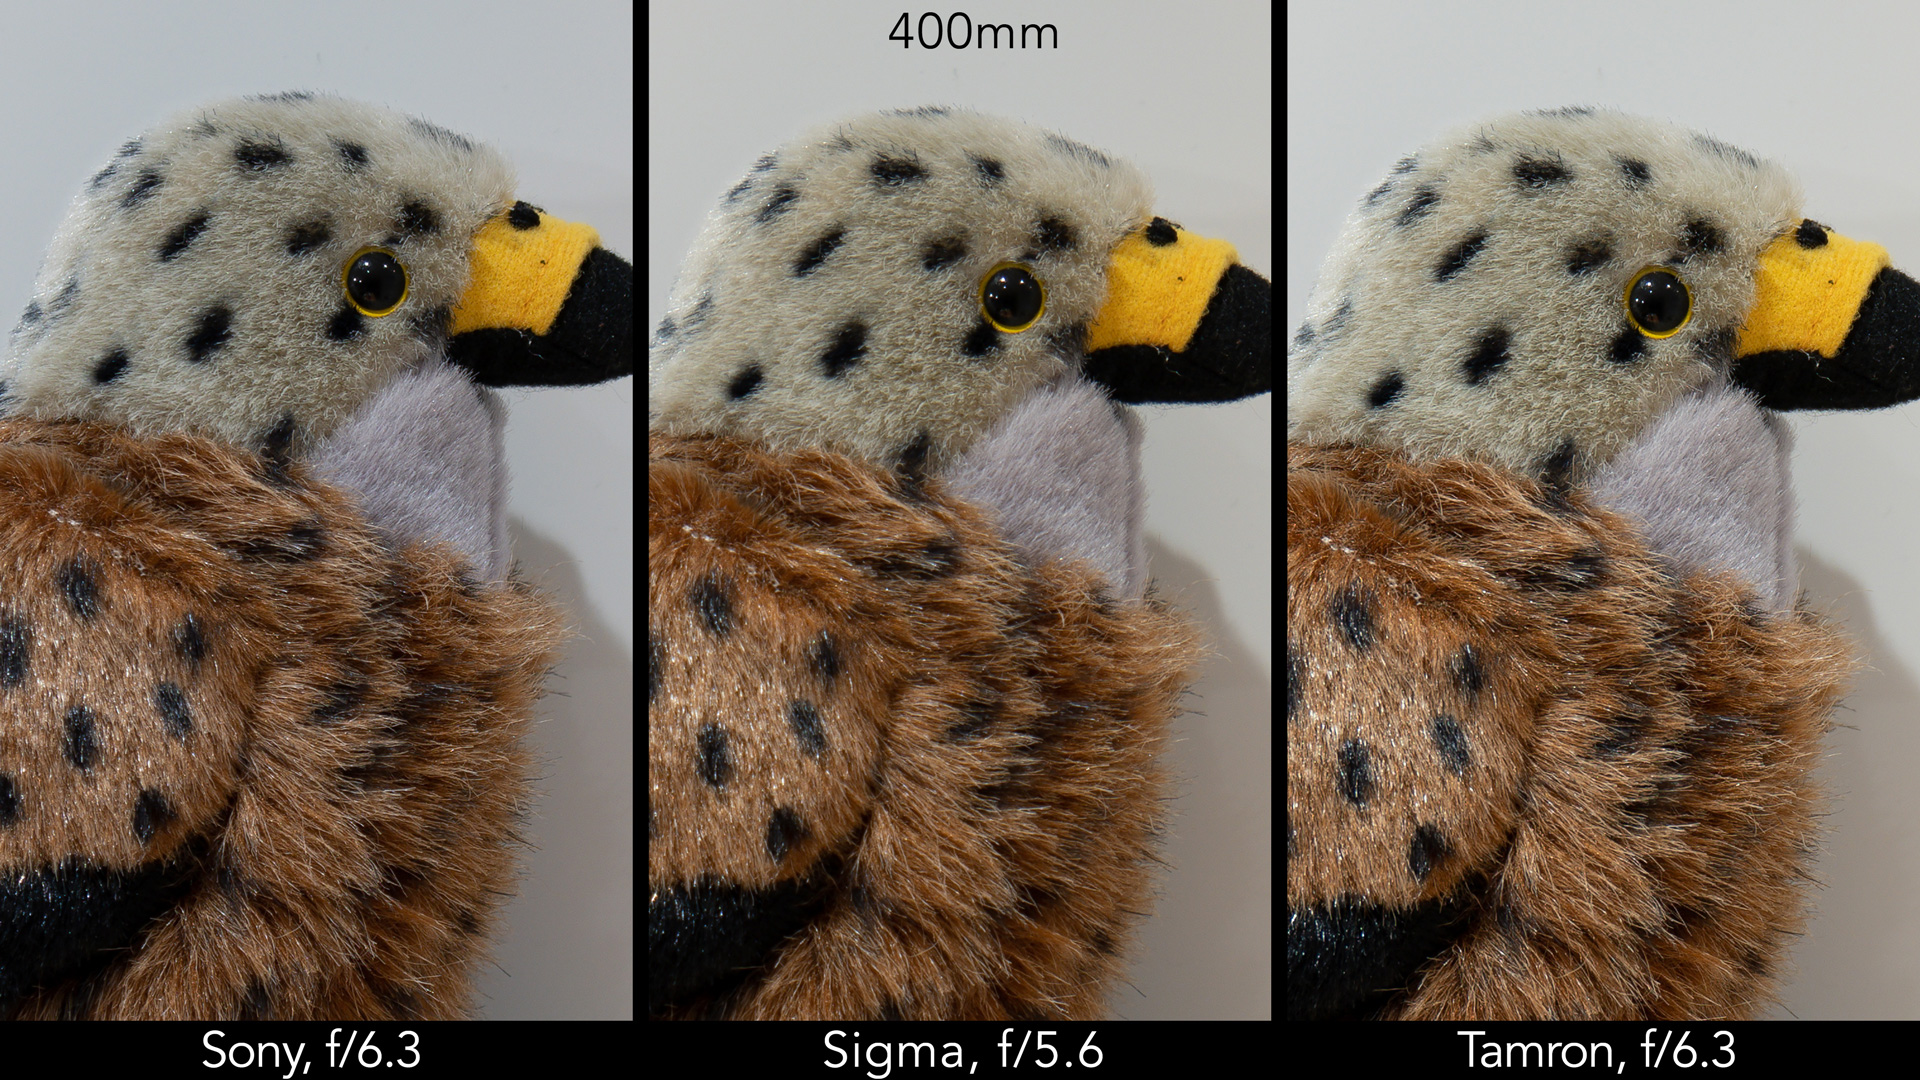
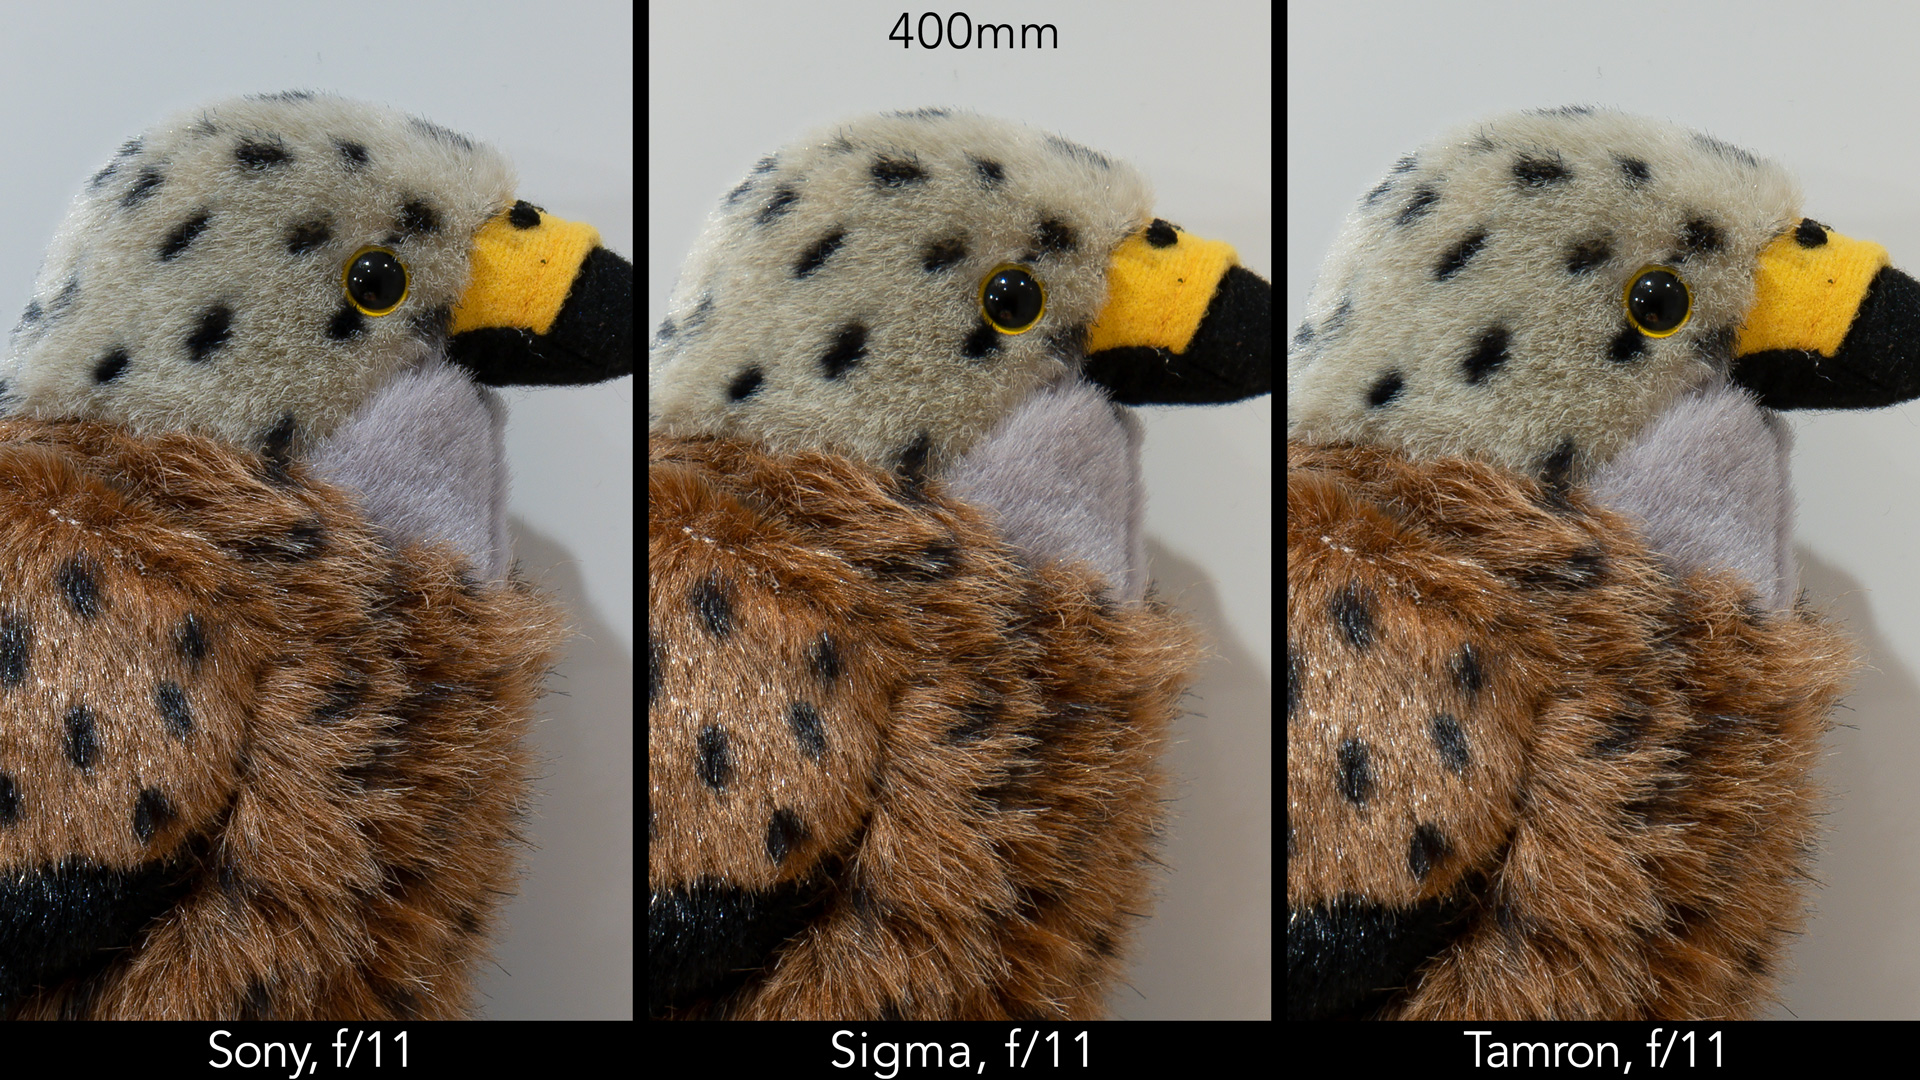
At 400mm, the Tamron has the edge at f6.3, and the Sony does better than the Sigma. Once again, we’re talking about small differences. At f/8 and f/11, the Sigma is slightly behind the other two zooms.

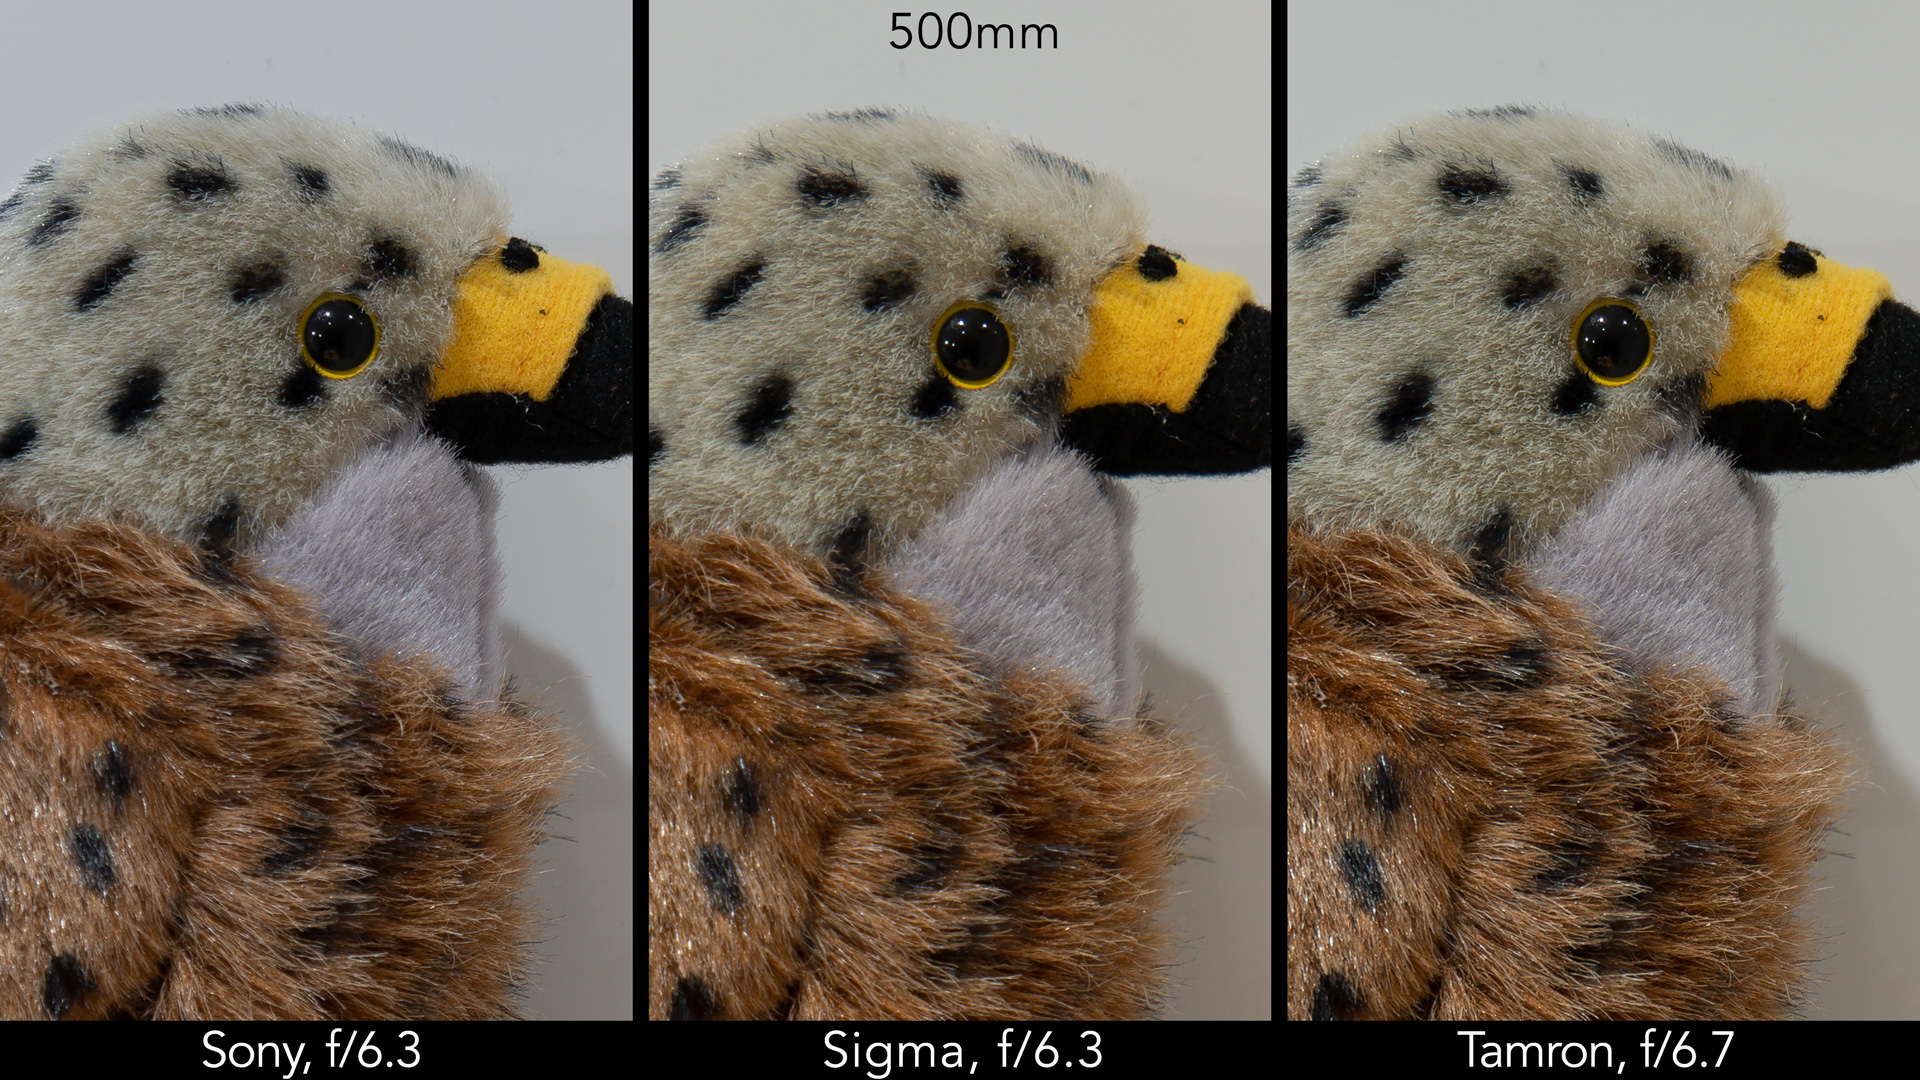
At 500mm, the Tamron really starts to shine at the fastest aperture, but the other two lenses are close. From f/8 to f/16, the Sony and the Tamron are at the same level, with the Sigma right behind them.

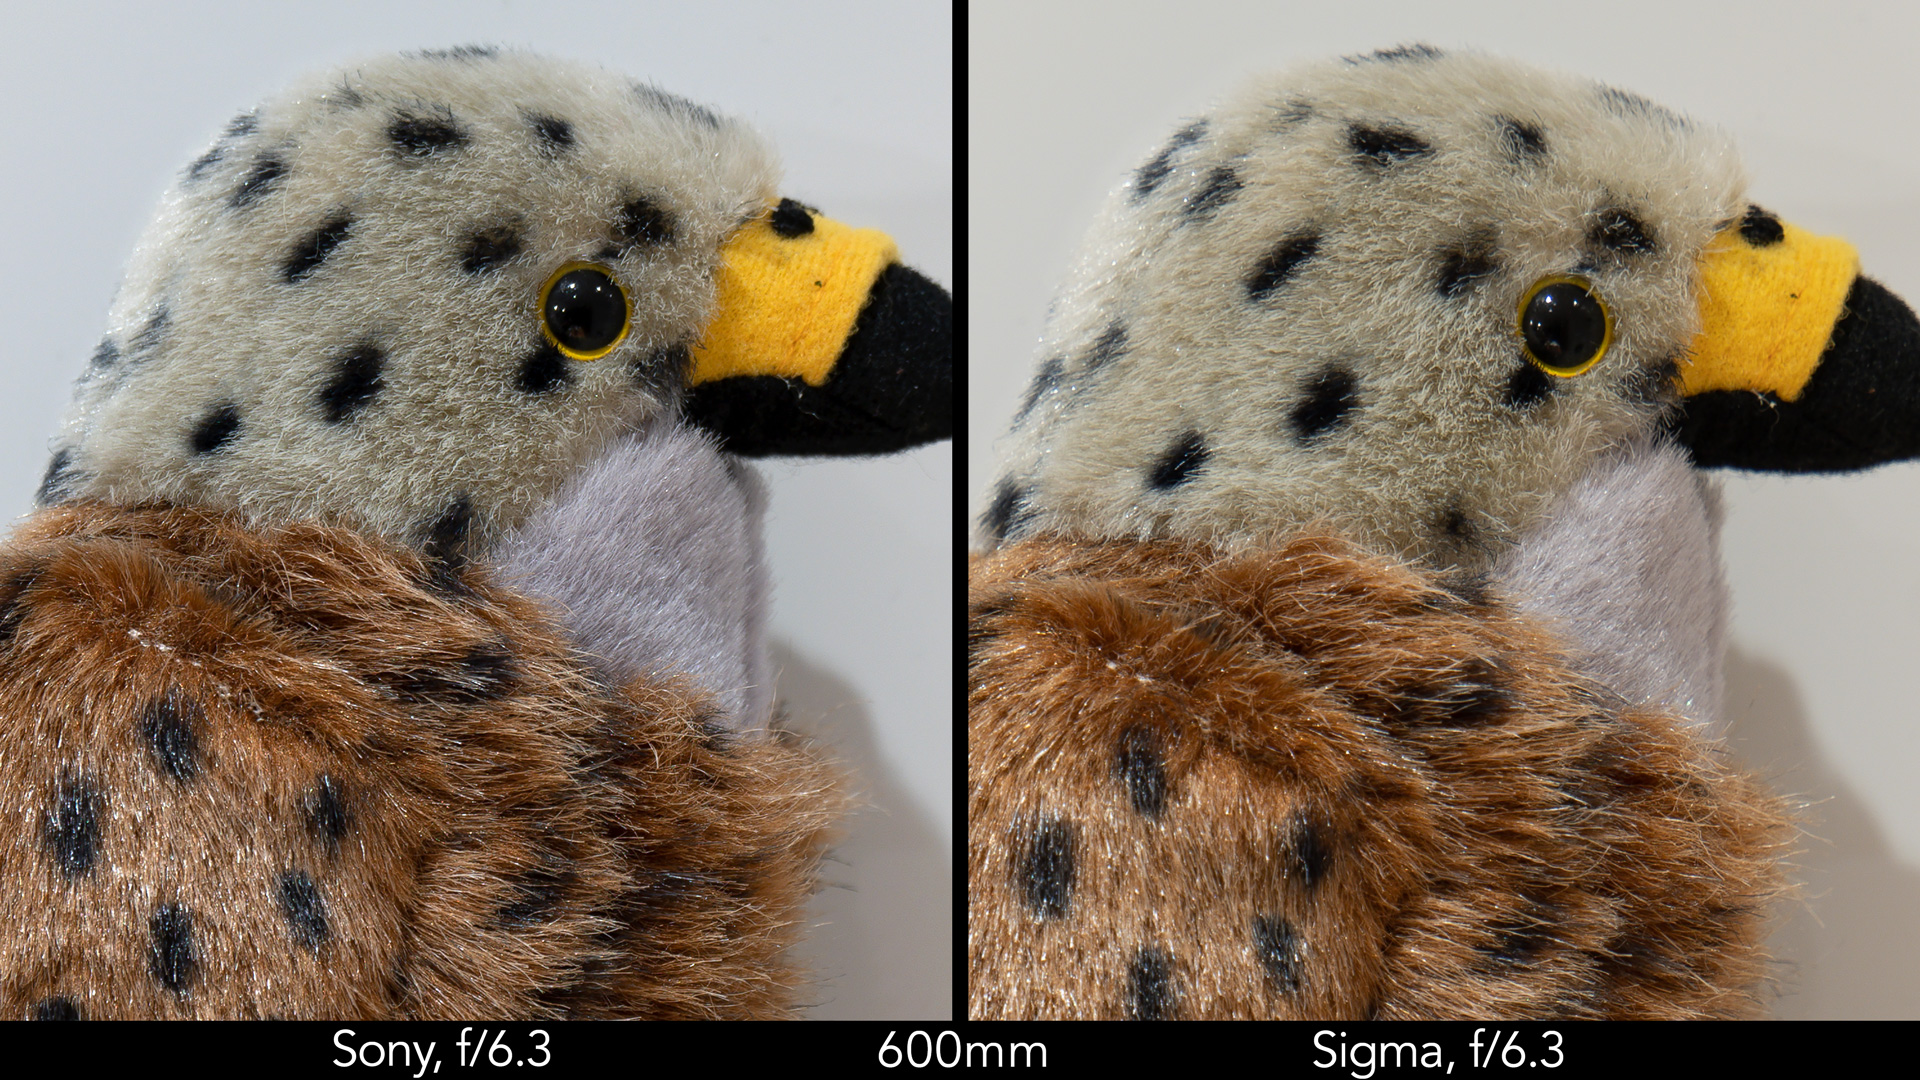
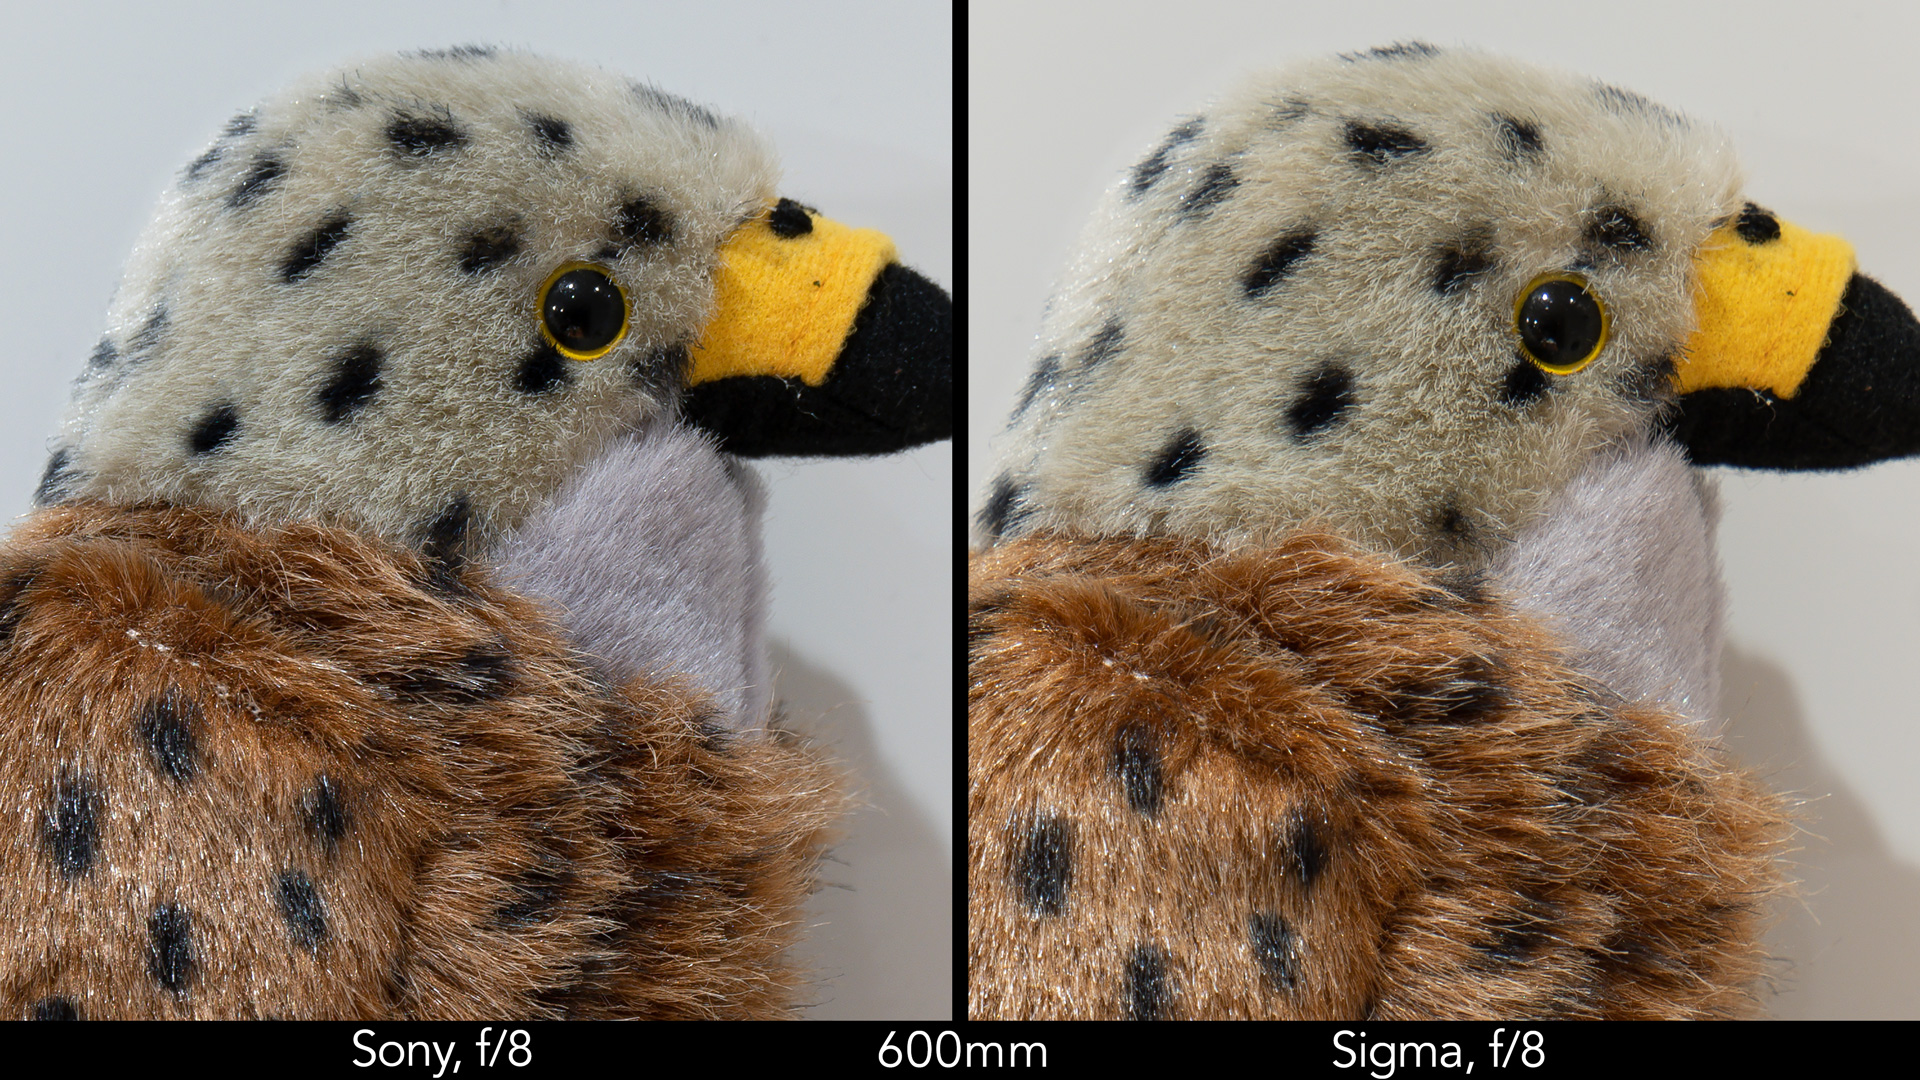
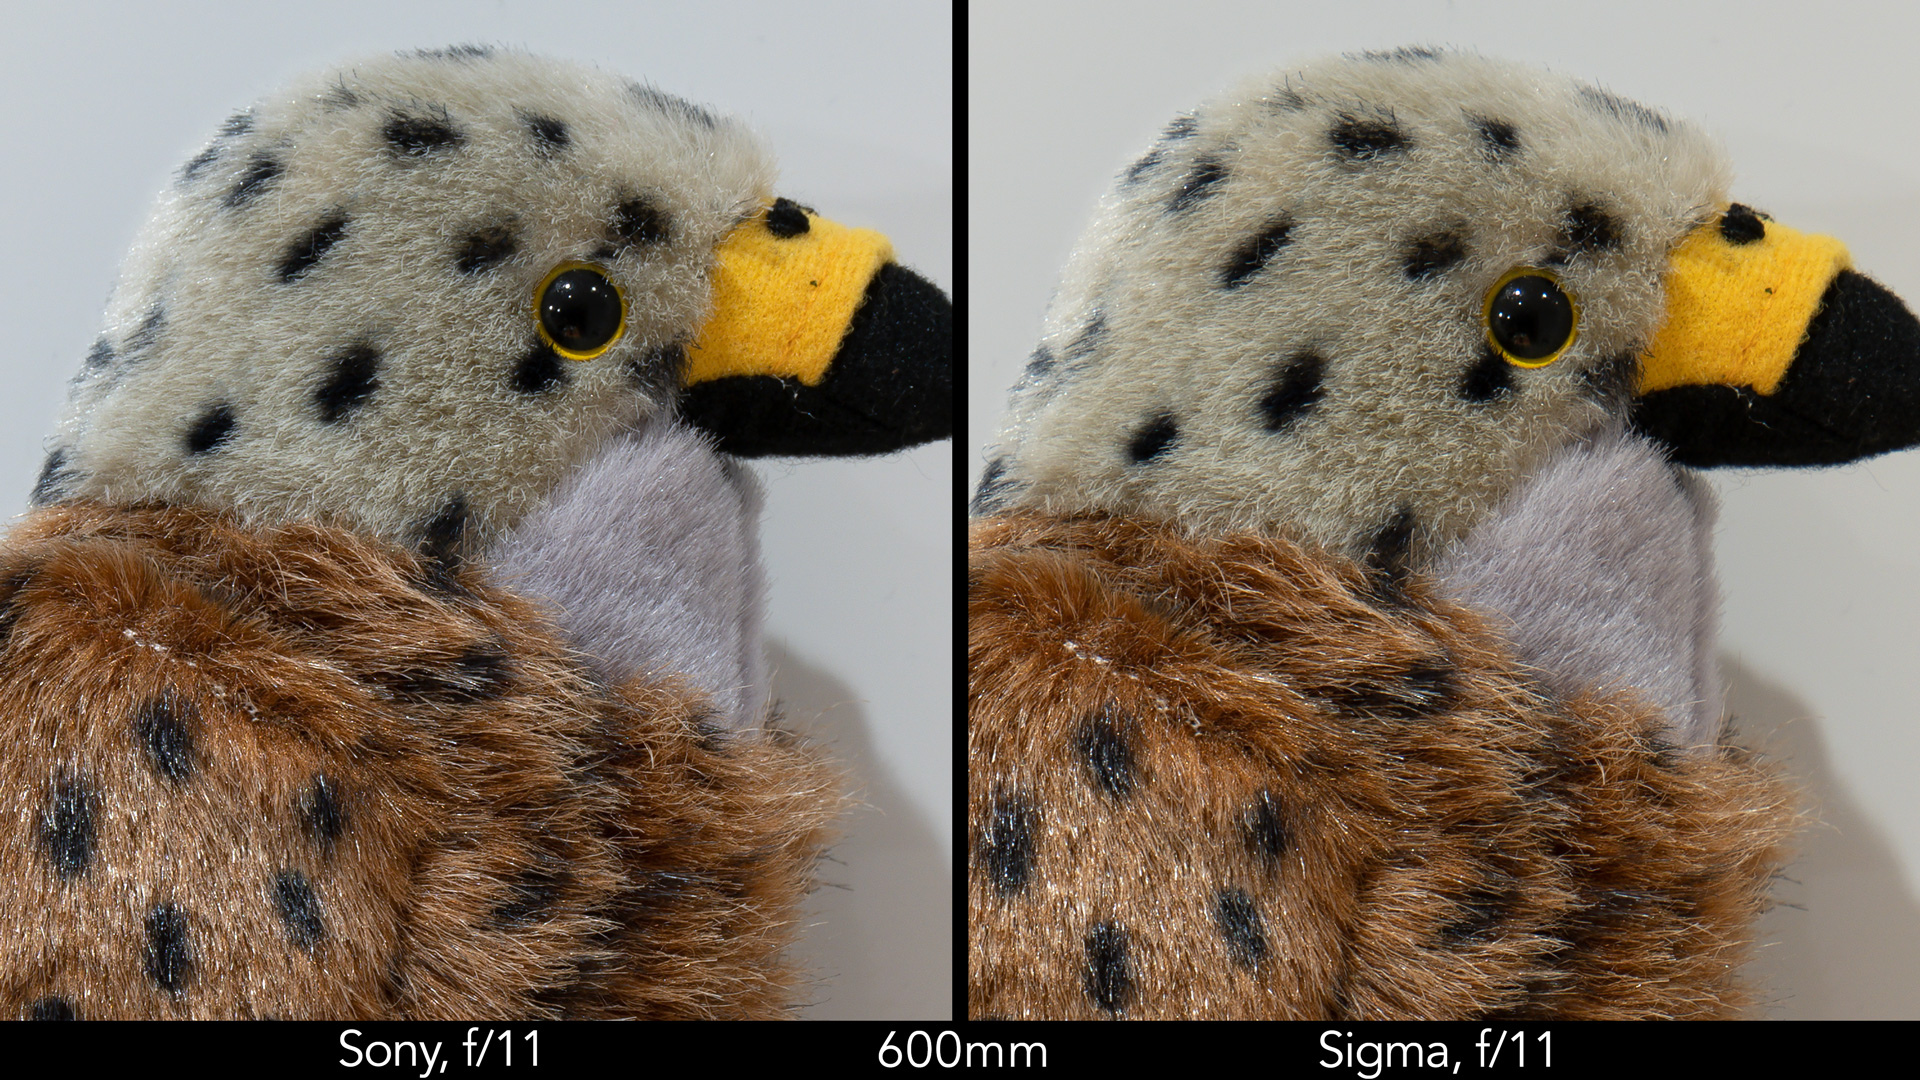
Finally, at 600mm, the Sony is the sharpest by a small margin, whereas from f/8 to f/11 both the Sigma and Sony are at the same level.
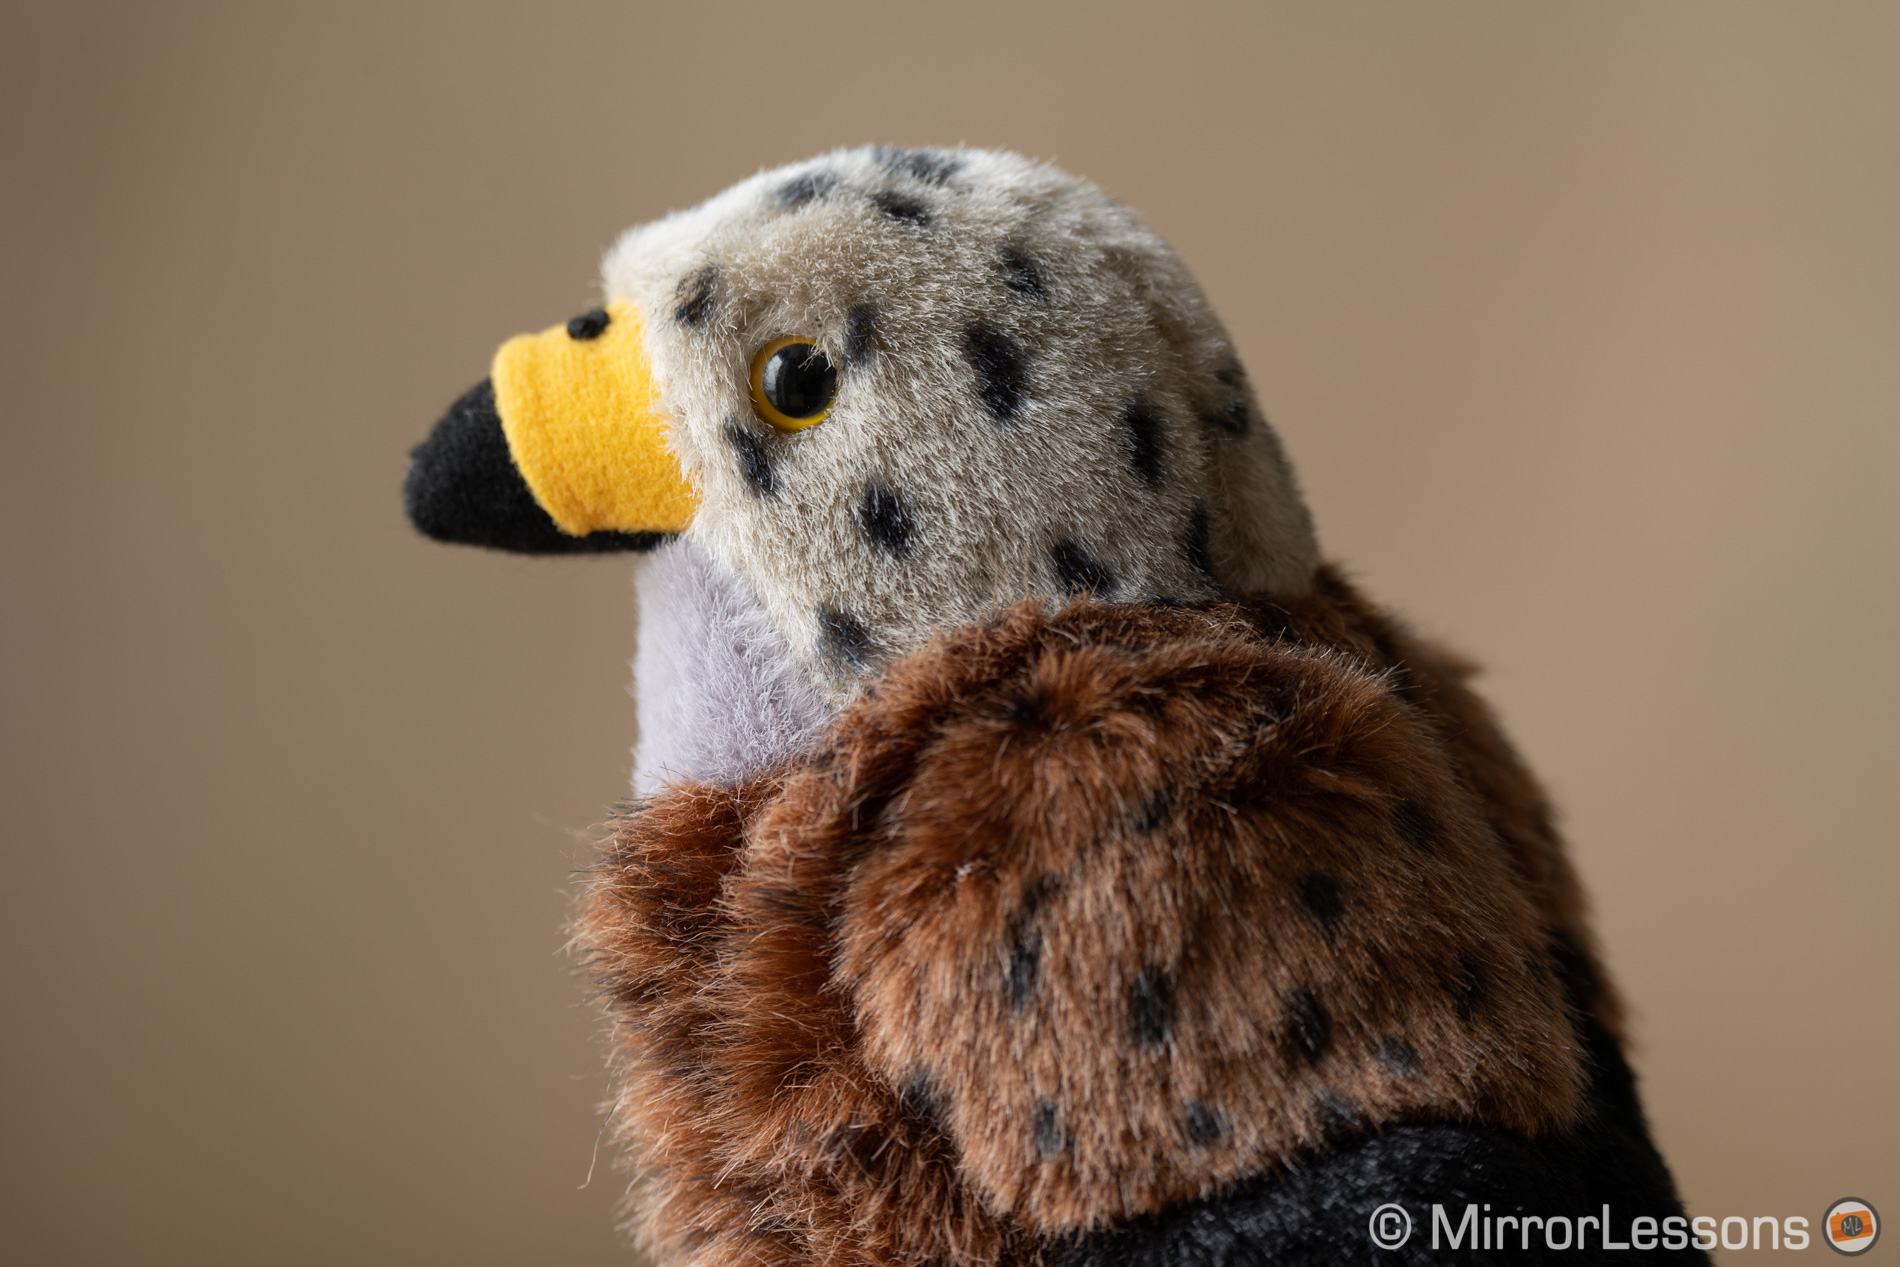
Bokeh
These are not lenses that deliver outstanding bokeh and creamy out of focus areas. In fact, on many occasions, you’ll have to deal with an out-of-focus background that appears more distracting than you would like it to be but, to be honest, it’s no different from what I saw on other lenses of this kind. In this respect, the three zooms deliver similar results.
Of course, when you zoom all the way in, or have a more distant background, the blur intensity will increase and make the background less distracting.
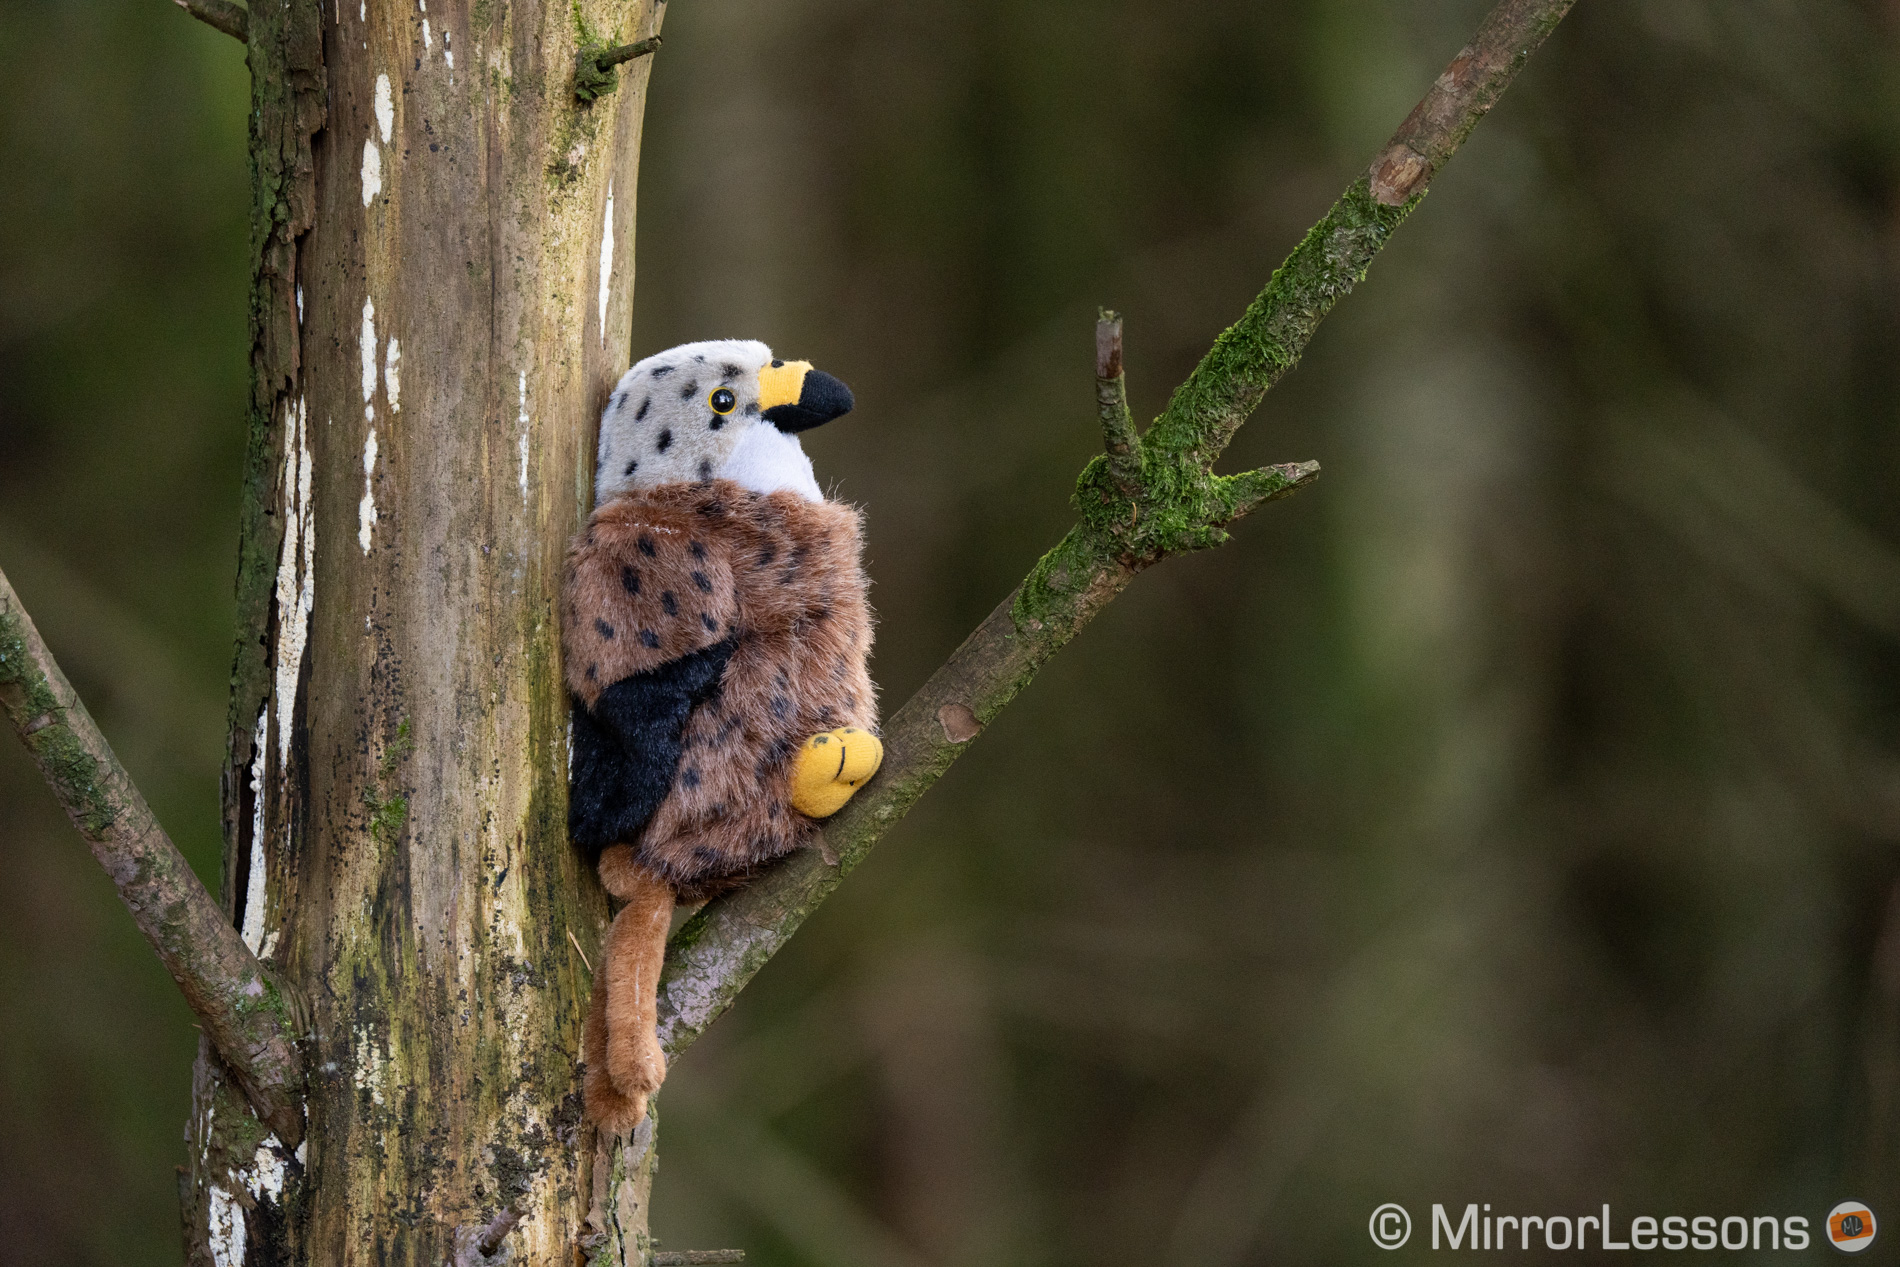
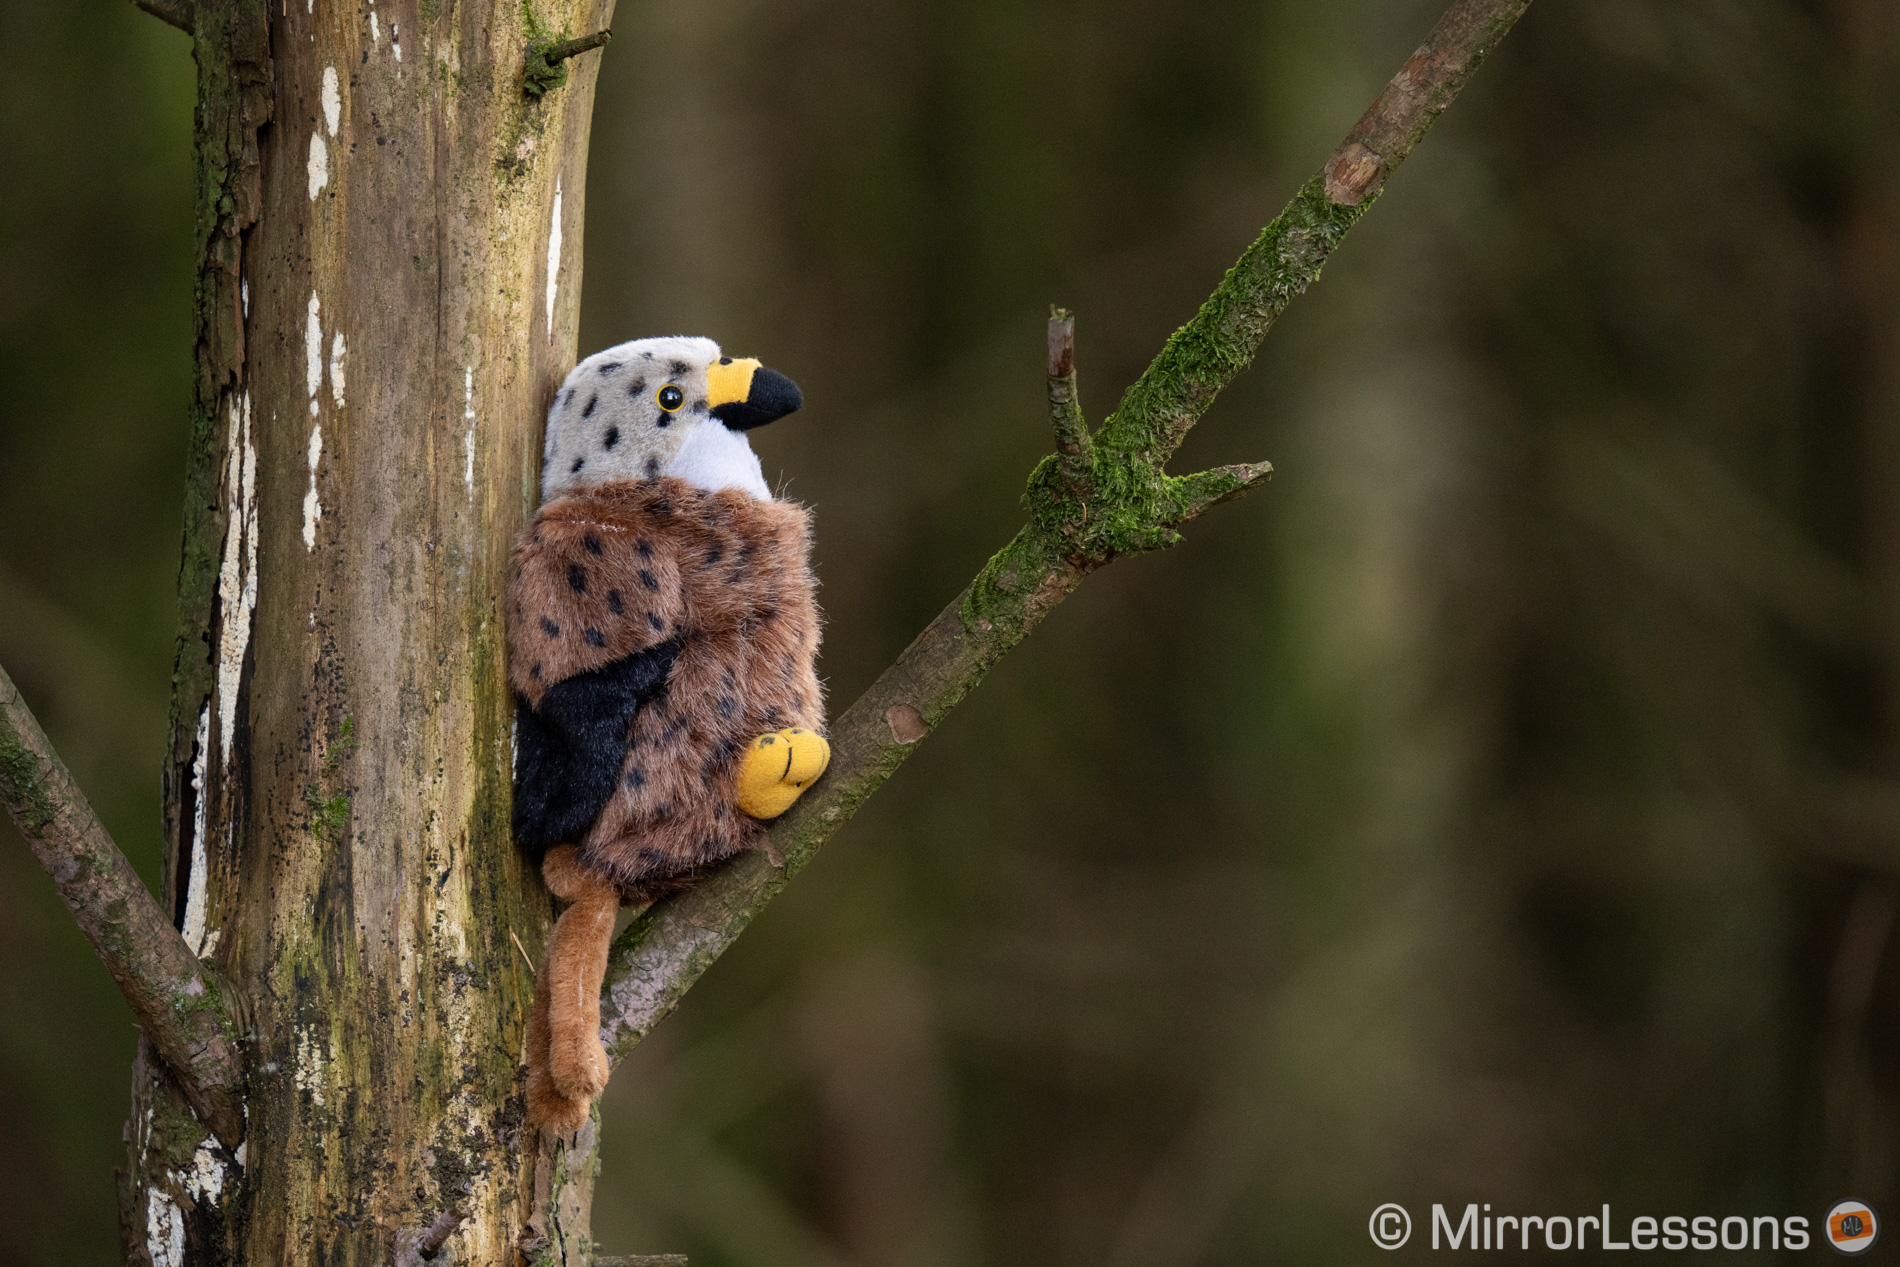
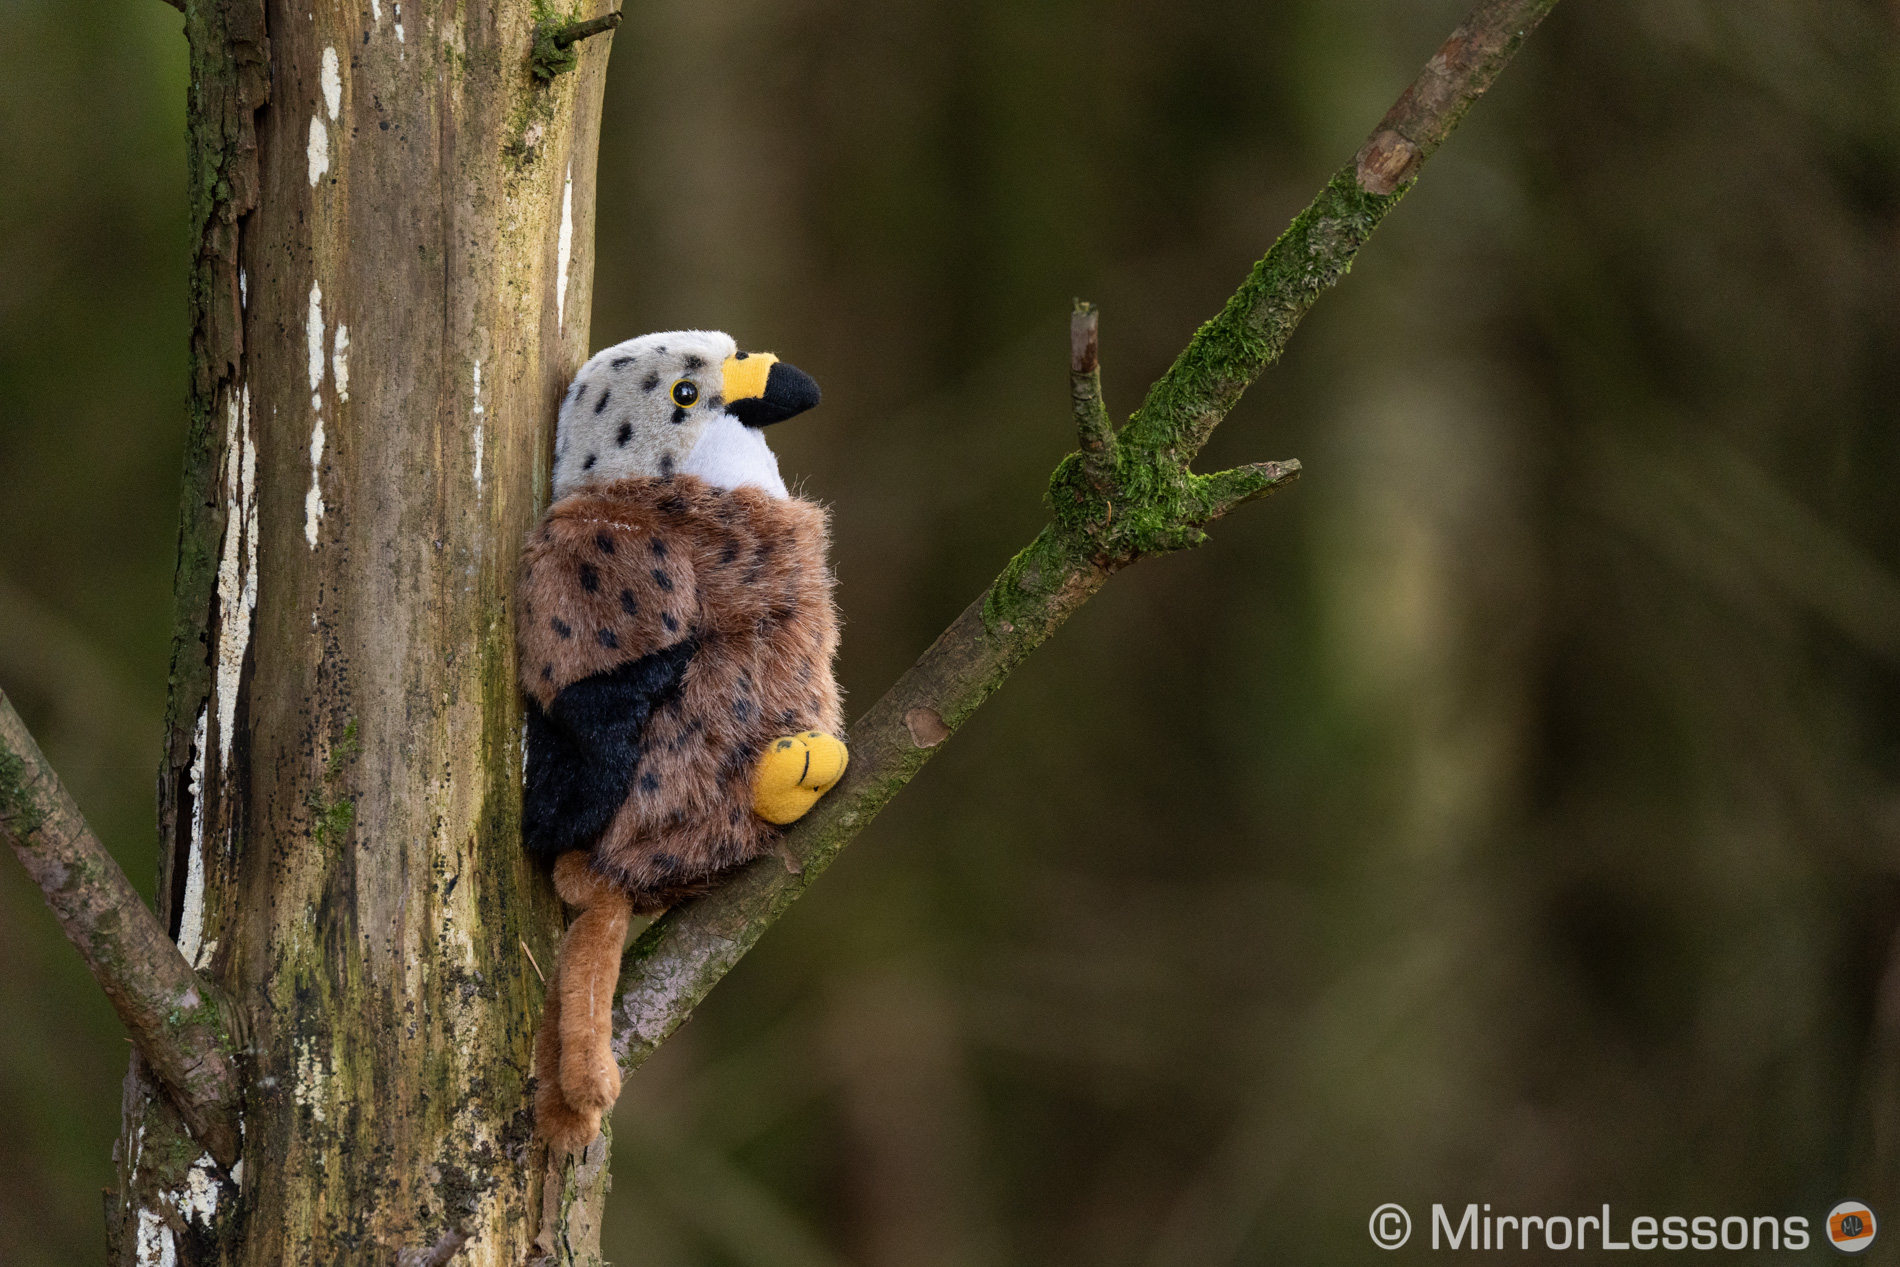
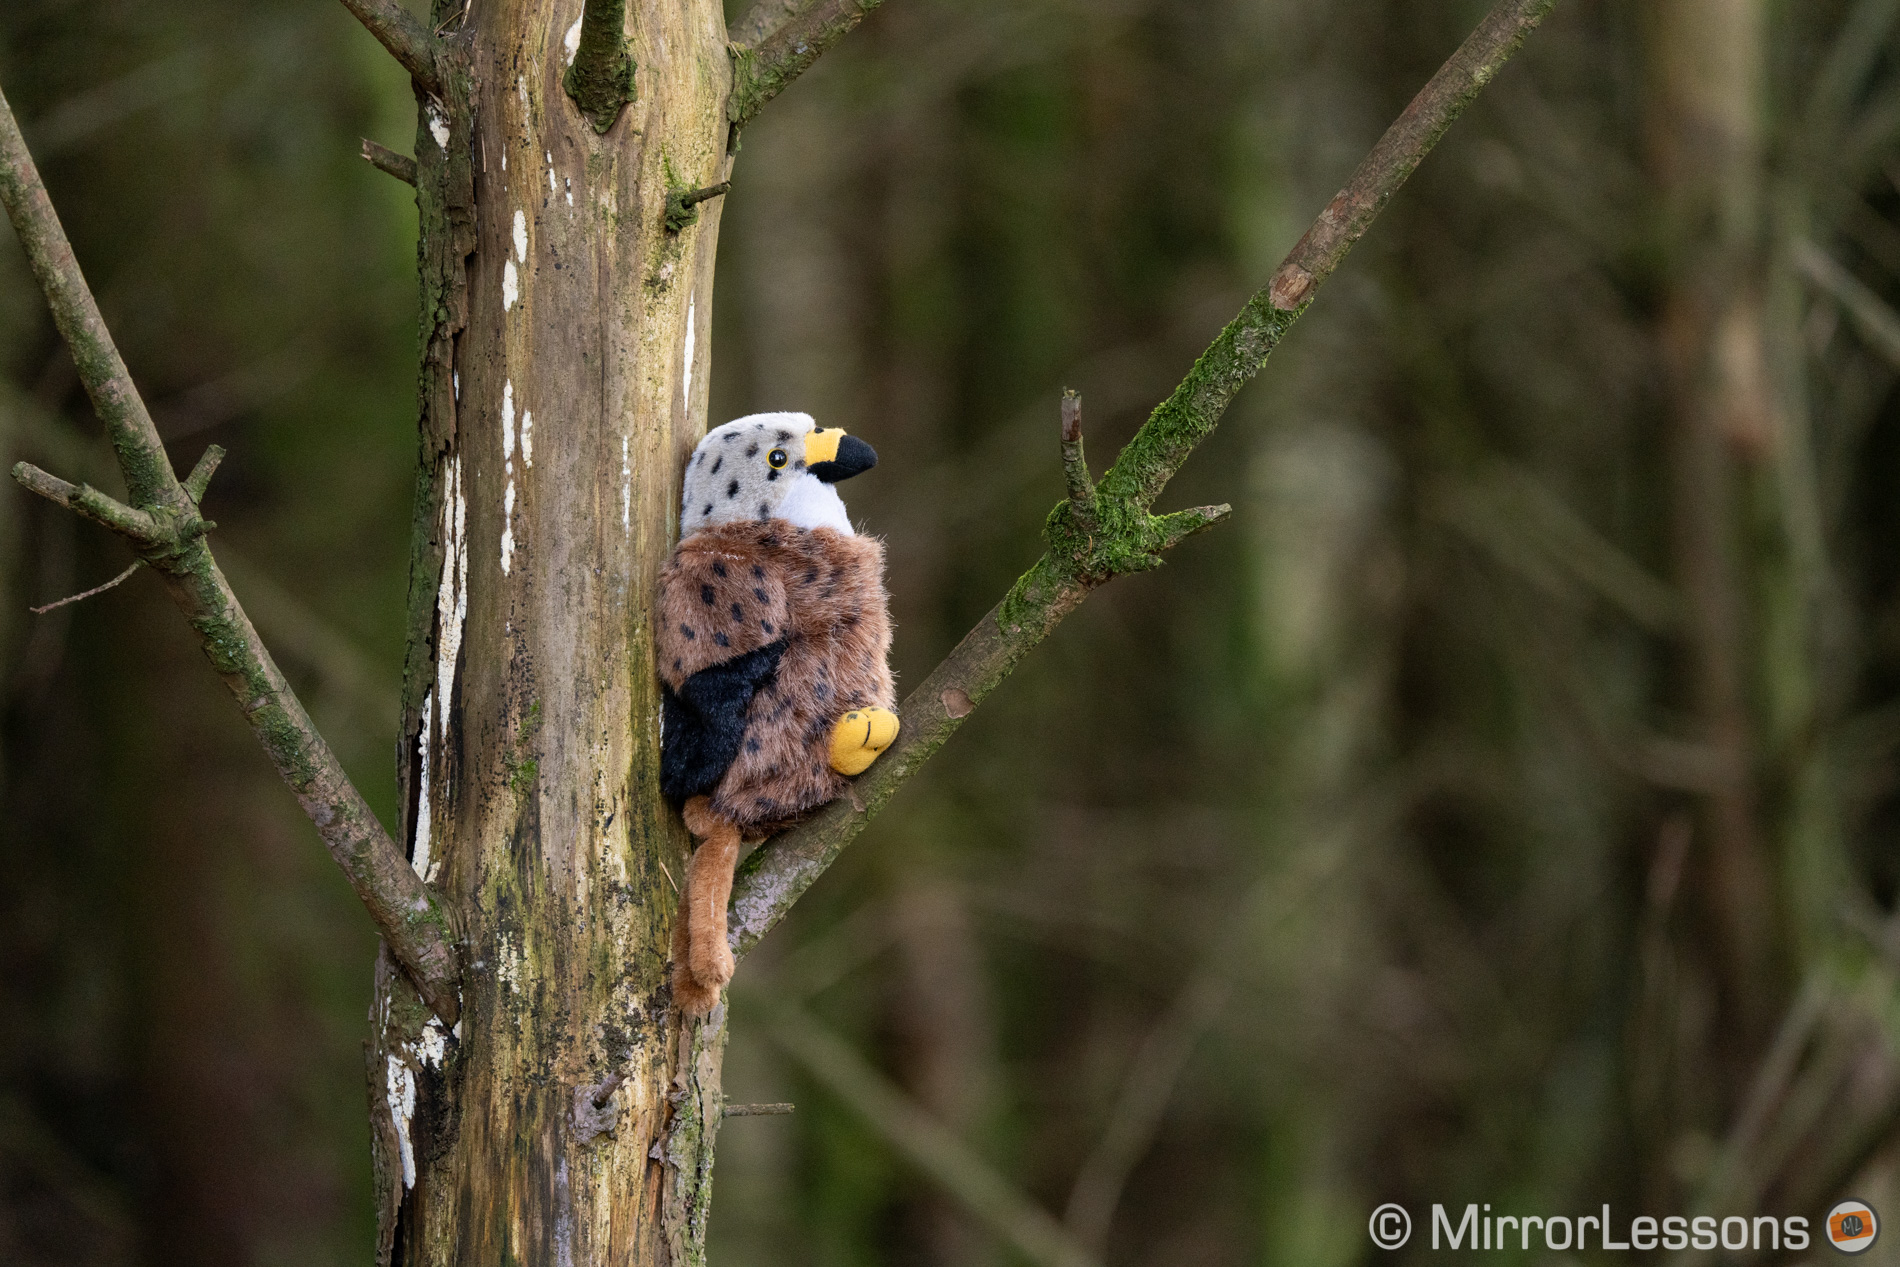
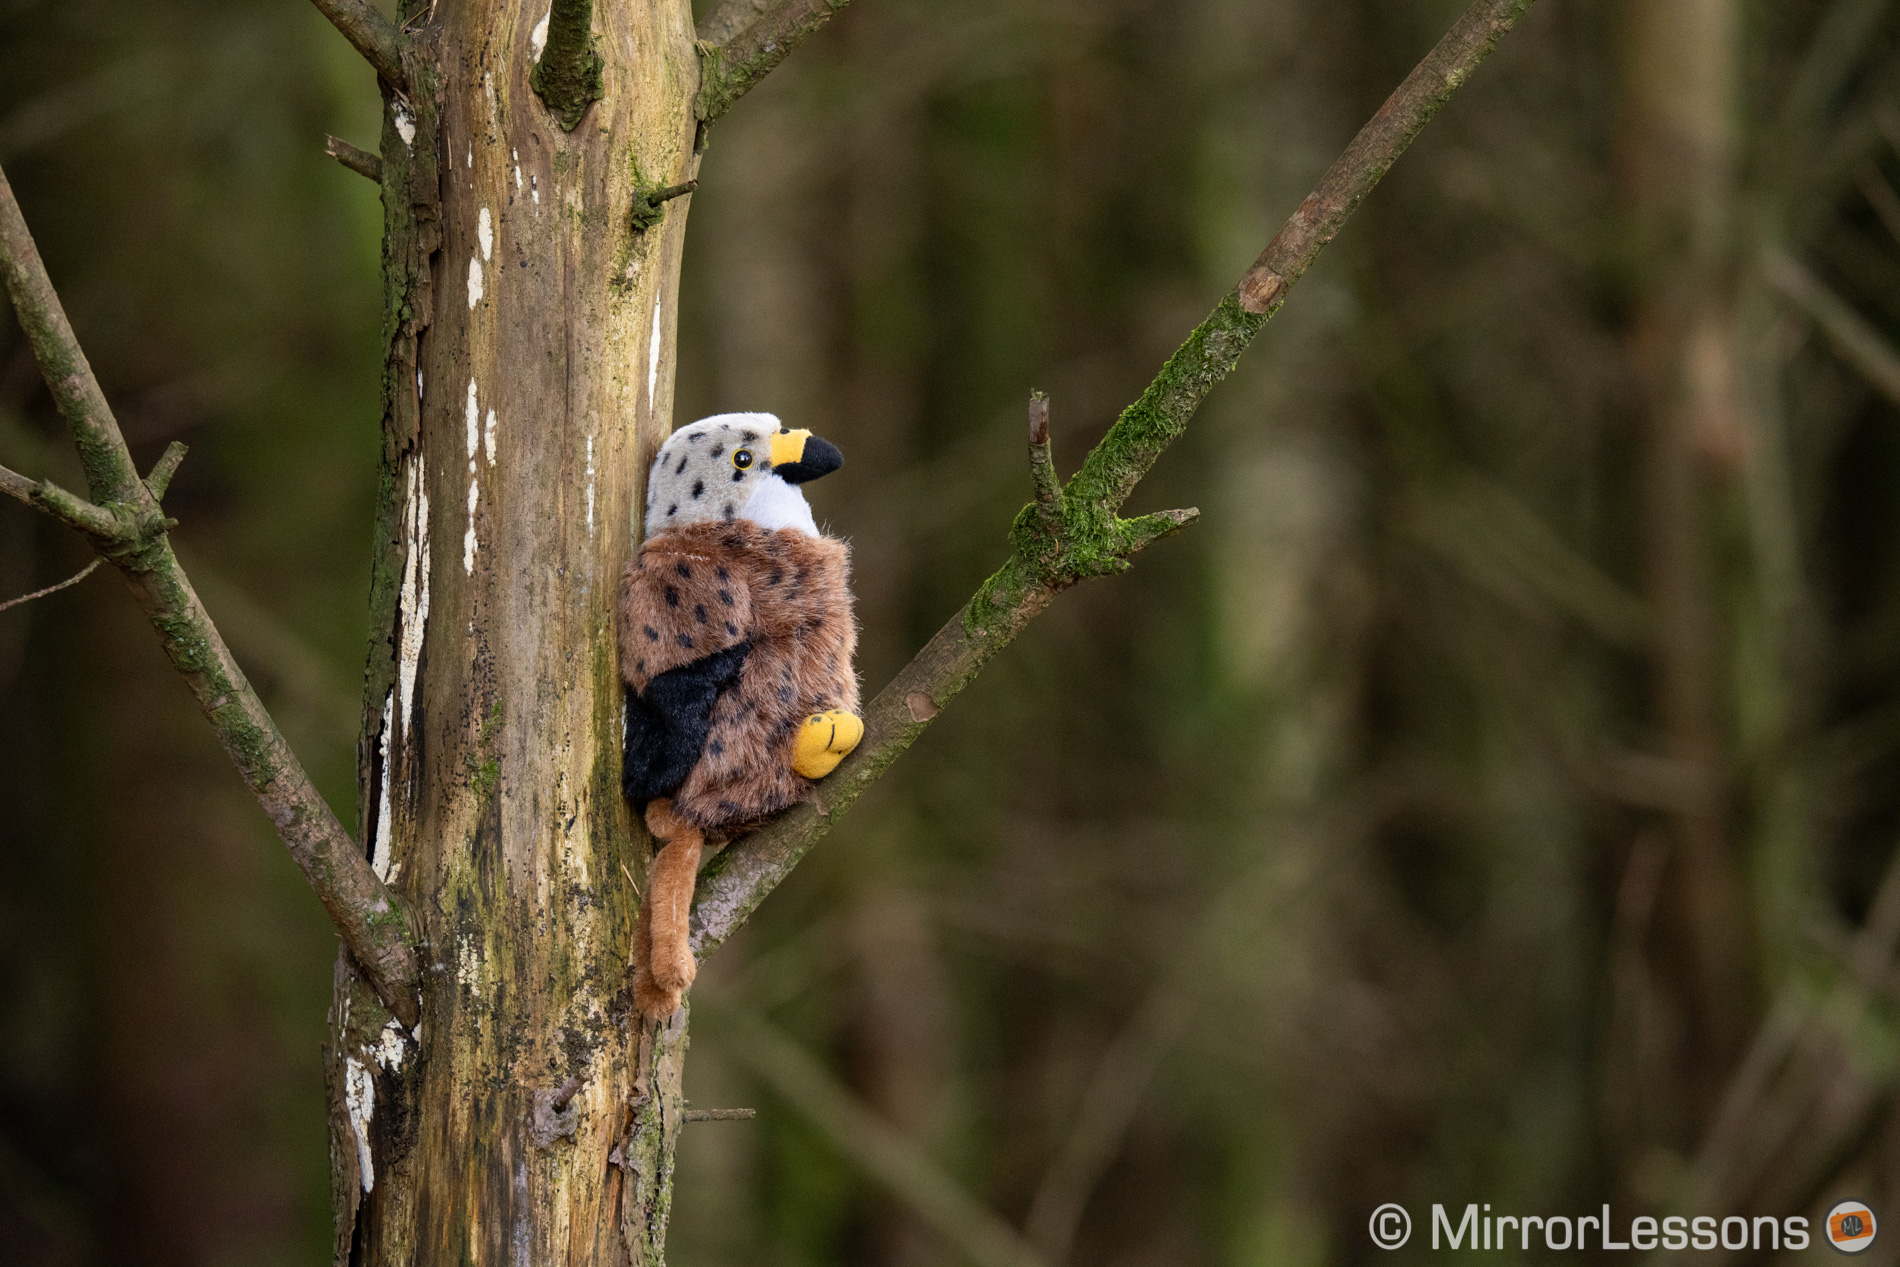
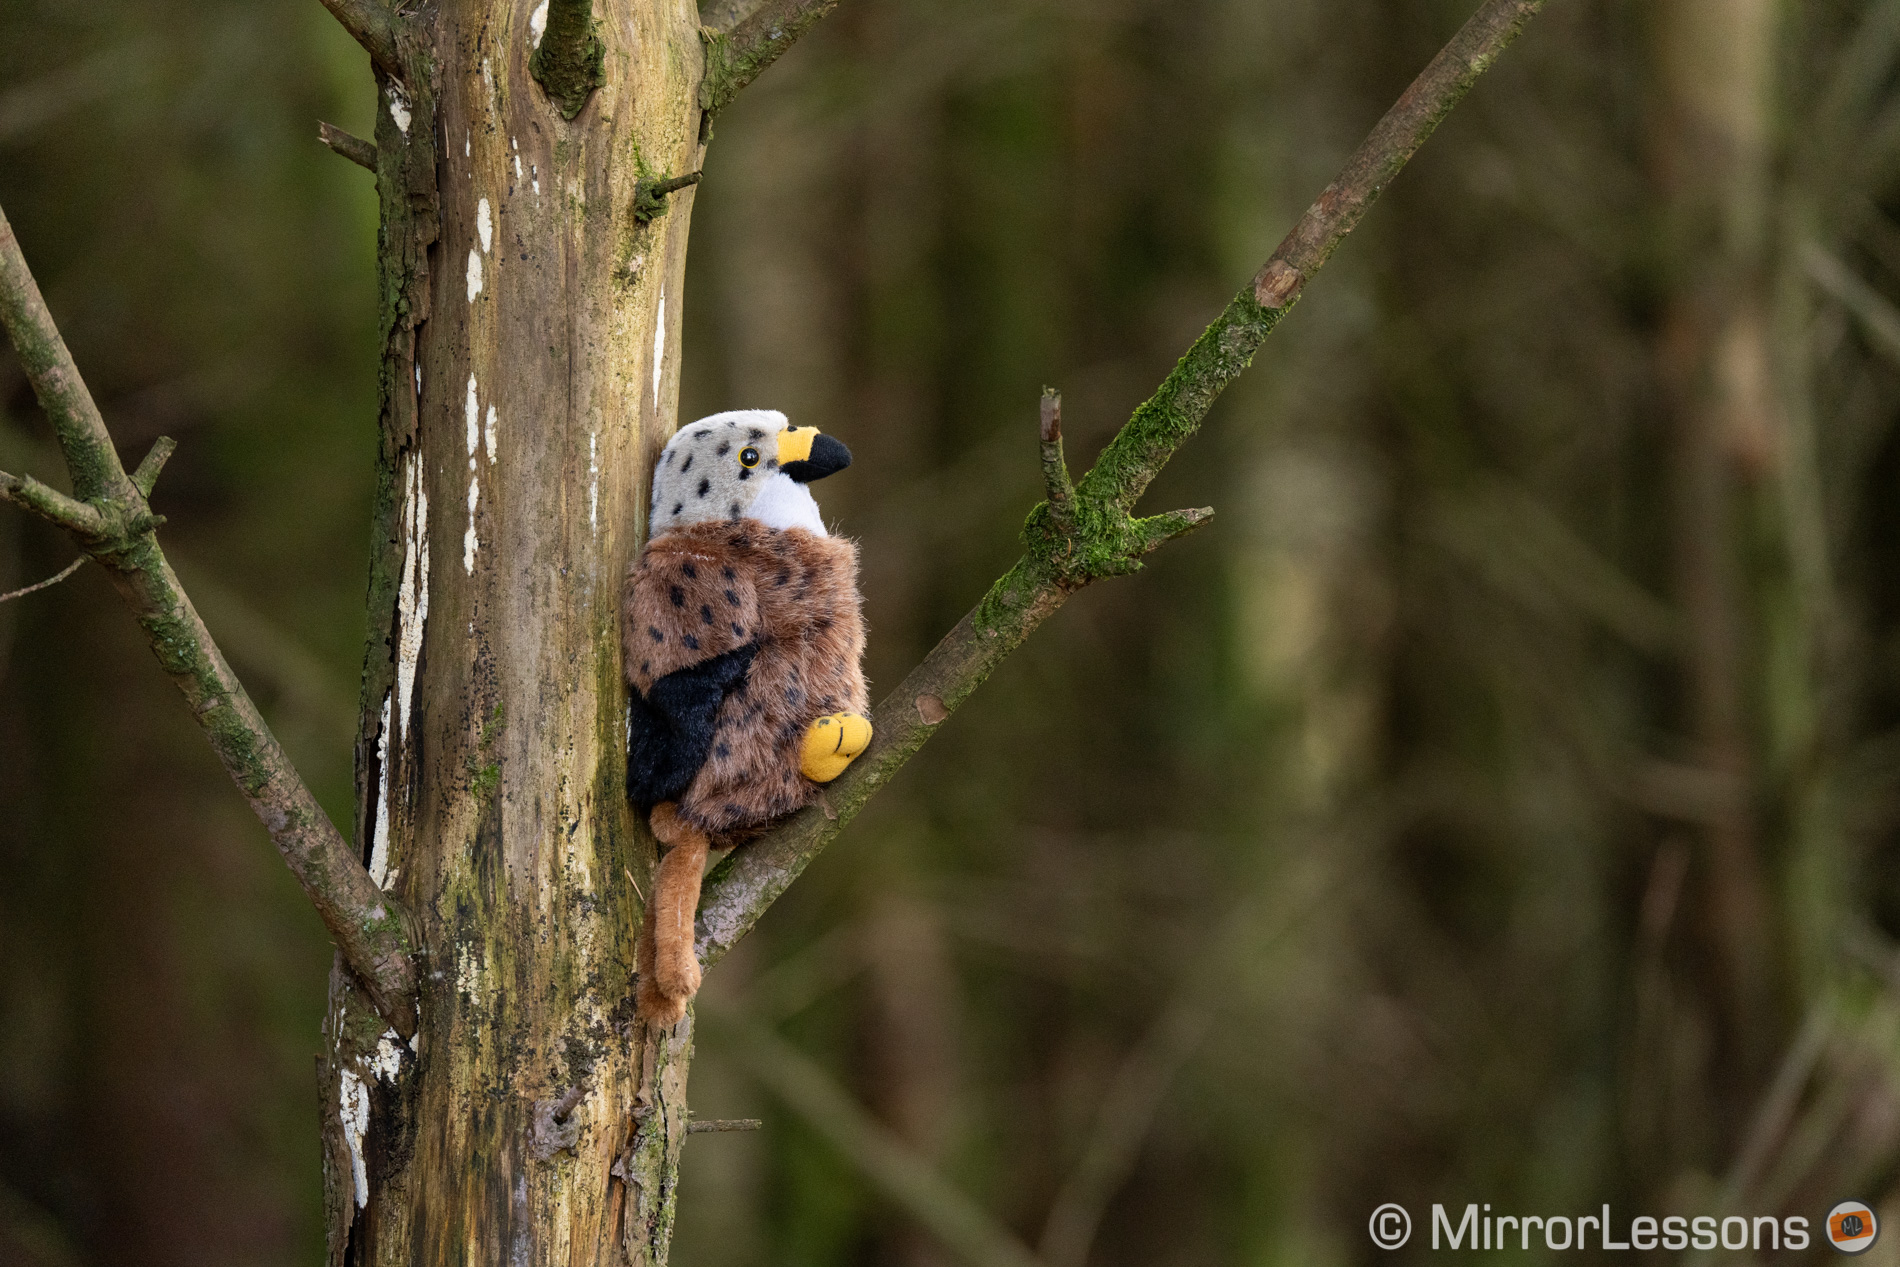
One of the most challenging situations is a small bird surrounded by branches. In the examples below, you can notice how some areas look very ‘busy’ with hard edges and double lines.


In other situations, you’ll also notice a hint of a swirly effect in the background.

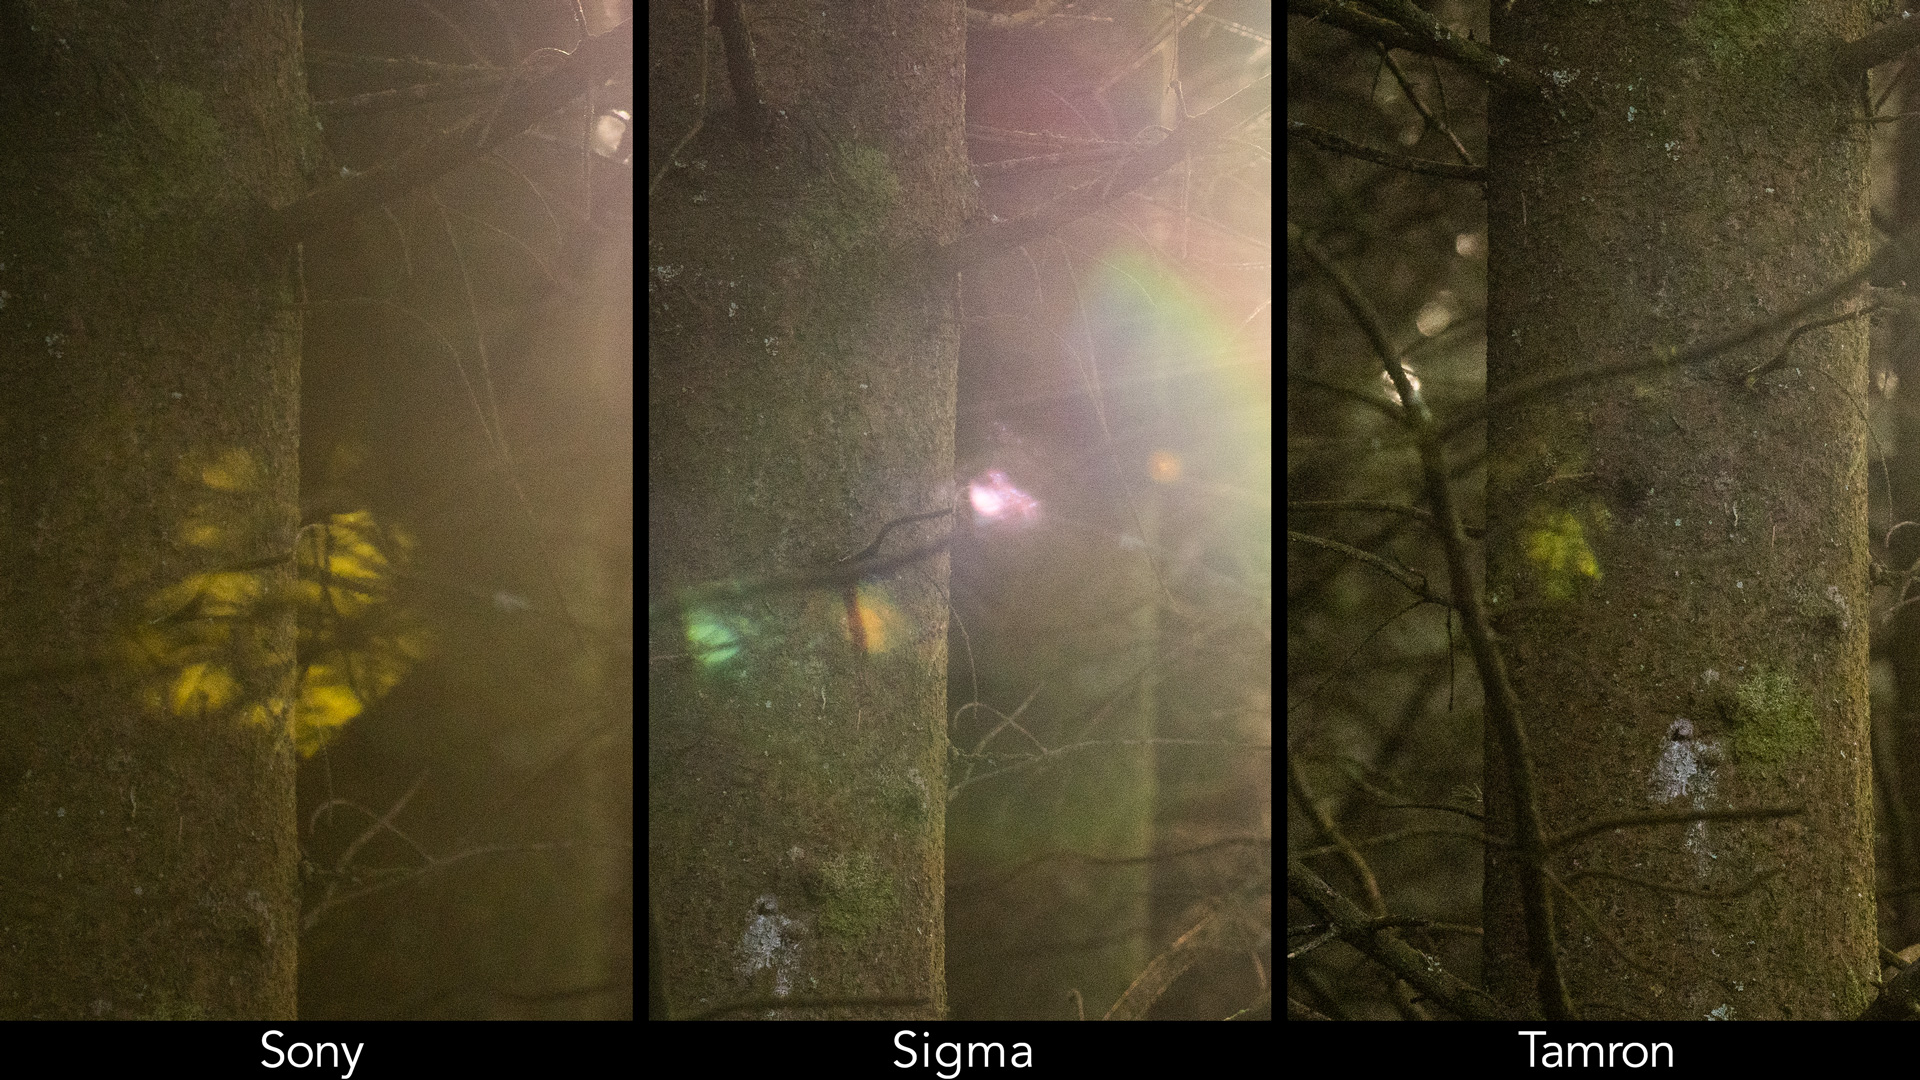
Flare
The only way you’re going to see flare is with direct light in your frame, and here all three lenses can exhibit visible ghosting.


The Sony can render larger ghost flares than the Tamron, whereas the Sigma also produces rainbow flares.
Other Characteristics
All three lenses deal with chromatic aberration really well, and I couldn’t find any visible traces anywhere. In a very high contrast scene, the Sigma may exhibit a tiny bit on the edges, but the level is so low that you shouldn’t worry about it.
When the lens profiles are enabled on the RAW file, vignetting is well corrected on the Sony and Tamron, at the shortest and longest focal length. The Sigma still has some left at 150mm and f/5, but you can easily correct it in post.
There is pincushion distortion on the three lenses but that is minimised when the lens profile is applied. Curiously, the Tamron is the one that needs less correction than the other two models.
Finally, you might have noticed in some of the side by side images that the Sony tends to render cooler colours in comparison to the other two lenses.
Autofocus and Manual Focus
Having already had experience with the 200-600mm on multiple Sony cameras (A7R IV, A9 II, A1), I was curious to see if I would get the same fast performance from the other two lenses.
With static subjects, all three lenses deliver fast and accurate focus, and I didn’t encounter any unwelcome behaviour or particular problem during my two weeks testing them.
Even with small birds perched on a tree, and lots of branches and leaves around them, I got good results using the smallest AF point available (Flexible Spot S) or the Expand Flexible Spot area. Sure, there were a few misses if the bird was moving behind a branch, and sometimes the body would be more in focus than the head, but these are more due to the challenging situation itself rather a camera/lens problem.


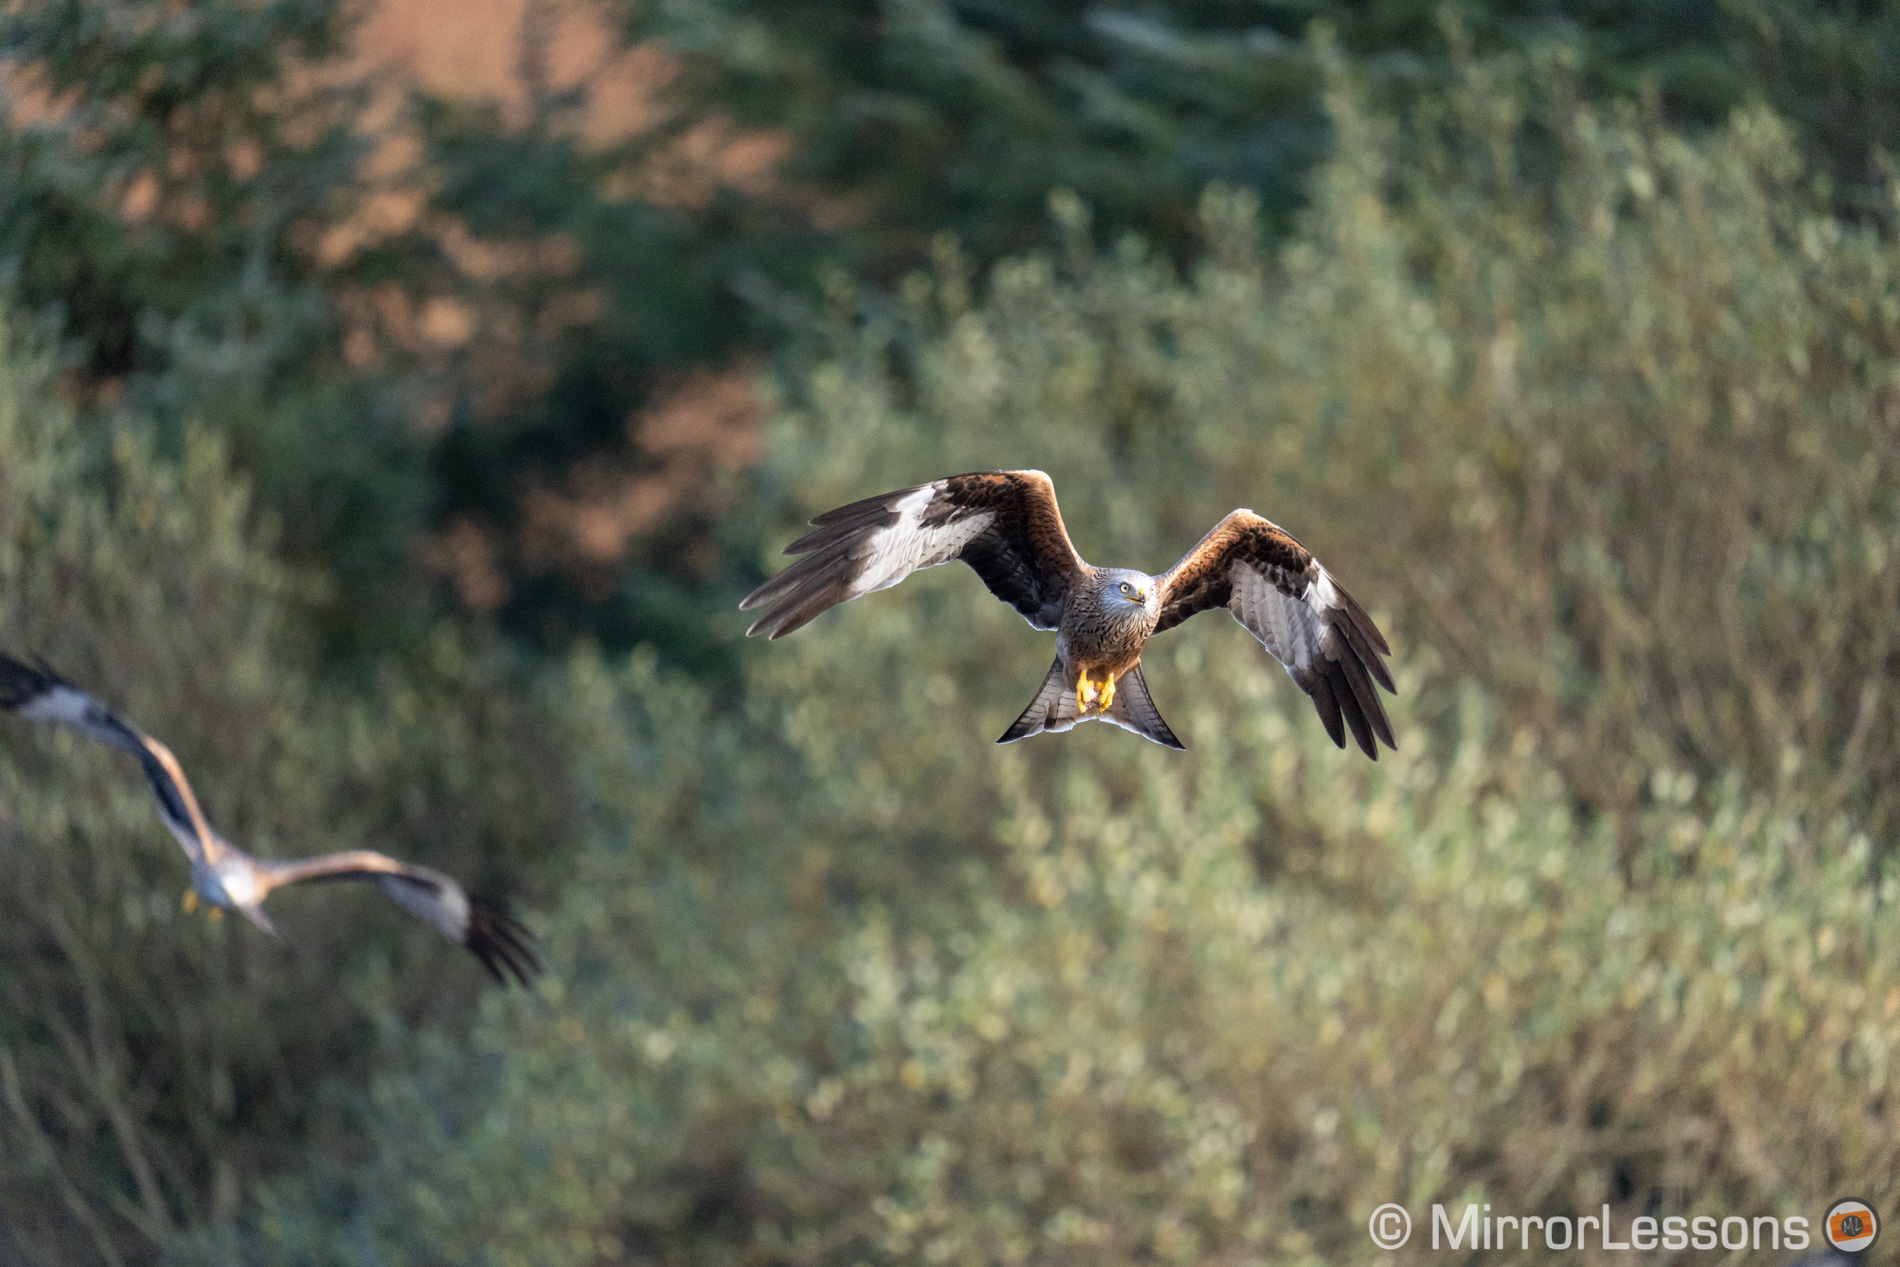
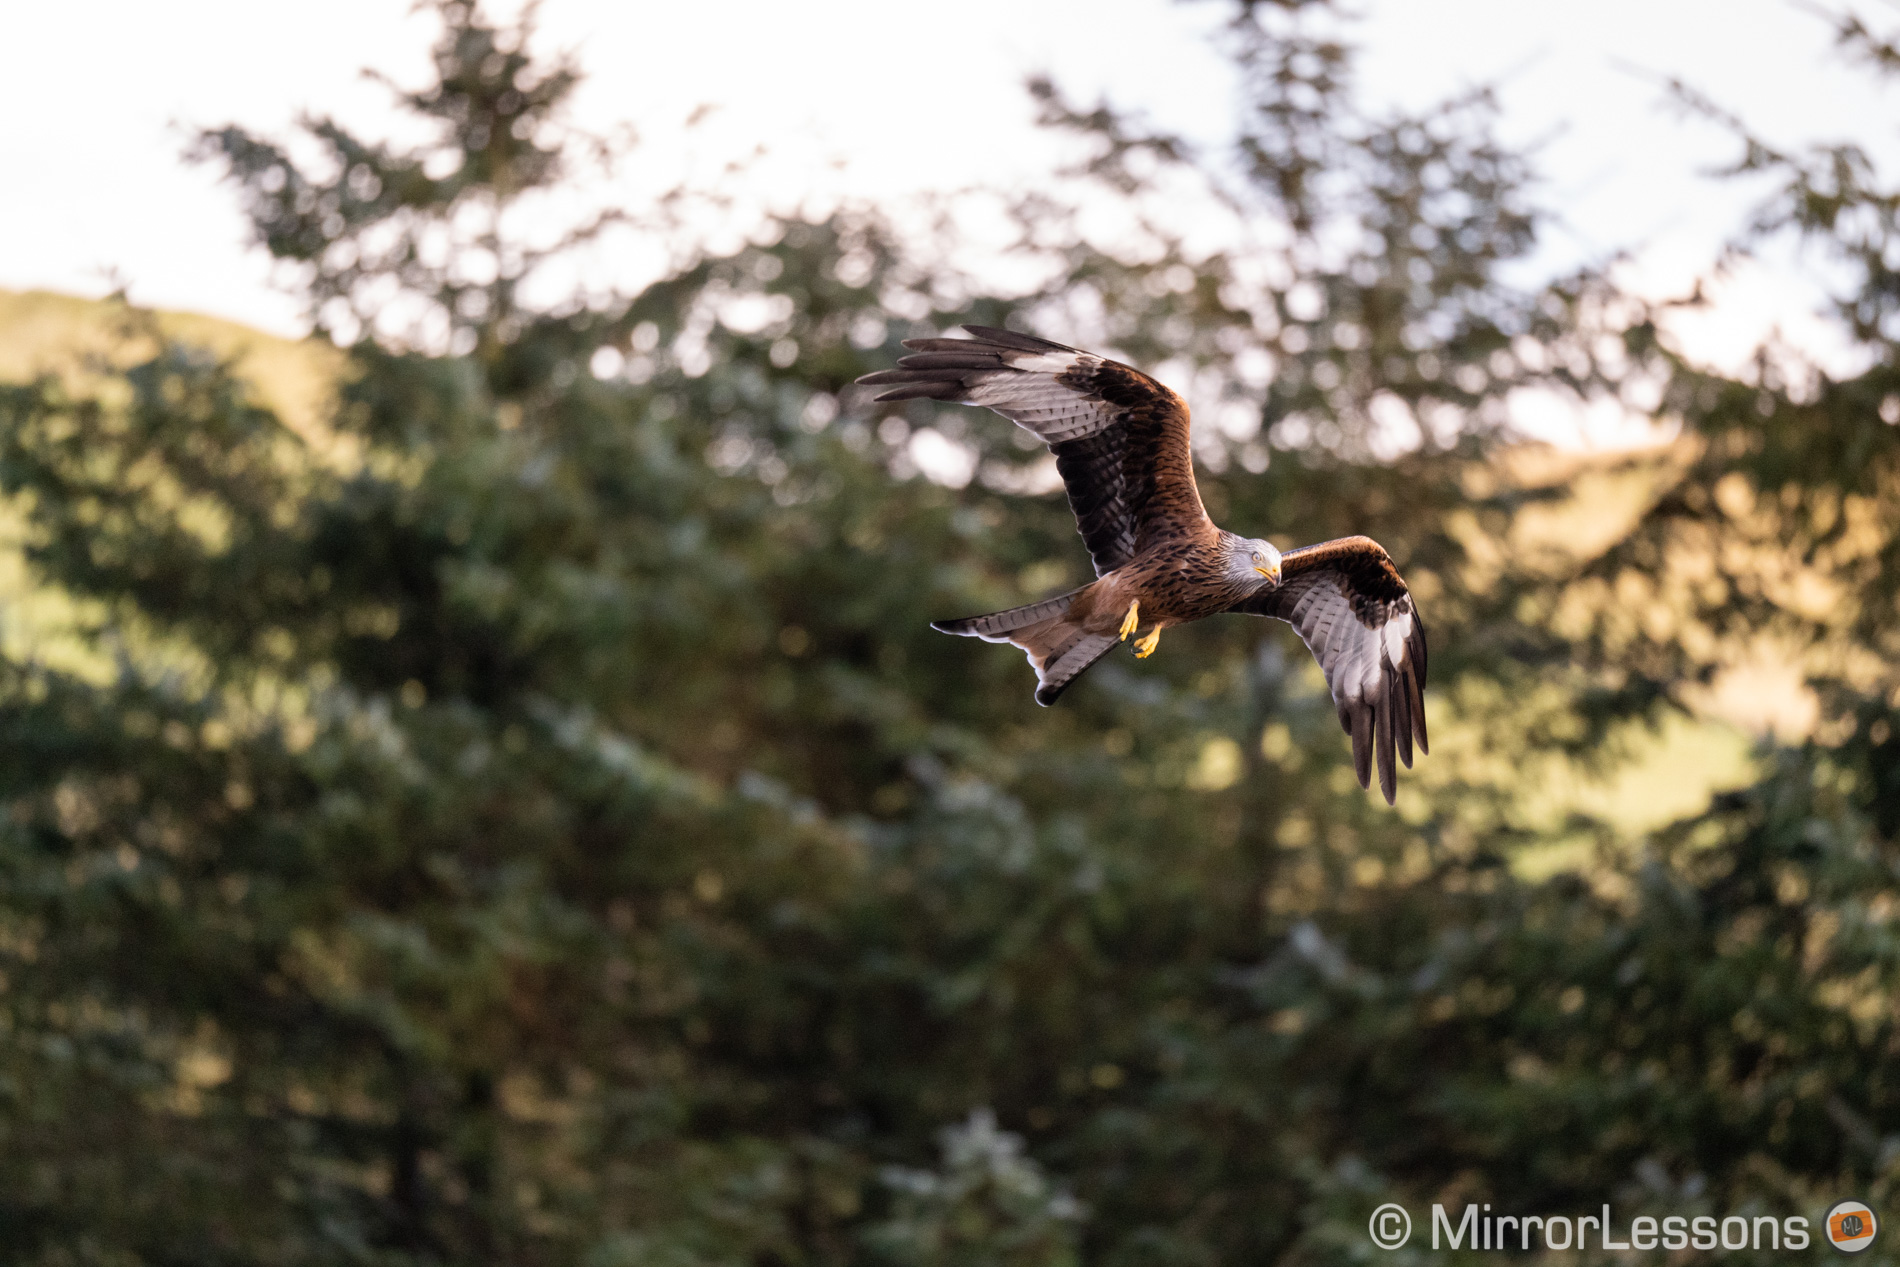
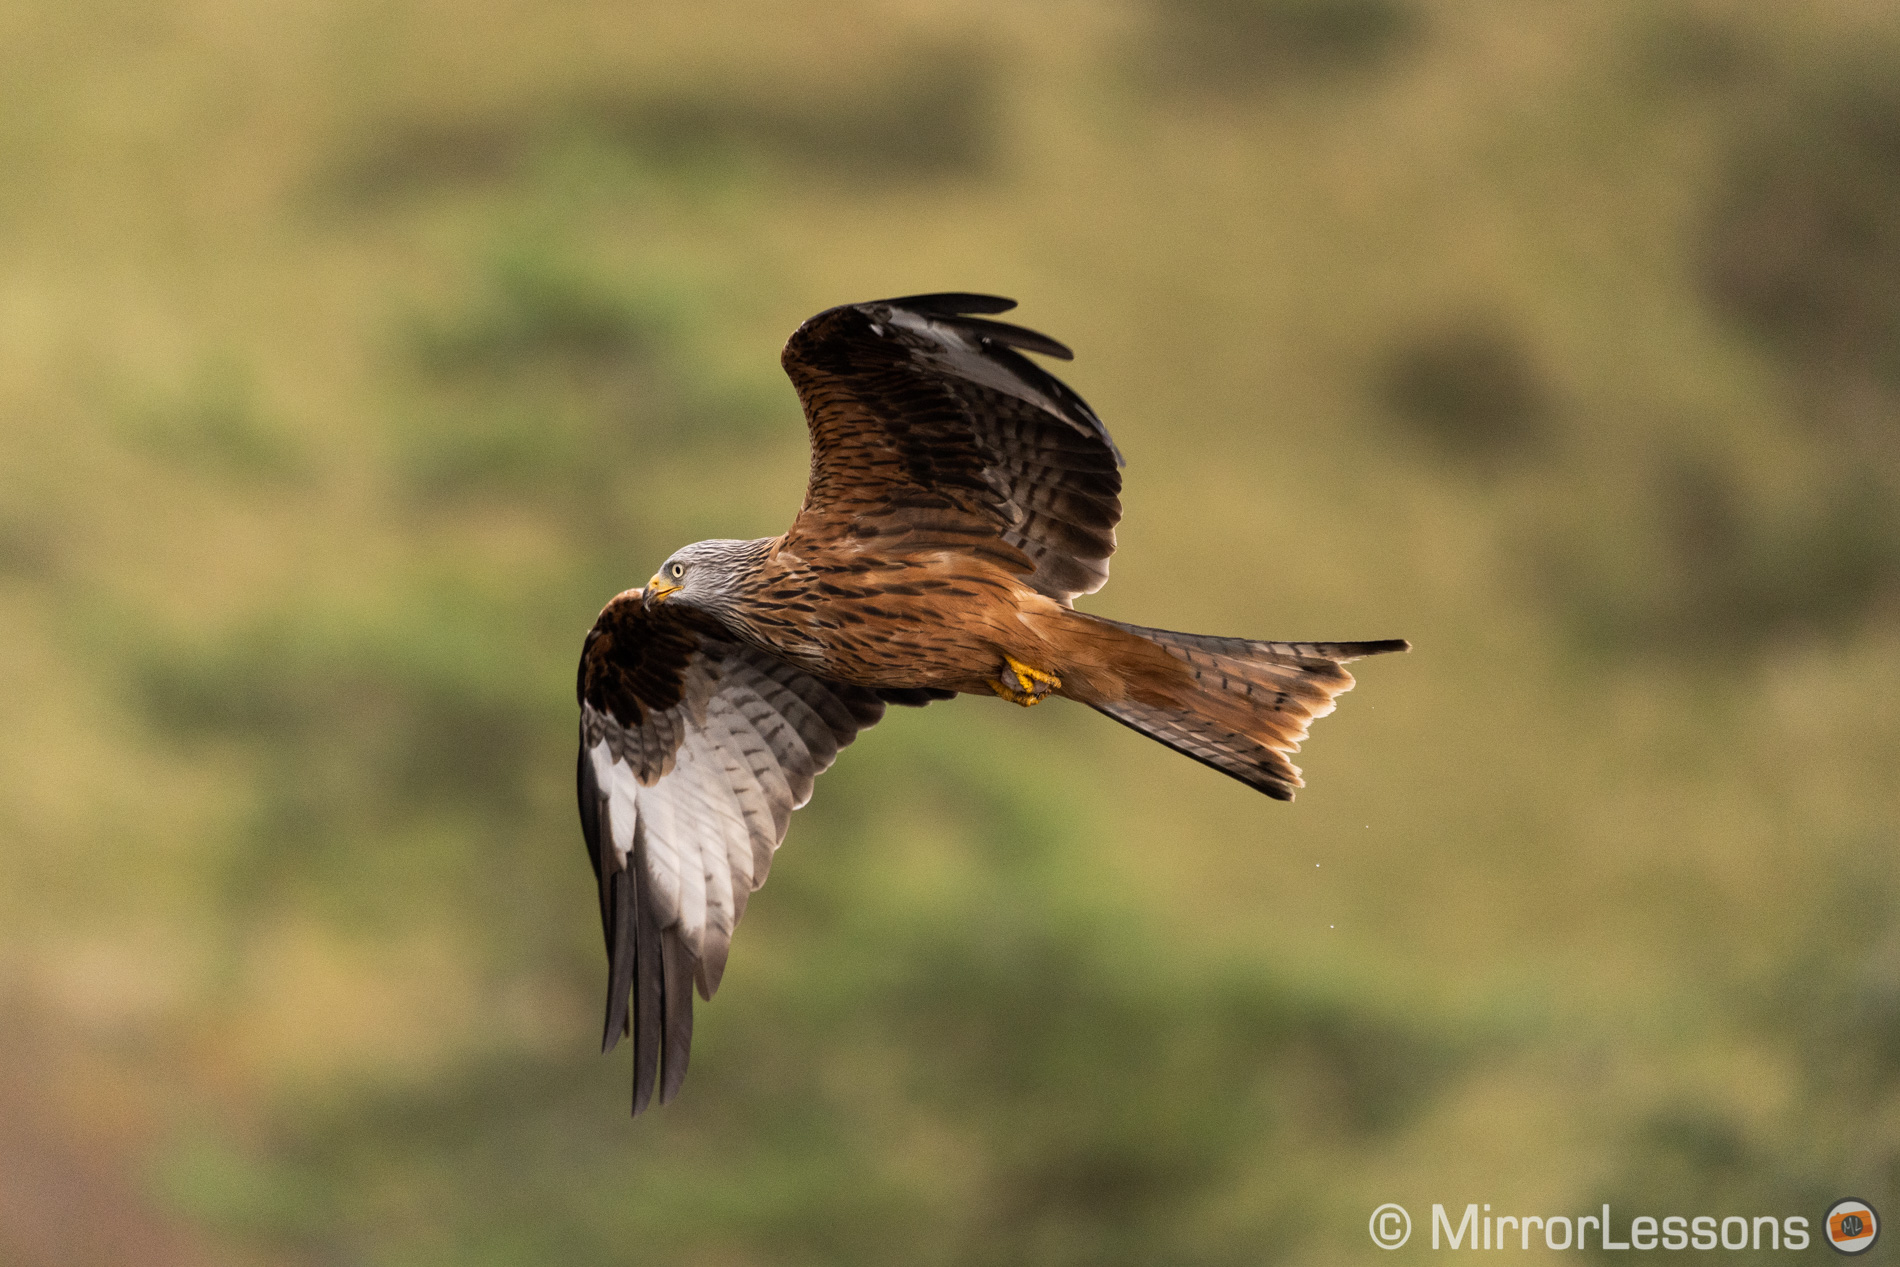
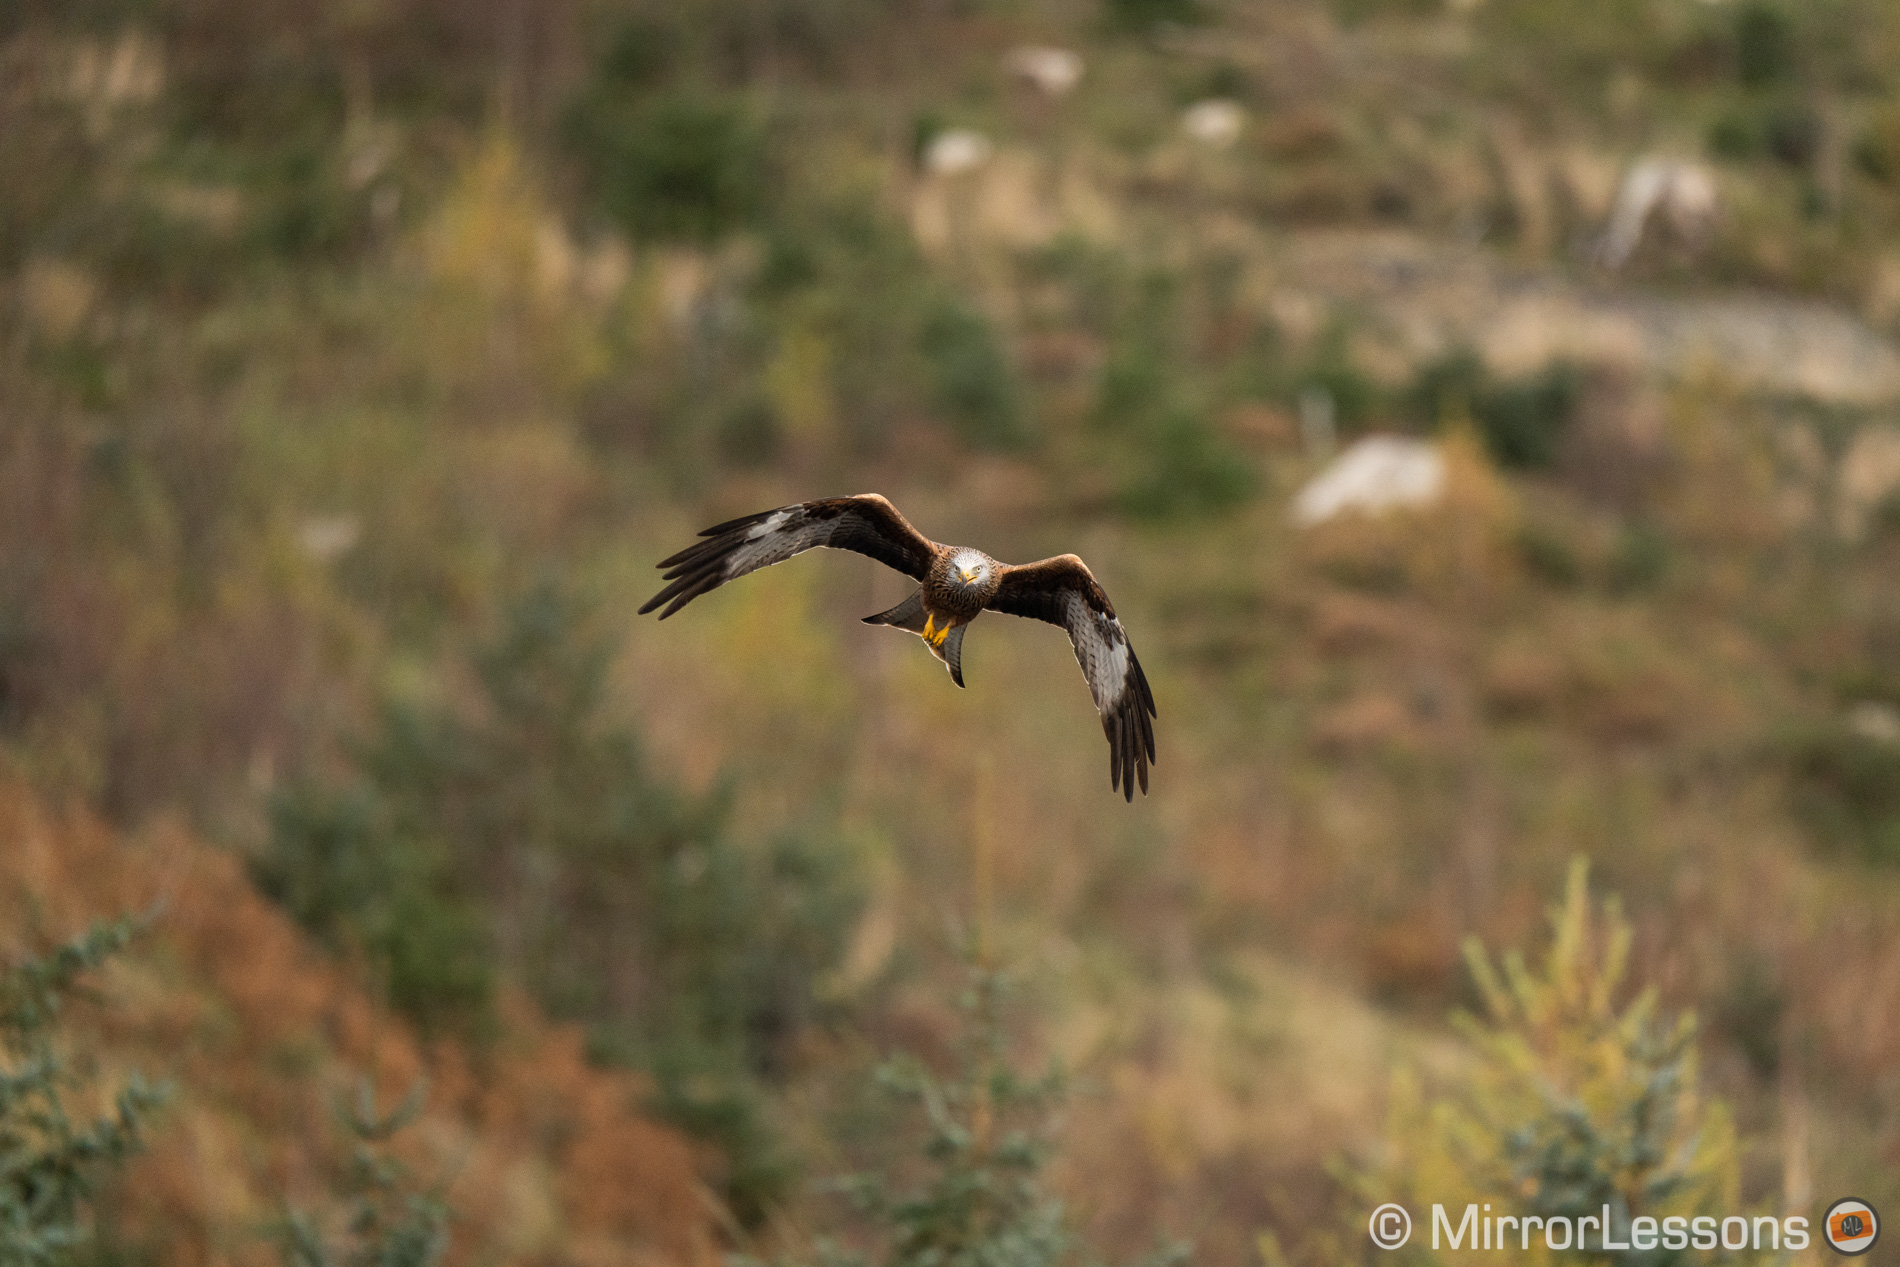
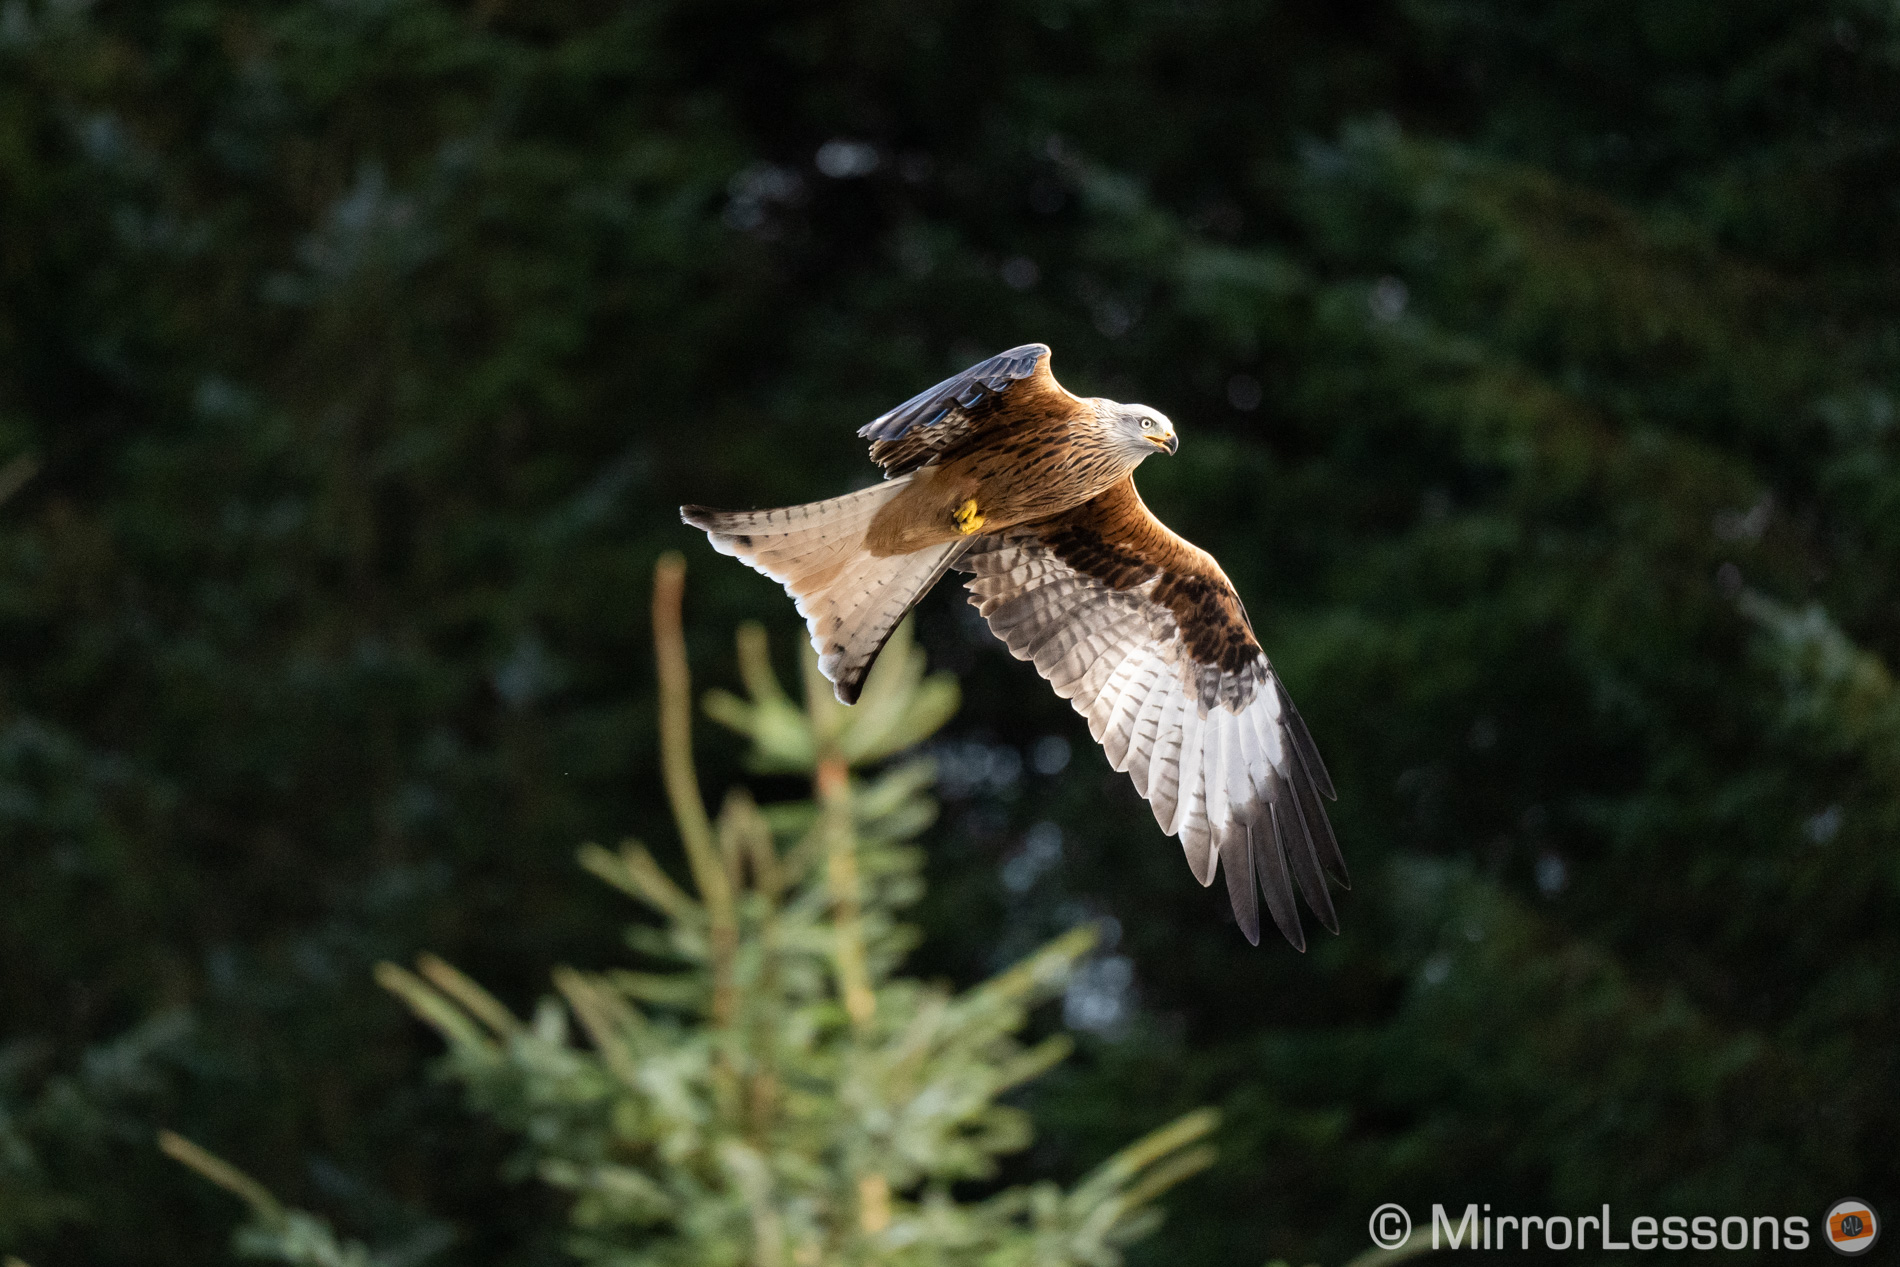
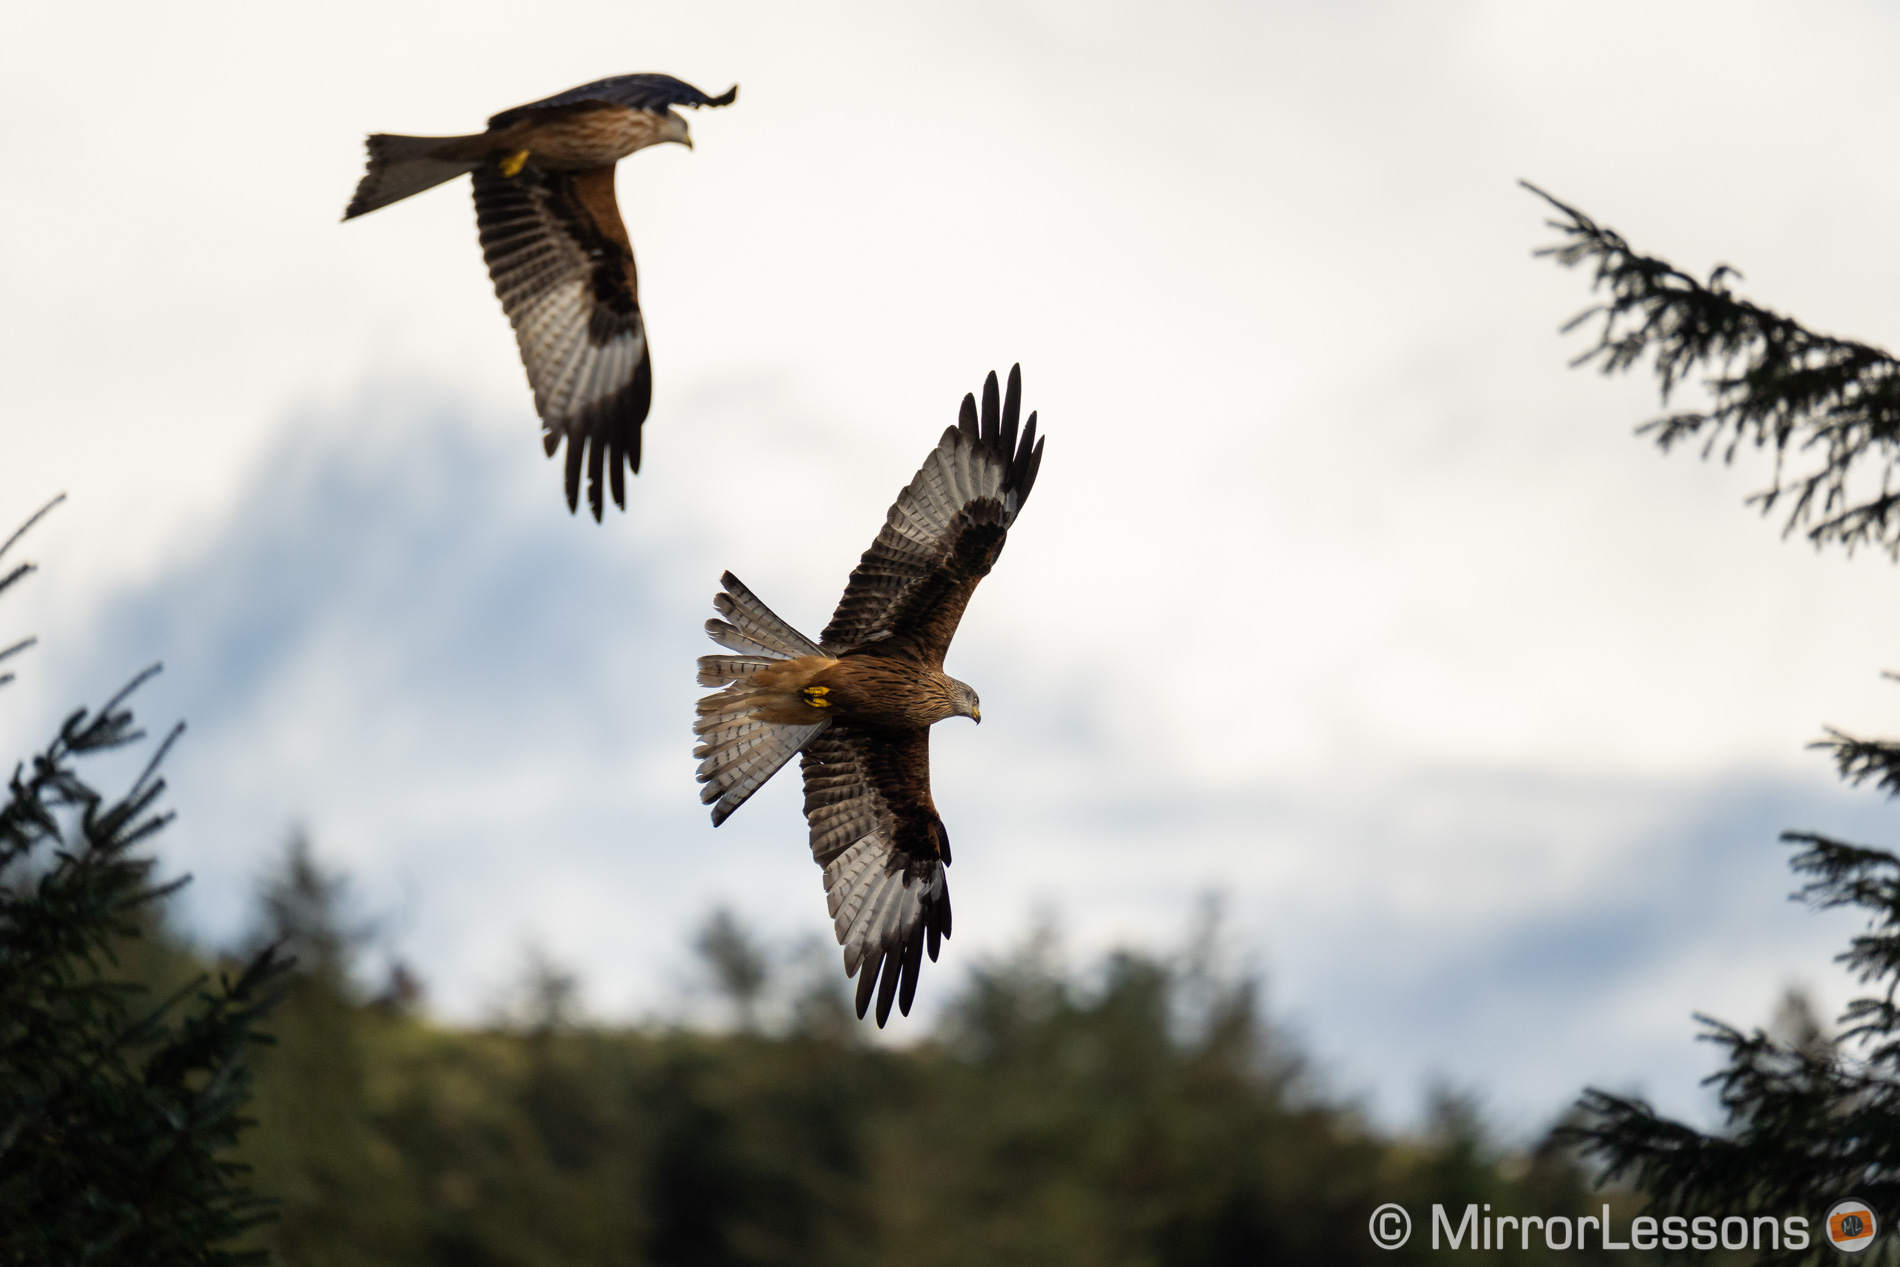
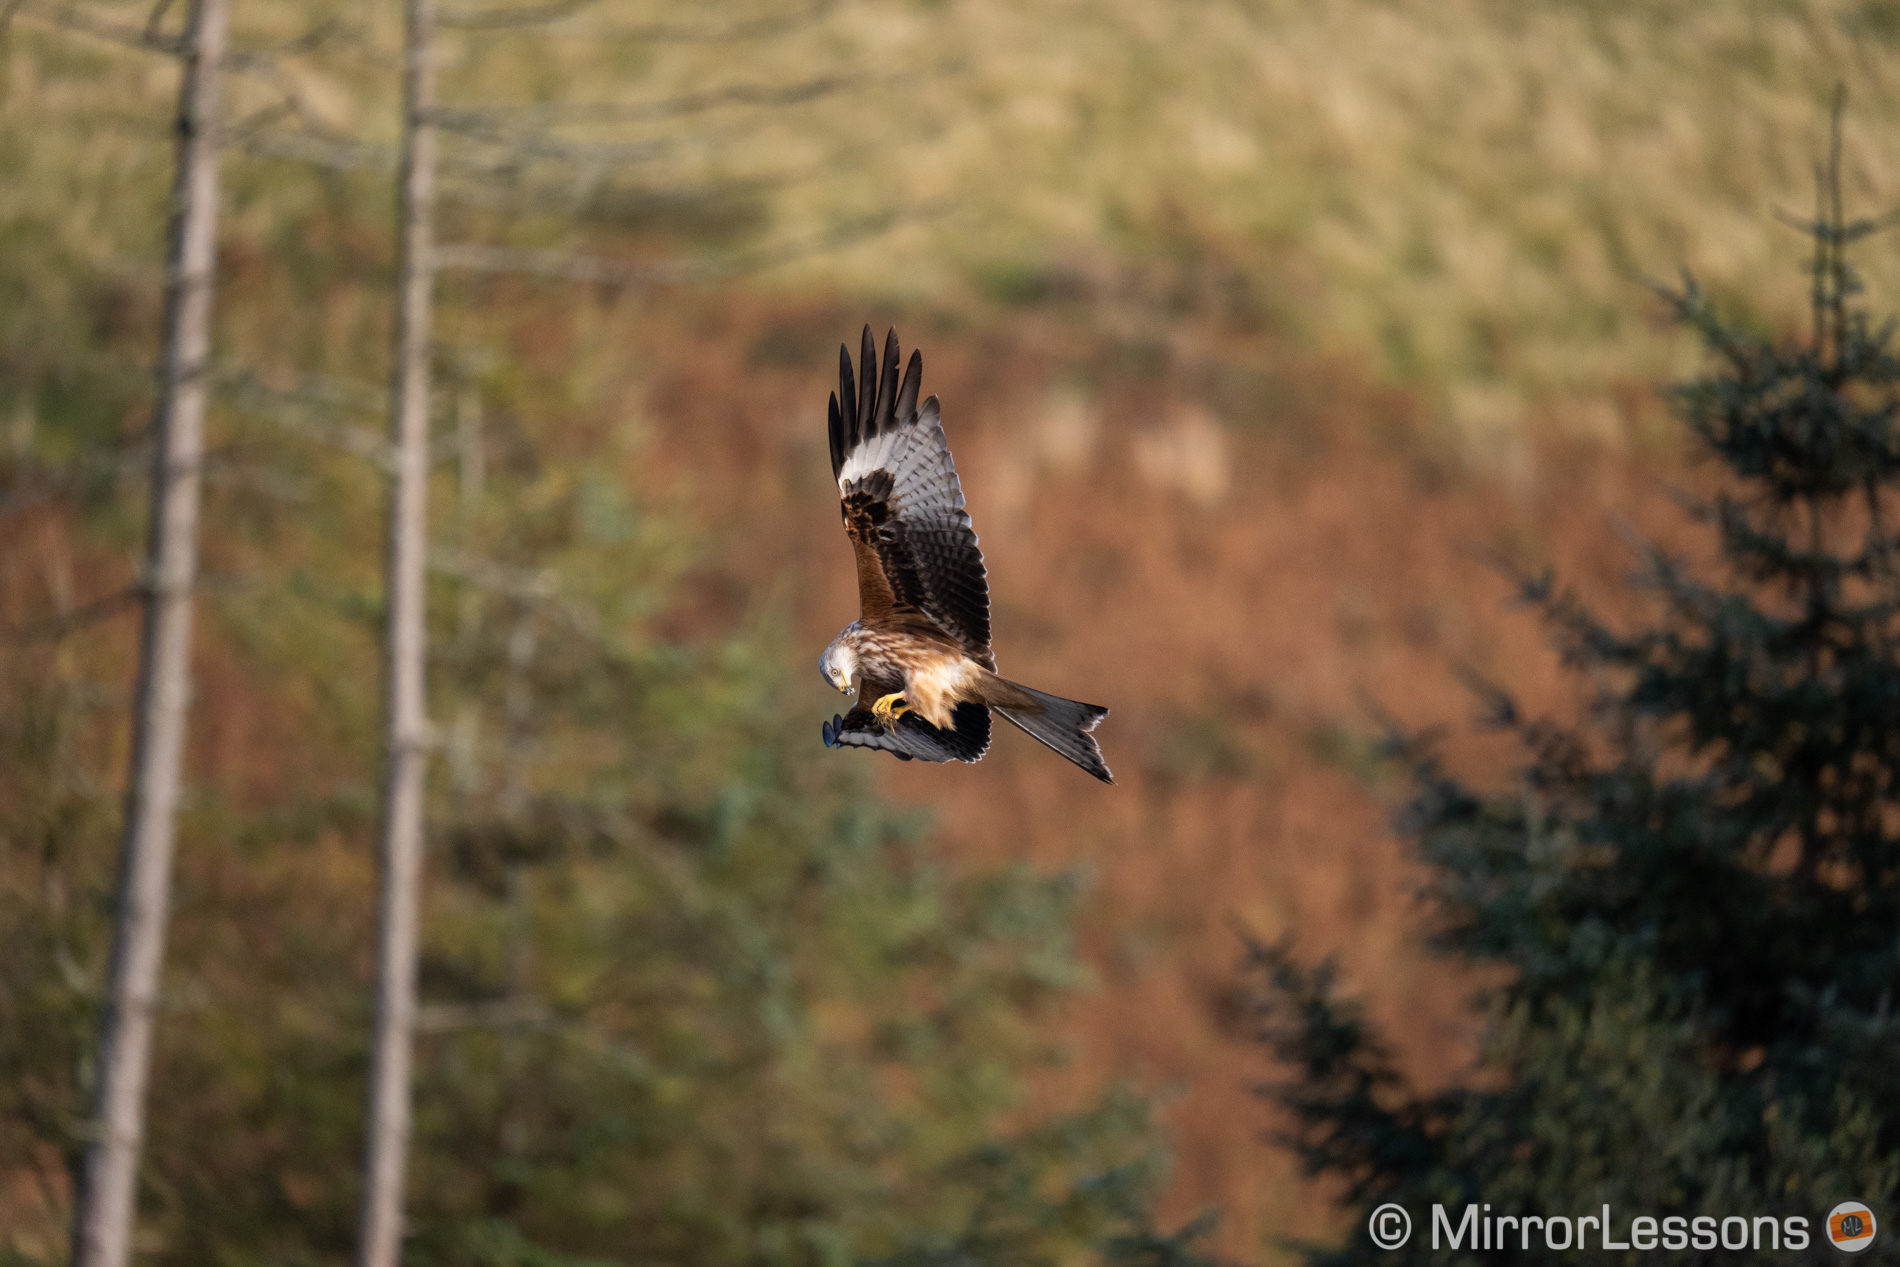
Birds in Flight
For birds in flight and my usual red kite test, I found some differences however, testing the three lenses with the same camera (Sony A7 III).
The Sony and Tamron zoom delivered excellent performance, giving me the best score I ever registered with the A7 III. The Sigma, however, was about 10% less efficient (you can find out more about my BIF score in my dedicated article).
| Sony | 86% | 99% |
| Tamron | 85% | 98% |
| Sigma | 75% | 91% |

The A7 III struggled more with the Sigma 150-600mm. The number of out-of-focus shots was higher than the other two lenses, and there was a lack of focus precision in several images. I did the test twice with the Sigma to be sure, and I got the same results each time.
Manual Focus
Concerning manual focus, the focus ring on the Tamron lens is not as smooth as the other two at first glance. However, after focusing manually several times for my sharpness and close-up tests, I found that it is the Sigma lens that gives you the most accurate and pleasant experience. With the Tamron and the Sony, it is a bit more difficult to nail focus precisely.
That said, the Sigma rapidly turned my sharpness test into a nightmare when I realised that the focus point was shifting when changing aperture. Focus shift is a problem that usually occurs with fast aperture lenses: the sharpest focus plane moves backward or forward when you stop down. It is caused by spherical aberration (you can read this excellent explanation on Photographylife).
I never experienced it on a lens with slow apertures like f/5 and f/6.3, and it could be that not every sample is affected. For example, The Digital Picture tested the zoom and stated that this particular issue didn’t occur on their sample.
It might not be a concern for you either way, because I only found this problem during my sharpness test using manual focus. In real world use with AF, the lens seems to work normally. But, if for some reason you need to focus manually and capture the same subject at different apertures, it’s worth testing the lens to see if it has the problem or not. If it’s there, you’ll have to re-focus every time you change apertures.

Minimum focus distance
Finally, we have the minimum focus distance. Here the Tamron shows better capabilities by maintaining a similar magnification at 150mm and 500mm. The minimum focus at 500mm especially is much shorter than what the Sigma and Sony can do at 600mm.
The Sigma offers excellent close-up capabilities at 150mm, outperforming the Tamron by a small margin.
The Sony is less impressive, especially at 200mm.


Optical Stabilisation
I performed my usual tests to see how far I could go at slow shutter speeds before seeing a decrease in sharpness and details. I tried various slow shutter speeds and took 10 pictures consecutively at each speed, using a subject like the one in the picture below. Then I analysed how many images were sharp, and how many were ruined because of motion blur.


Sony 200-600mm Key Takeaways about OS:
- To have peace of mind, you need to stay at around 1/125s or faster, at 200mm and 600mm.
- Slower shutter speeds such as 1/30s, 1/15s or even 1/8s are possible, but the keeper rate decreases considerably.
Sigma 150-600mm Key Takeaways about OS:
- I got a perfect score at 1/60s, both at 150mm and 600mm, so the Sigma seems to be 1 stop more efficient than the Sony lens overall.
- Slow shutter speeds are possible but the keeper rate is lower too, so make sure to take multiple pictures in a row
Tamron 150-500mm Key Takeaways about OS:
- It can handle 1/60s at 150mm without issues, but it’s better to stay at 1/125s or above when working at 500mm.
- Forget anything slower than 1/30s when working at 500mm
Here are all the results.
| Shutter Speed | Sony 200mm | Sigma 150mm | Tamron 150mm |
|---|---|---|---|
| 1/4s | 0% | 0% | 0% |
| 1/8s | 20% | 20% | 40% |
| 1/15s | 30% | 30% | 60% |
| 1/30s | 60% | 80% | 80% |
| 1/60s | 80% | 100% | 100% |
| Shutter Speed | Sony 600mm | Sigma 600mm | Tamron 500mm |
|---|---|---|---|
| 1/4s | 0% | 5% | 0% |
| 1/8s | 10% | 10% | 0% |
| 1/15s | 20% | 40% | 0% |
| 1/30s | 30% | 50% | 50% |
| 1/60s | 60% | 100% | 70% |
| 1/125s | 100% | 100% | 90% |
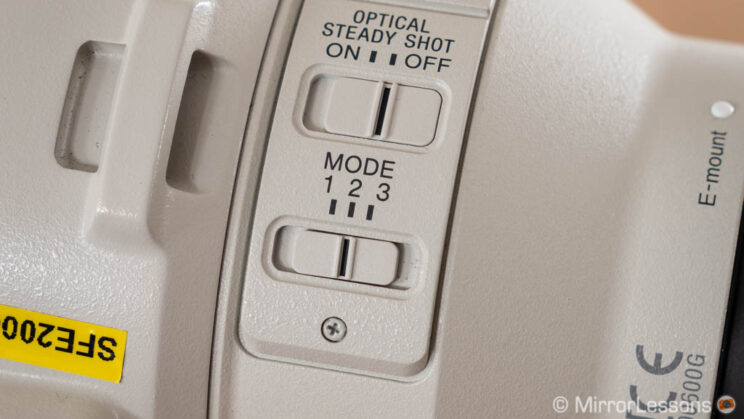
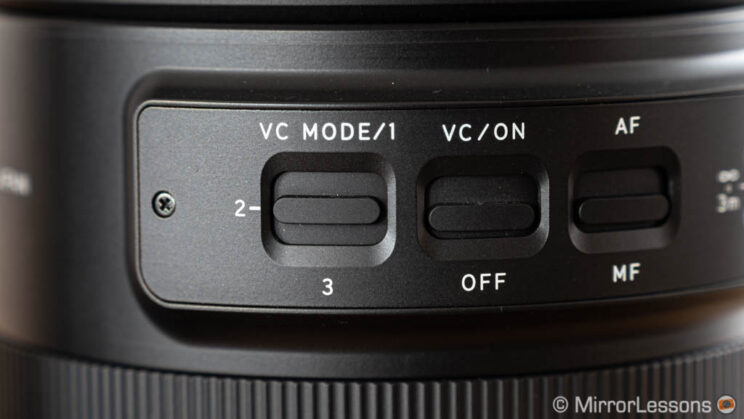
On the Sony and Tamron lenses there are three modes for the optical stabilisation:
- Mode 1 compensates in all directions
- Mode 2 is designed for panning shots, so for example it will only compensate for vertical shakes while panning horizontally
- Mode 3 is designed to give you a more stable view in the viewfinder. It compensates in all directions like Mode 1.
On the Sigma, there are only two modes and they work exactly like 1 and 2 described above.

It’s not immediately easy to understand what Mode 3 does exactly, but it’s actually not complicated.
With Mode 1 and Mode 2, you don’t see the stabilisation effect in the viewfinder until you press the focus button, or half press the shutter release button. In other words, stabilisation starts to work when you press either of these buttons.
With Mode 3, the stabilisation preview is active even if you don’t press any buttons. In other words, it starts working as soon as you turn on the camera.
Both Sony and Tamron say that Mode 3 is useful when following erratic and unpredictable subjects. One explanation for this is that when the stabilisation is activated, there can be a sudden shift in your composition, or jerk, as a result of the transition from a non-stabilised image to a stabilised image, or vice-versa.
With Mode 3, this sudden shift in the frame doesn’t happen because stabilisation is active at all times, whether I start focusing and taking pictures or not.
So if you are following unpredictable subjects that change direction all the time, and you’re panning very fast in different directions, Mode 3 can help you frame your subjects more precisely.

With that said, I didn’t find that Mode 3 gave me a relevant benefit when taking pictures of the red kites flying. However, I find it useful for static subjects when composing at 500mm or 600mm hand-held. The stable view in the EVF helps you frame better and move the focus point with more precision.
Teleconverters
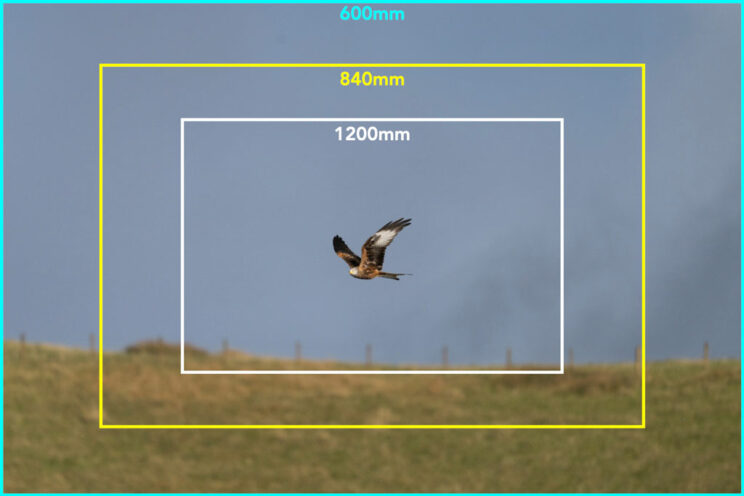
The Sony 200-600mm is the only lens in this test that is compatible with teleconverters: the 1.4x and 2.0x that are designed for E-mount specifically.

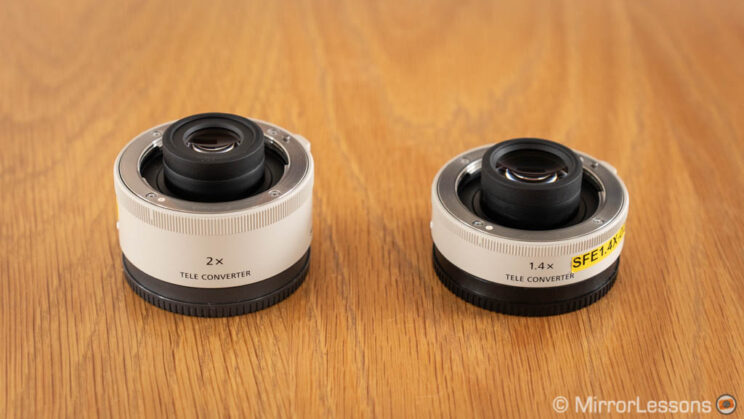
Here is the zoom and aperture range you get with each teleconverter:
- TC 1.4x: 280-840mm, F8-9
- TC 2.0x: 400-1200mm, F11-13.

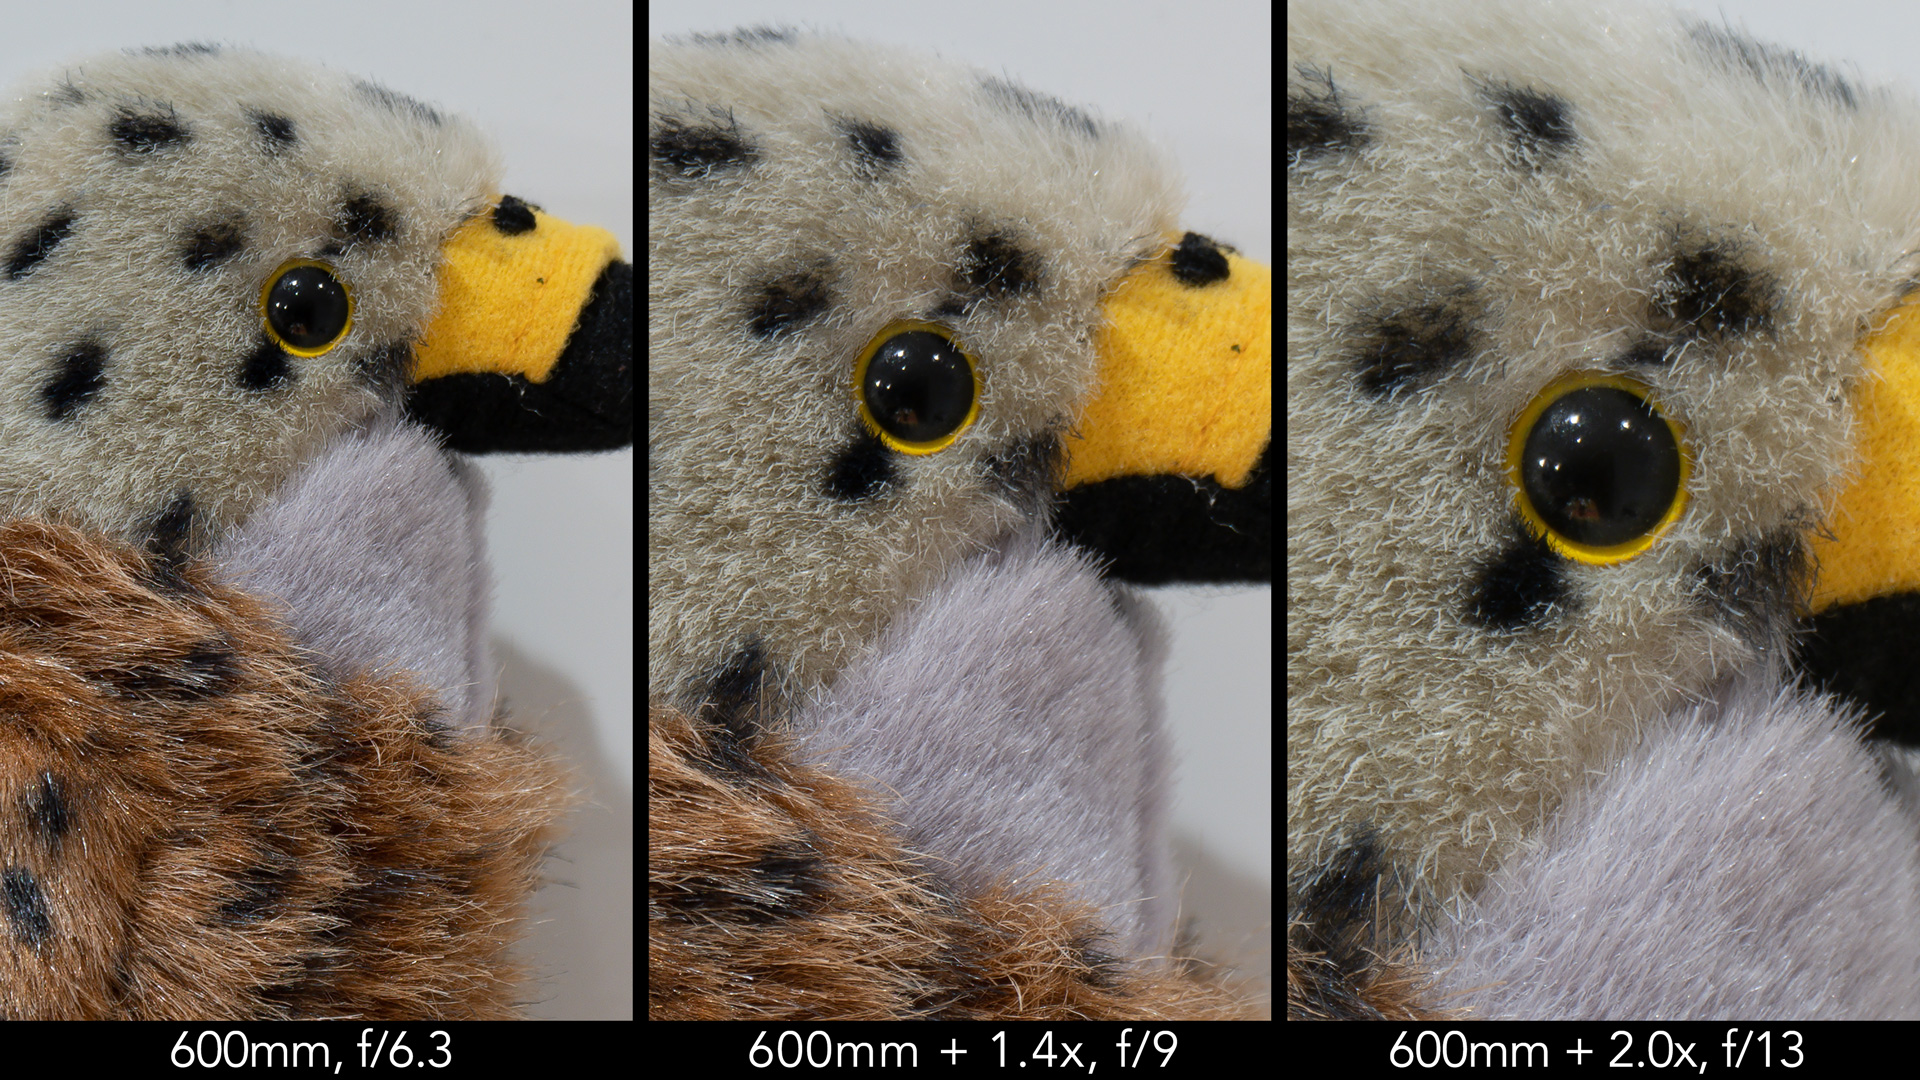
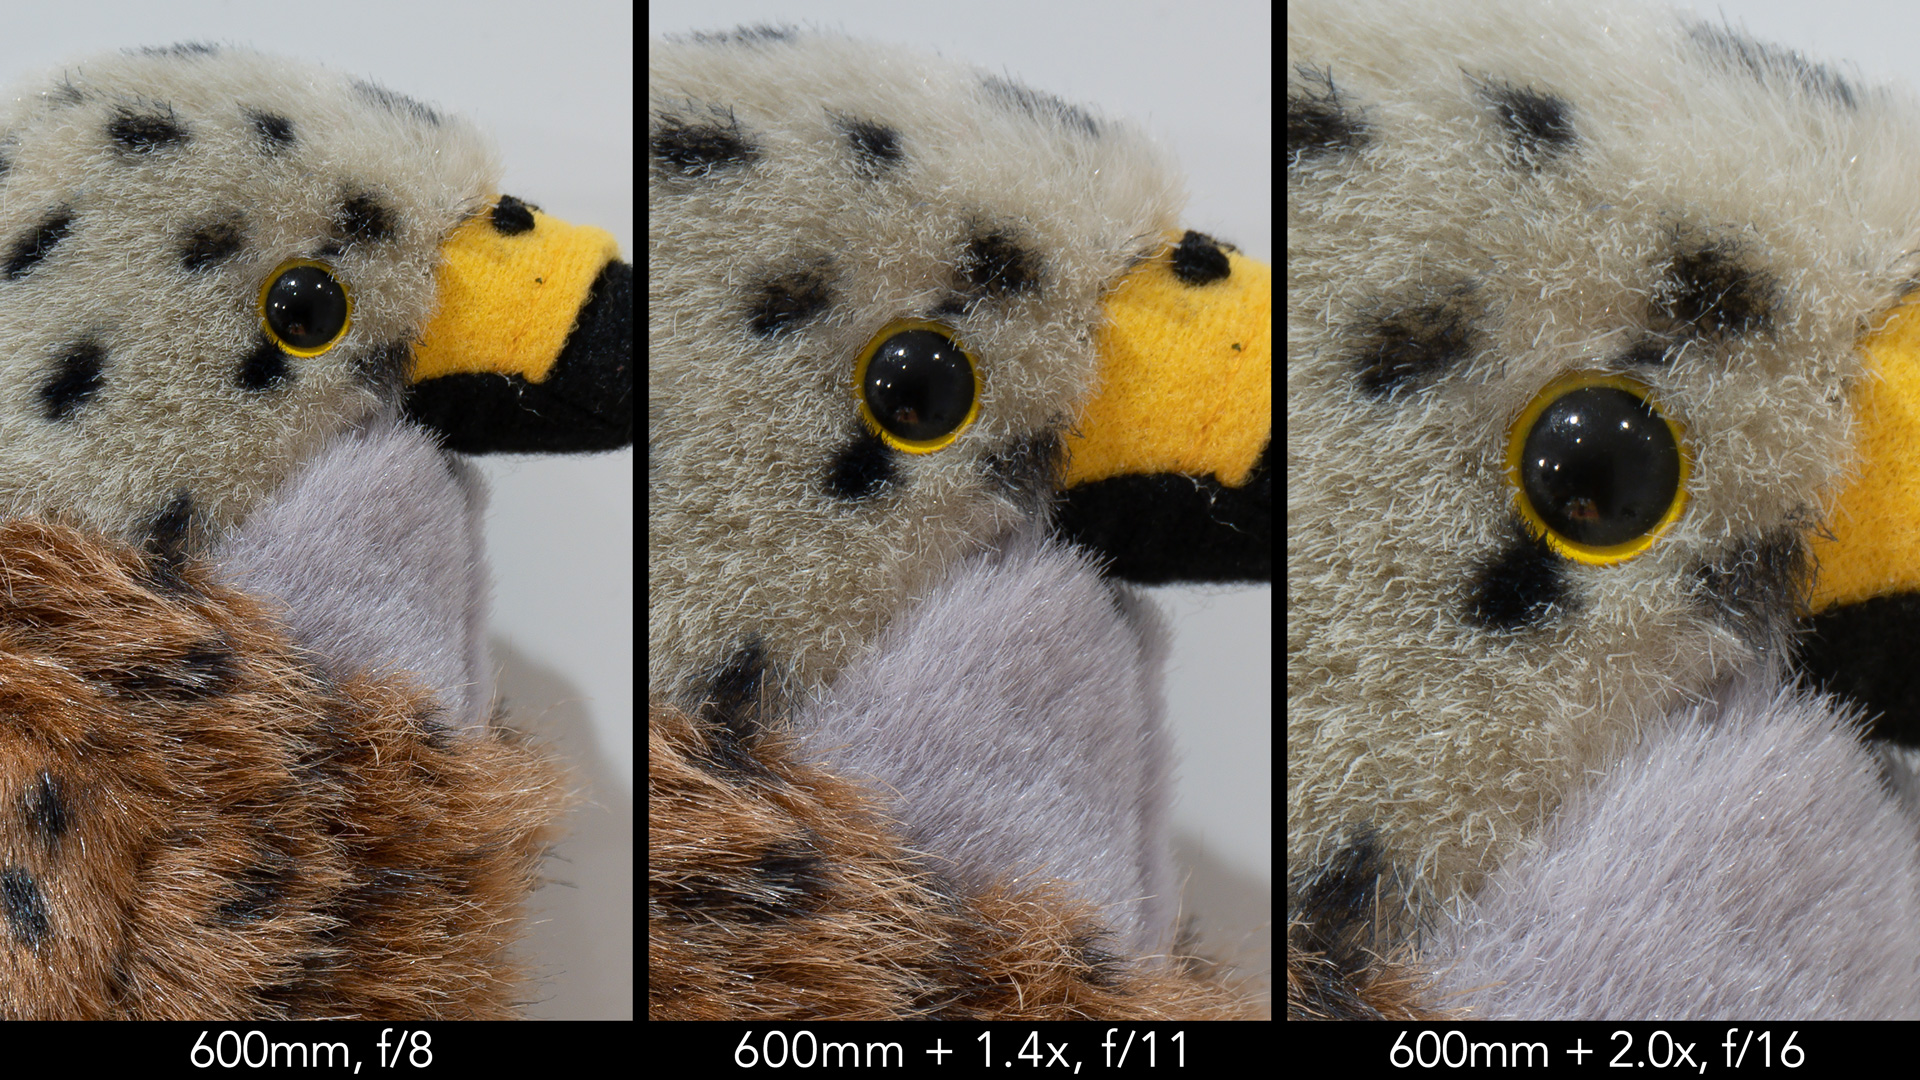
With the TC 1.4x, the level of sharpness remains very good from f/9 to f/16. In fact I’d say the difference in quality without the converter is non-existent. Stopping down to f/22 gives you decent result, whereas from f/32 diffraction is more visible.
With the TC 2.0x, the results are similar, if not a tad less sharp, but it really is a small difference. The best results are found at f/13 and f/16, with f/22 being more than acceptable. F/32 is decent all things considered, but after that the image is much softer.

I haven’t noticed a substantial decrease in autofocus performance, at least when working with static subjects. I didn’t find the chance to use the converters for birds in flight.

Tamron hasn’t released any converters for E-mount cameras, whereas Sigma has designed two TC compatible with mirrorless bodies, but only for L-mount products so far (Panasonic S, Leica SL and Sigma fp full frame cameras).
According to a reader on Marc Alhadeff’s Sony Alpha Blog, the reason Sigma hasn’t release an E-mount version of its teleconverters is a simple question of agreement: Sigma is licensed from Sony to design E-mount lenses, but not E-mount teleconverters.
That’s a shame, because teleconverters would make the Sigma lenses like this 150-600mm, as well as their smaller 100-400mm, more appealing in my opinion.
Prices
The Sony 200-600mm is the most expensive lens mentioned here, with retail prices being around $2000, £1600 or €1800.
The Sigma 150-600mm is less expensive with a price of $1500, £1200 or €1400.
The Tamron is the most affordable option depending on where you live. It can be found for $1400, £1380 or €1600.
Note: prices are as of November 2021 and exclude special promotions or temporary rebates. Euro prices can vary from country to country.
Video Review
You can watch a video version of this article on our YouTube channel.
Conclusion
This was a very interesting comparison to produce because the results I encountered were mostly unexpected. Mainly, I was pleasantly surprised by the performance of the Tamron 150-500mm. Sure, you have to settle for a shorter focal length at the telephoto end, and there are no teleconverters to compensate for that. But what the company did here is offer a more compact and lightweight alternative without sacrificing quality.
The Tamron delivers the same level of optical performance as the Sony lens across almost the entire zoom range when it comes to sharpness. The AF motor is also as good as the Sony, and the optical stabilisation provides good support when shooting hand-held. It’s well built and has most of the controls a photographer could possibly desire (it is only missing a custom button). Add in the competitive price, and I have no hesitation in saying that the 150-500mm is the best bang for the buck here.
Isn’t 500mm too short? Sure, it can be. There will be times that you want to zoom in more. You have to take into consideration how often you intend to use the lens, and for what purpose exactly.
For example, if you are mainly interested in nature reserves that allow you to get close to the animals, it can be all that you need. Another thought is if you own a Sony camera with a high resolution sensor, you can get a bit of extra reach with the APS-C mode (or by cropping in post). A Sony APS-C model is also a good candidate for this lens.
If budget is not an issue, and you want peace of mind about getting the lens that delivers the best performance overall, the Sony is your answer. It’s larger, heavier, but is also flawless on all levels, and it is the only lens that can extend your reach further with teleconverters, offering more possibilities when you can’t get close to your subject (something that happens a lot with wildlife photography).
Then we have the Sigma and I’ll admit I’m a bit disappointed with it. Certainly, it delivers good optical quality overall, but the AF motor’s performance was slower than expected for fast moving subjects such as birds in flight. The lens’ design doesn’t offer a real advantage in terms of size and weight, and there are no teleconverters. The only area where it shows better capabilities is optical stabilisation, but not to the point of making a relevant difference.
Would I recommend the Sigma at all? Well, depending on where you live, it could be less expensive than the other two, and that might be all you need to hear. But if the price is close to that of the Tamron, I would personally go with the latter.
Choose the Sony FE 200-600mm if:
- you want the best quality and peformance
- you want the extra reach with the teleconverters
Choose the Tamron 150-500mm is:
- you want a more affordable lens without sacrificing quality and performance
- you want to carry around a smaller and more compact lens
Choose the Sigma 150-600mm if:
- you want at least 600mm but don’t want to spend the money for the Sony lens
- you want the least expensive lens (depending on your location)
Reminder: the links below are affiliate links. If you decided to buy something after clicking the link, we will receive a small commission.
Check price for the Sony FE 200-600mm G on
Amazon | Amazon UK | B&H Photo | eBay
Check price for the Sigma 150-600mm DG DN on
Amazon | Amazon UK | B&H Photo | eBay
Check price for the Tamron 150-500mm Di III on
Amazon | Amazon UK | B&H Photo | eBay
Second-hand Sony lenses on
MPB US | MPB UK